How to manually set up IKEv2 PureVPN on Windows 10 with our comprehensive guide. Follow step-by-step instructions to configure the IKEv2 protocol and enjoy secure and private internet connections on your Windows 10 device. Enhance your online privacy and security with PureVPN's advanced features tailored to your specific needs.
- Right-click your active LAN/ WiFi icon and click Network settings.

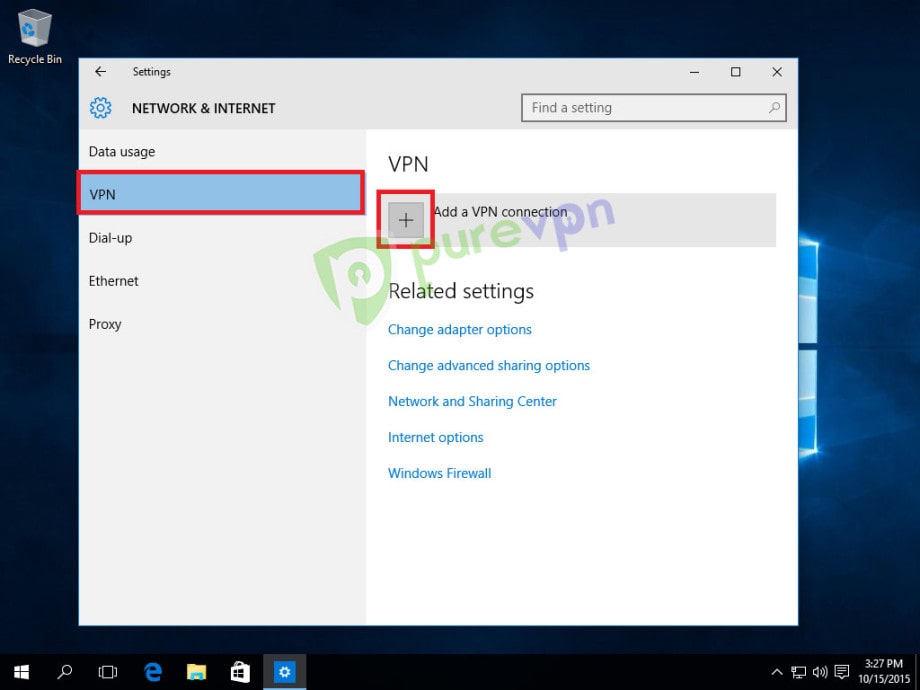
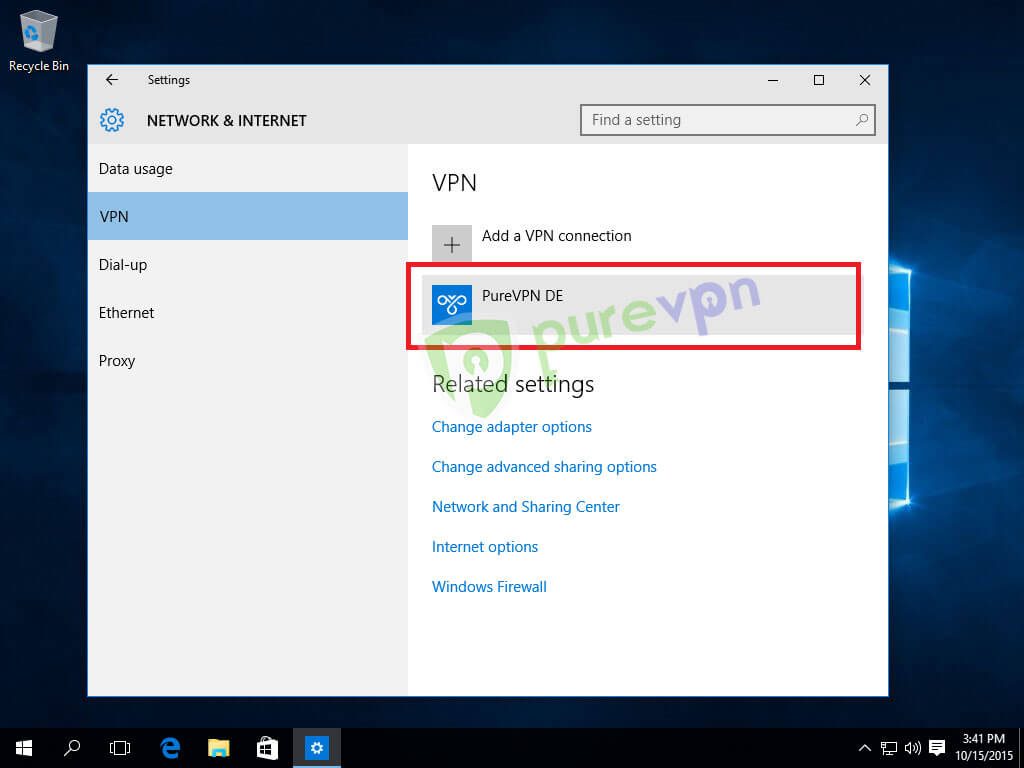
- Click VPN then click Add a VPN connection
-
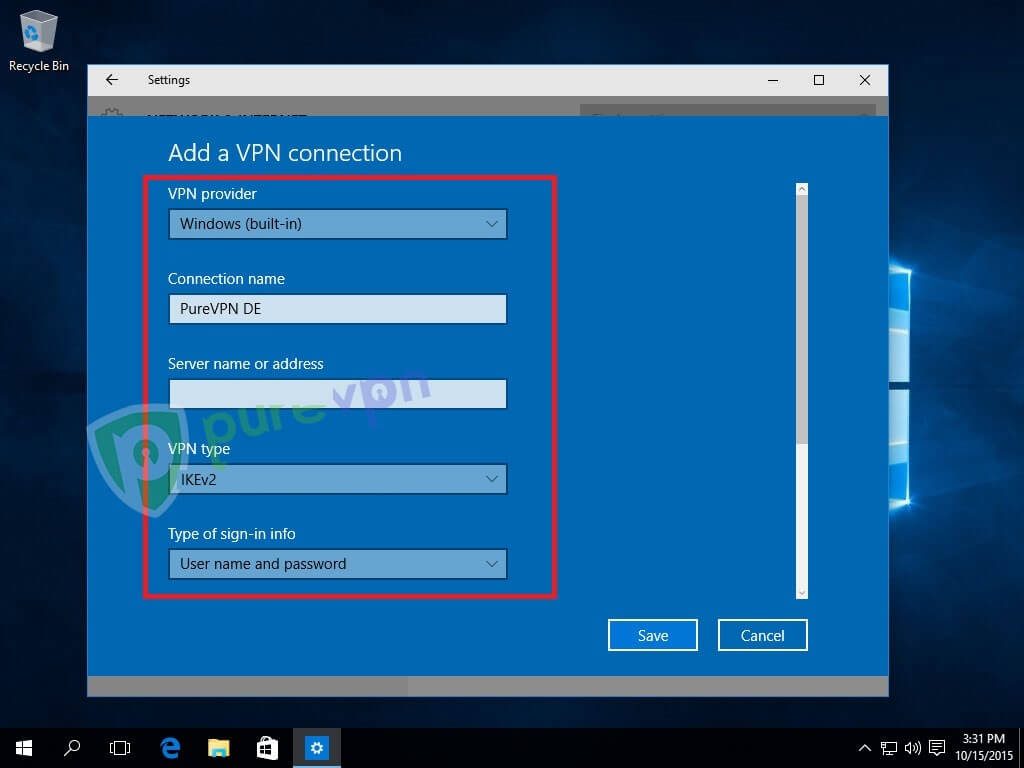
Insert the following info:
- Select Windows (built-in) from VPN Provider drop-down menu
- Insert any desired Name as PureVPN DE, US, etc as the Connection name
- Insert desired server address in Server name or address box. Click 👉here to get the list of servers
- Select IKEv2 from VPN type drop-down menu
- Select User name and password from the Type of sign-in info drop-down menu
-
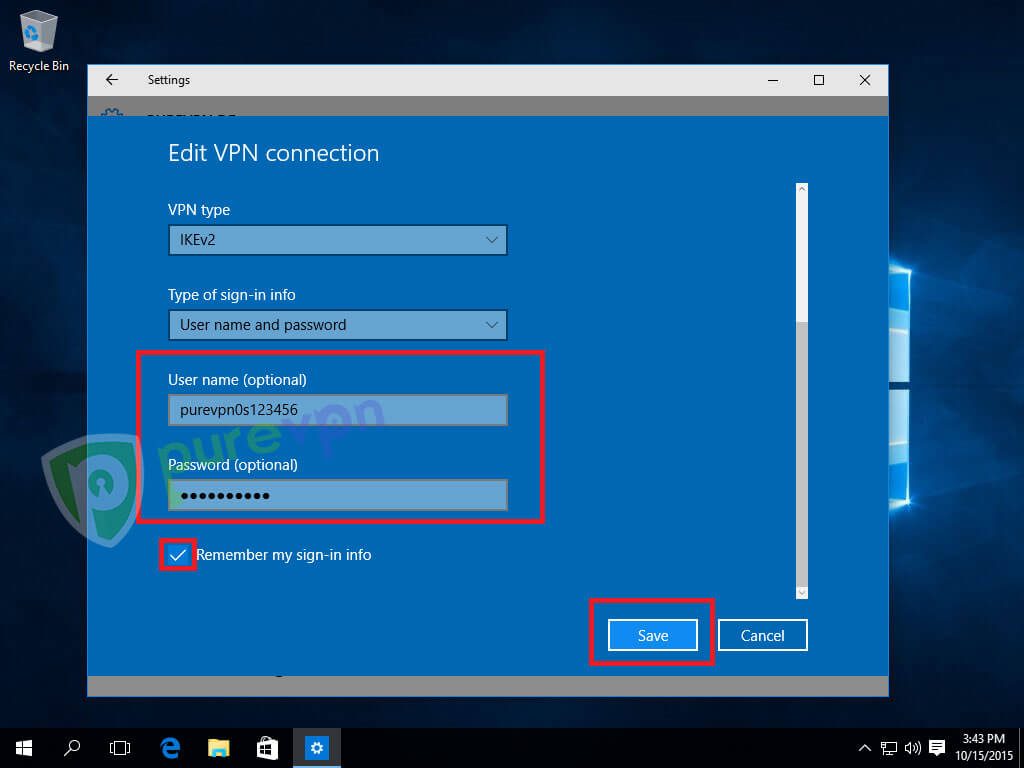
Insert the following info:
- Enter your PureVPN credentials. Here is how you can 👉find your VPN credentials.
- Select Remember my sign-in info and click Save
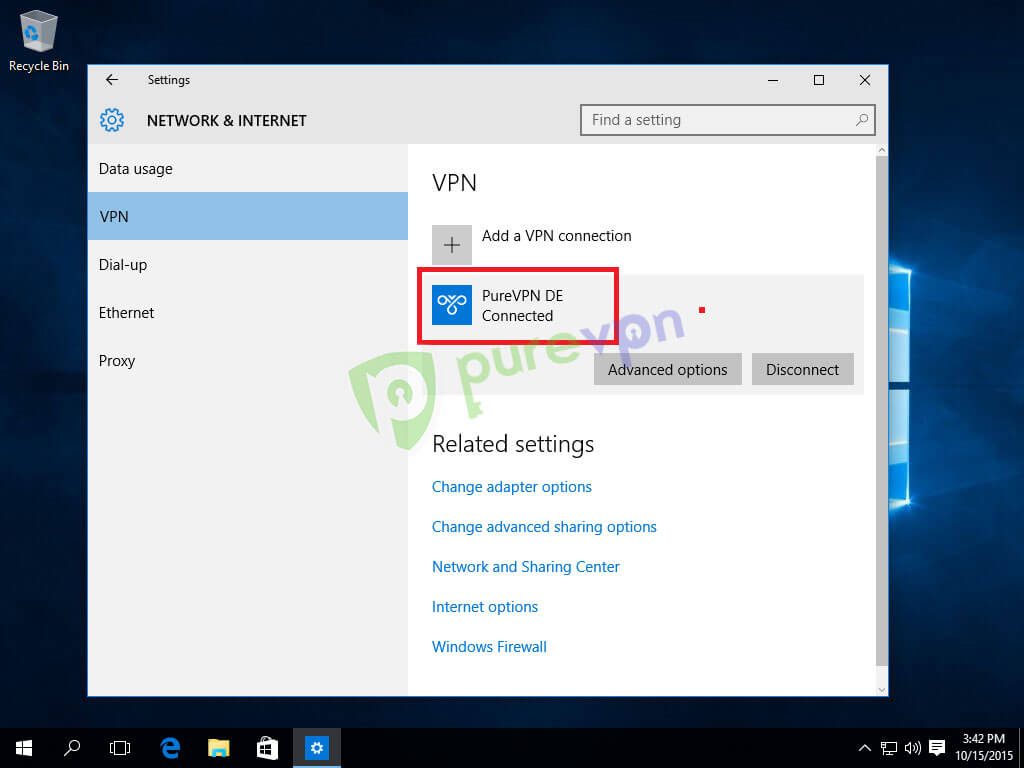
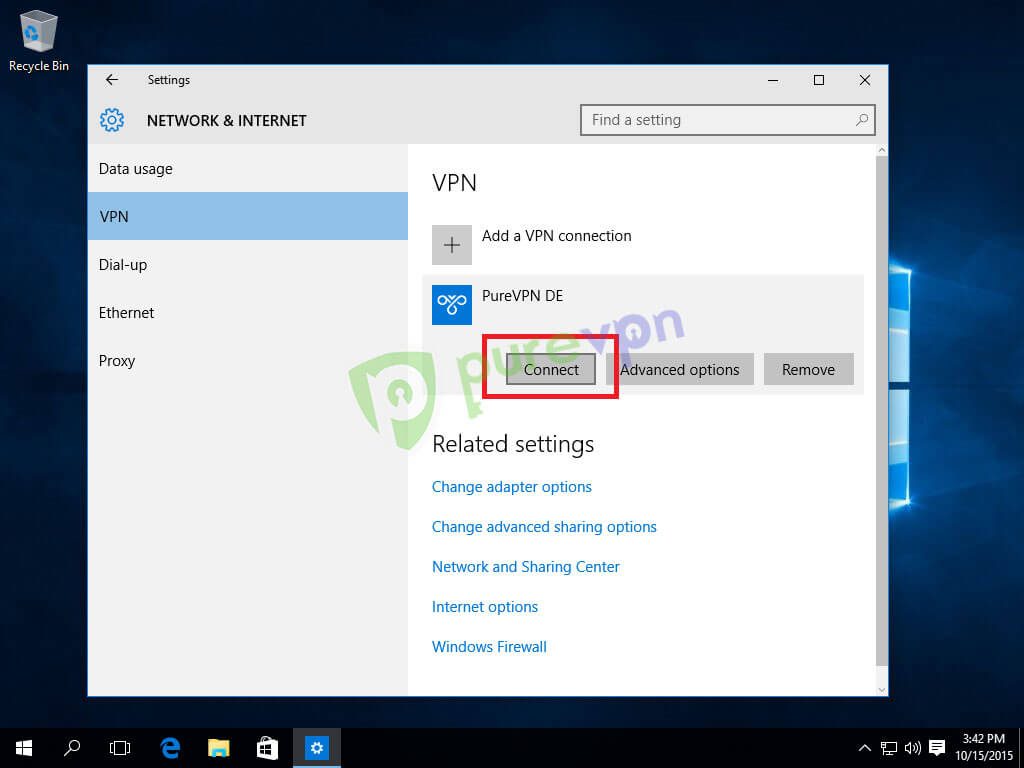
- Click PureVPN DE and hit the Connect button.
- Click Connect
- Wait for a few seconds.
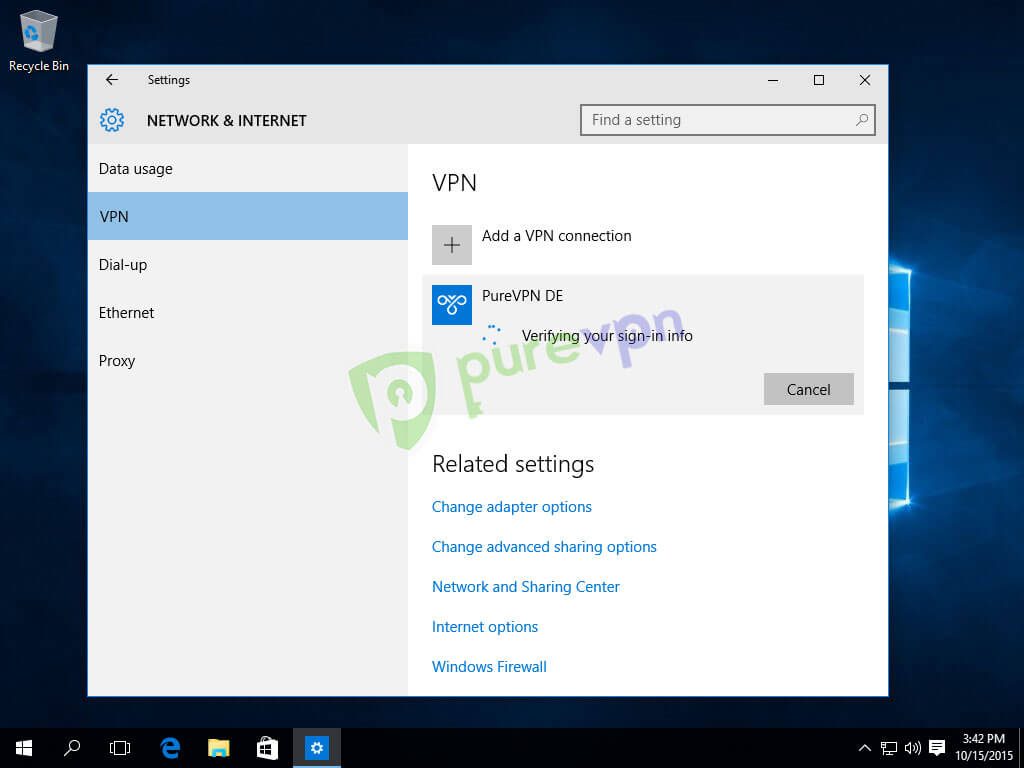
- You are connected to PureVPN Successfully. Enjoy the Pure FREEDOM!