Auto connect after launch
Learn how to enable the auto-connect feature for PureVPN, ensuring that the VPN automatically connects every time you launch the application. Enjoy seamless privacy and security with this step-by-step guide on setting up auto-connect in PureVPN, eliminating the need to manually connect each time you start the app.
- Click the ⚙️ Preferences option at the left panel of the PureVPN app.
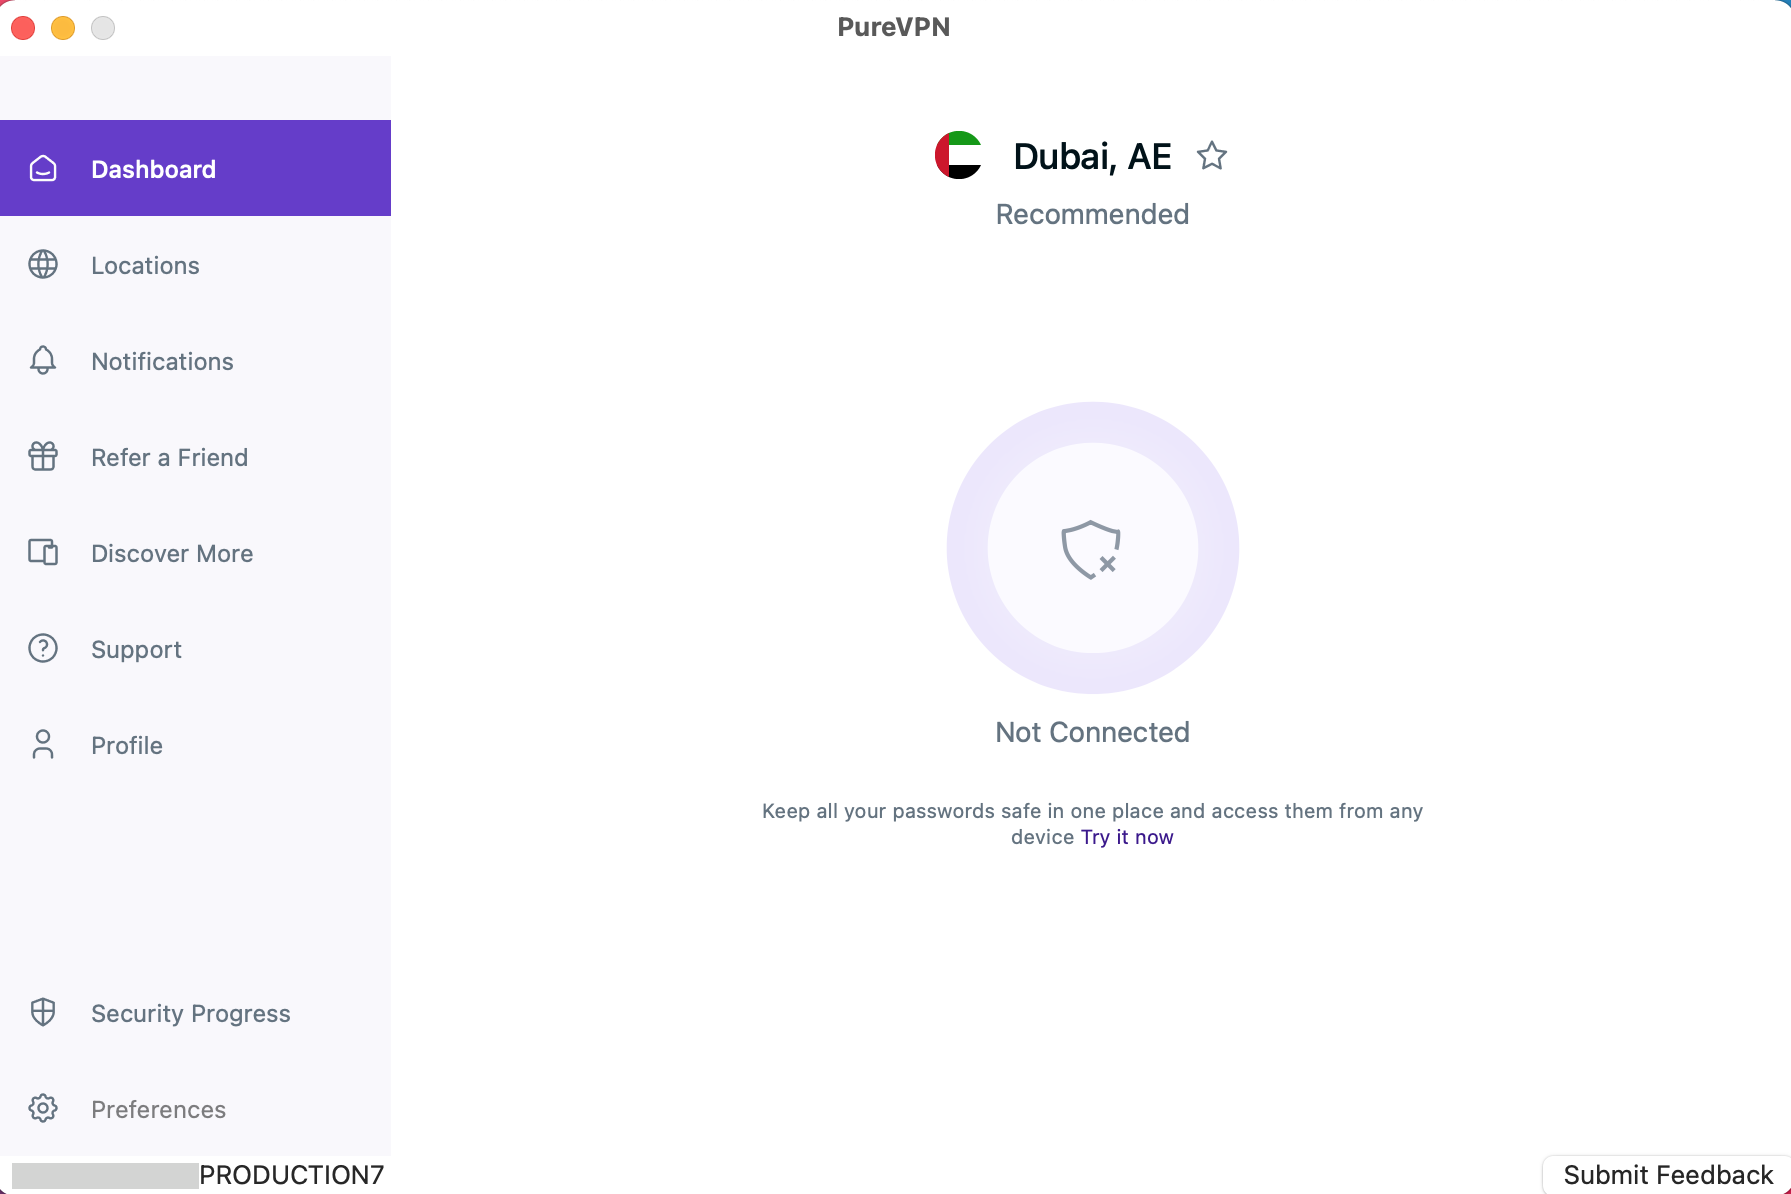
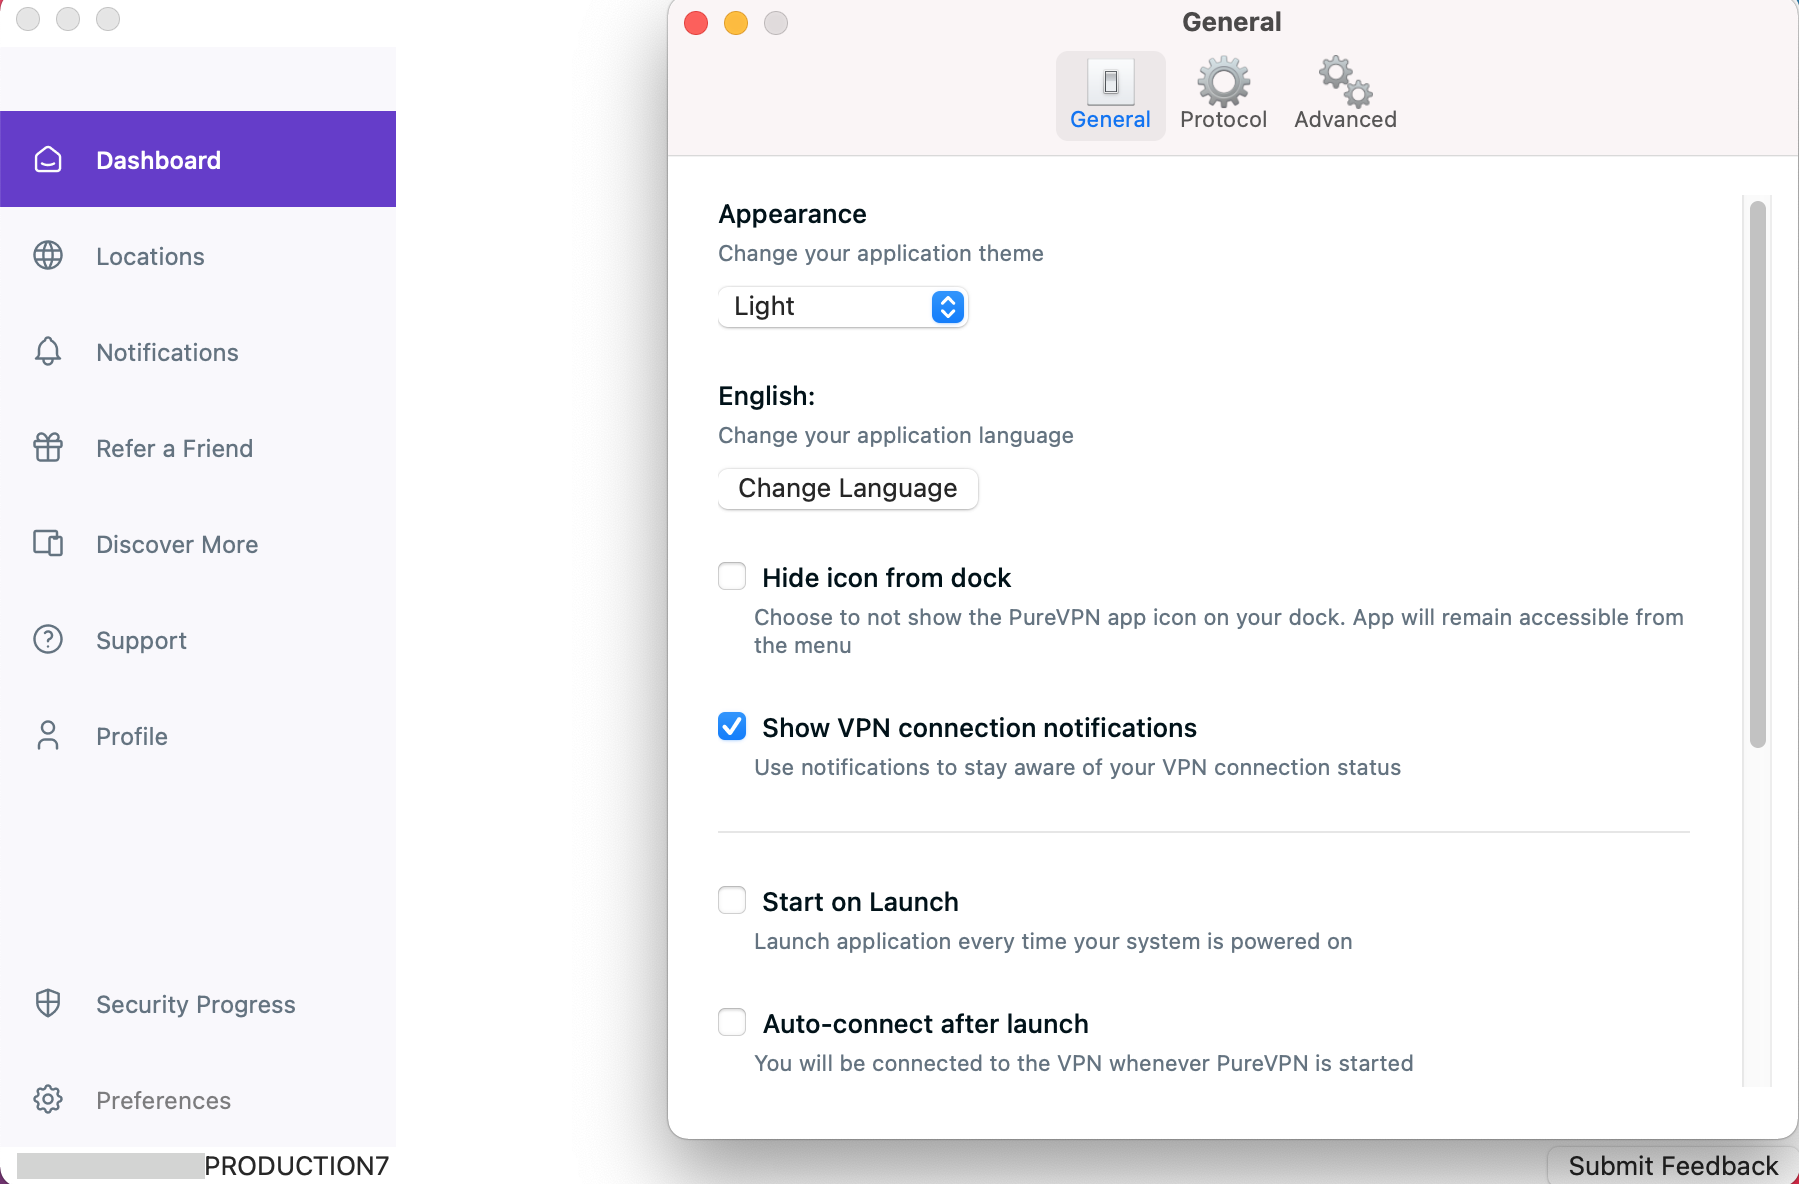
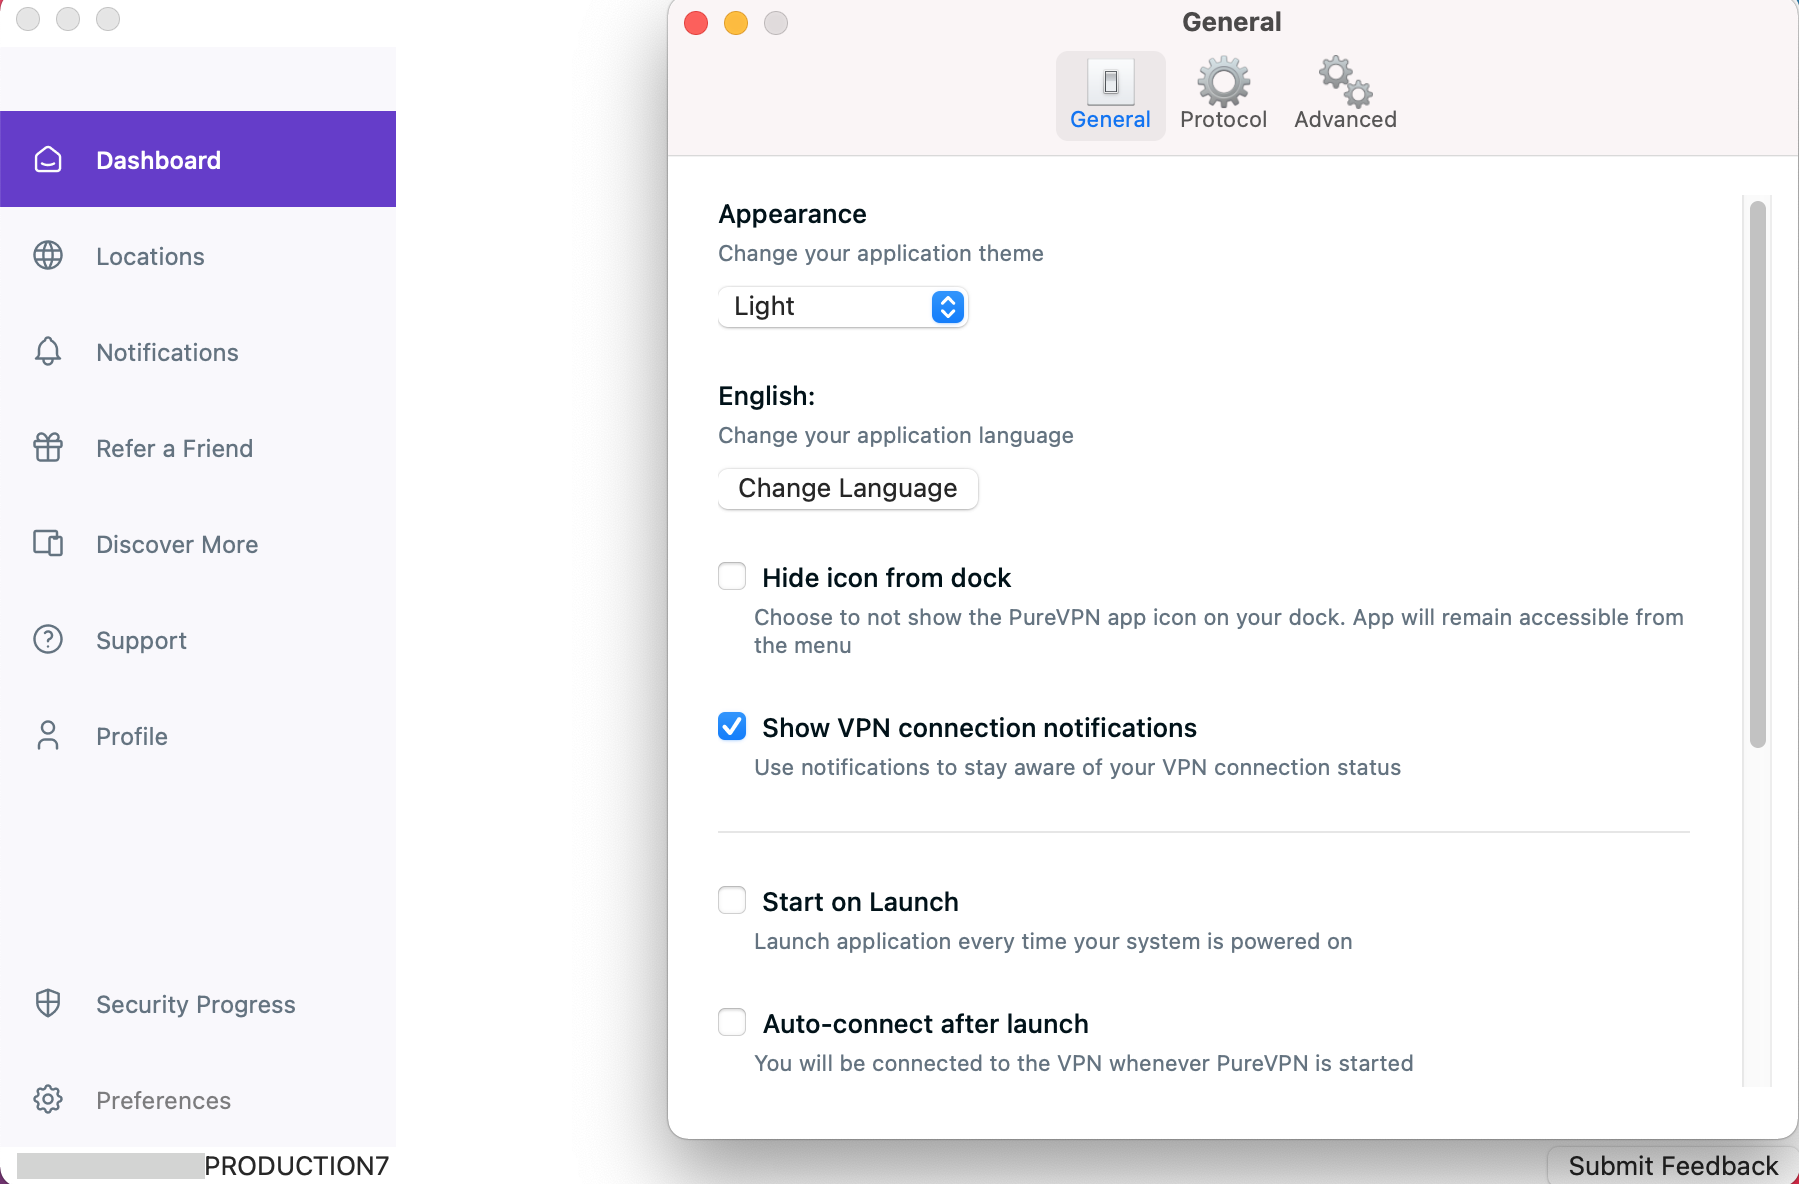
- In the general settings tab, you will be able to see Auto-connect after launch option.
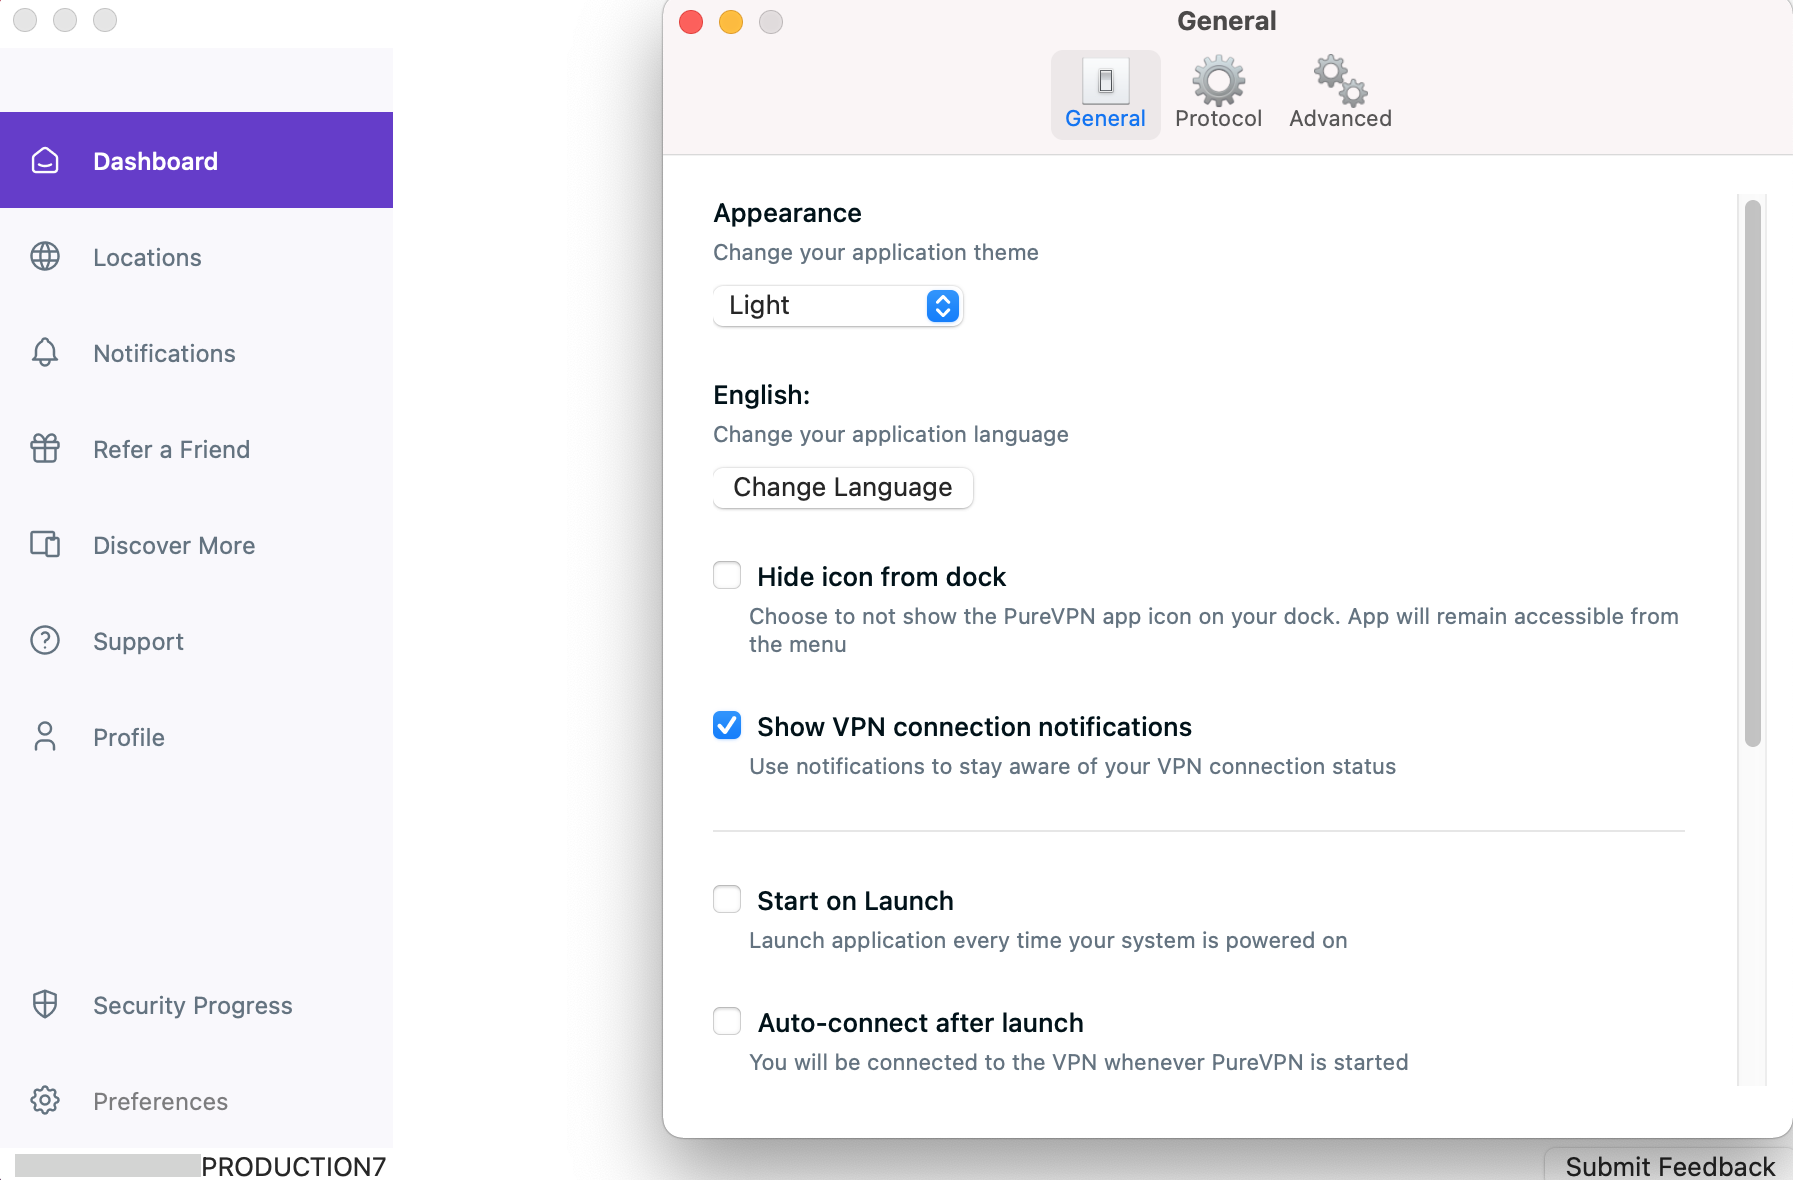
- Once it's turned on. You will be able to see a drop-down menu from where you can choose the desired option to let the application know which location to connect after launching the app. Following options are available to choose from:
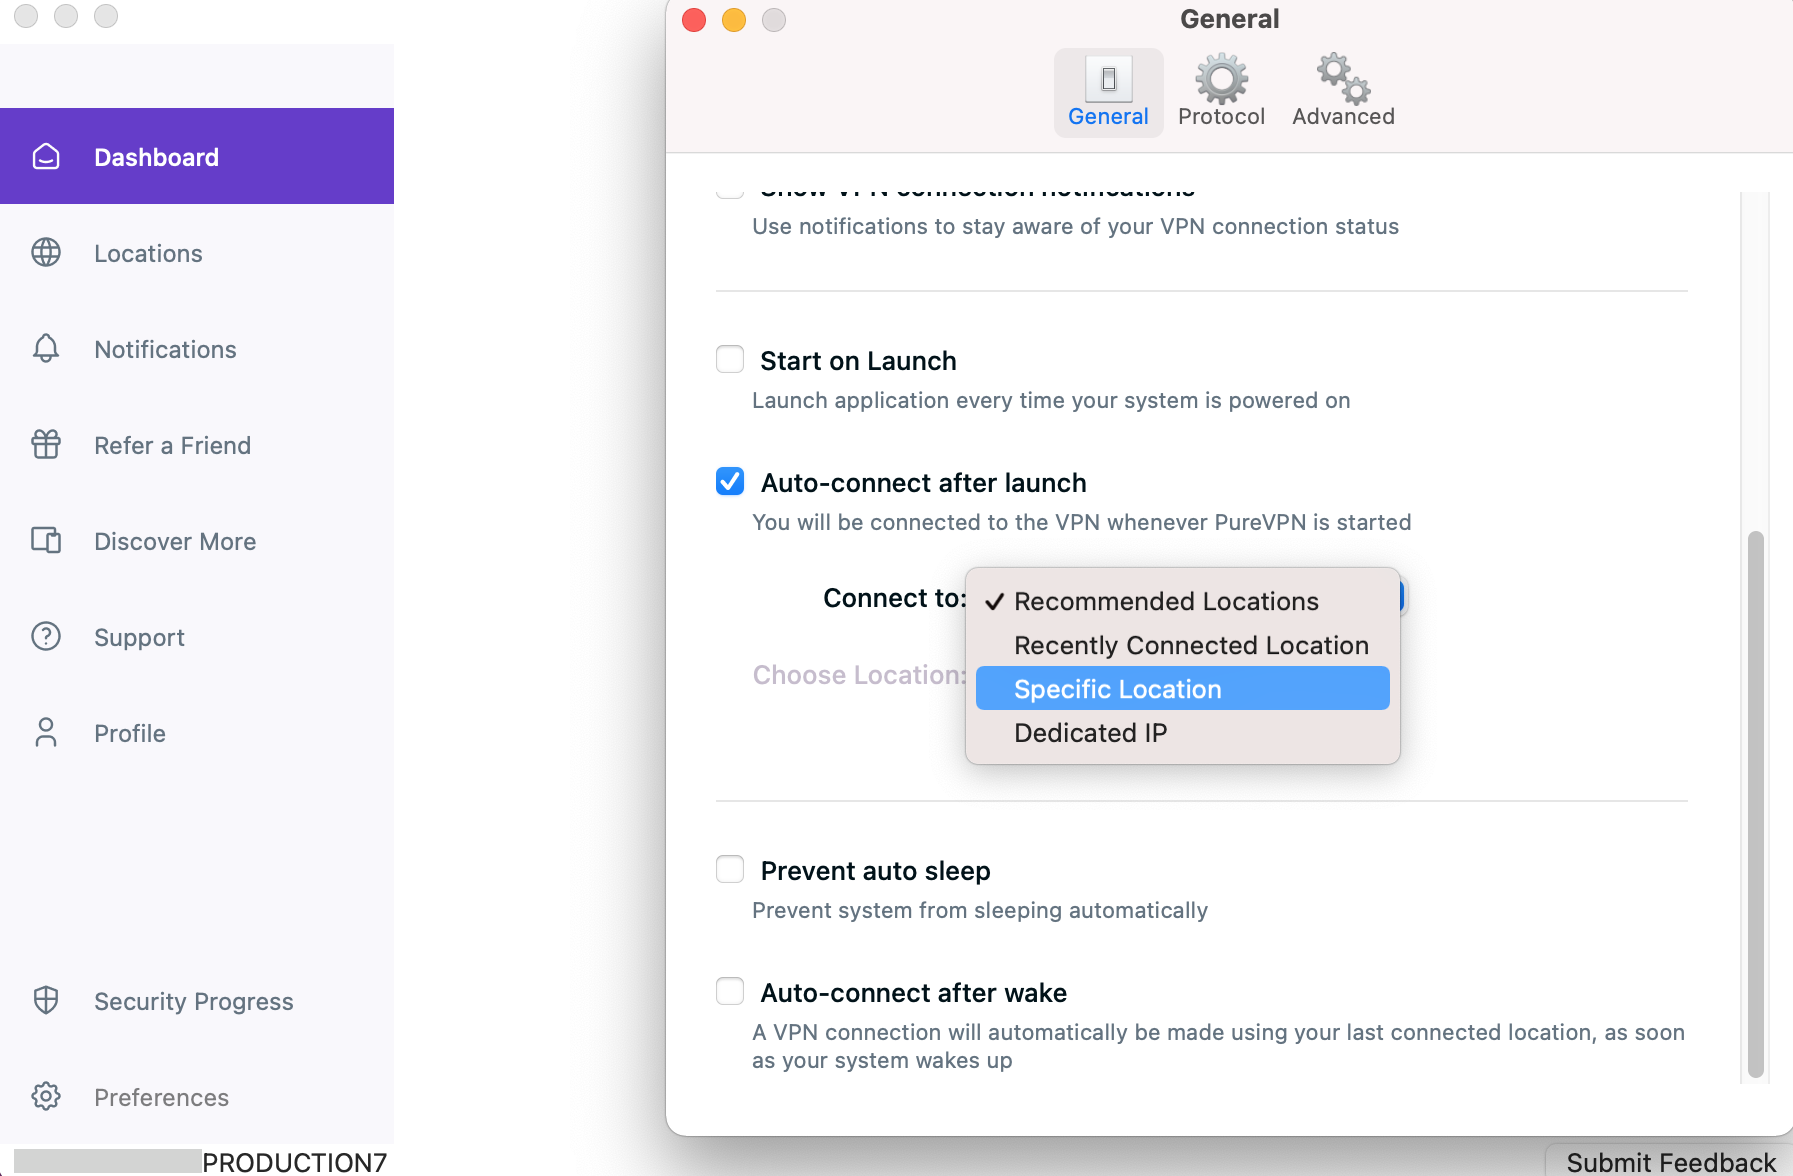
Recommended Location:
By choosing this option the application will automatically connect you to the best location server through the Smart algorithm. Click 👉 here to read more.
Recently Connected Location:
By choosing this option the application will automatically connect you to the last connected location.
Specific Location:
- By choosing this option the application will connect you to your preferred location.
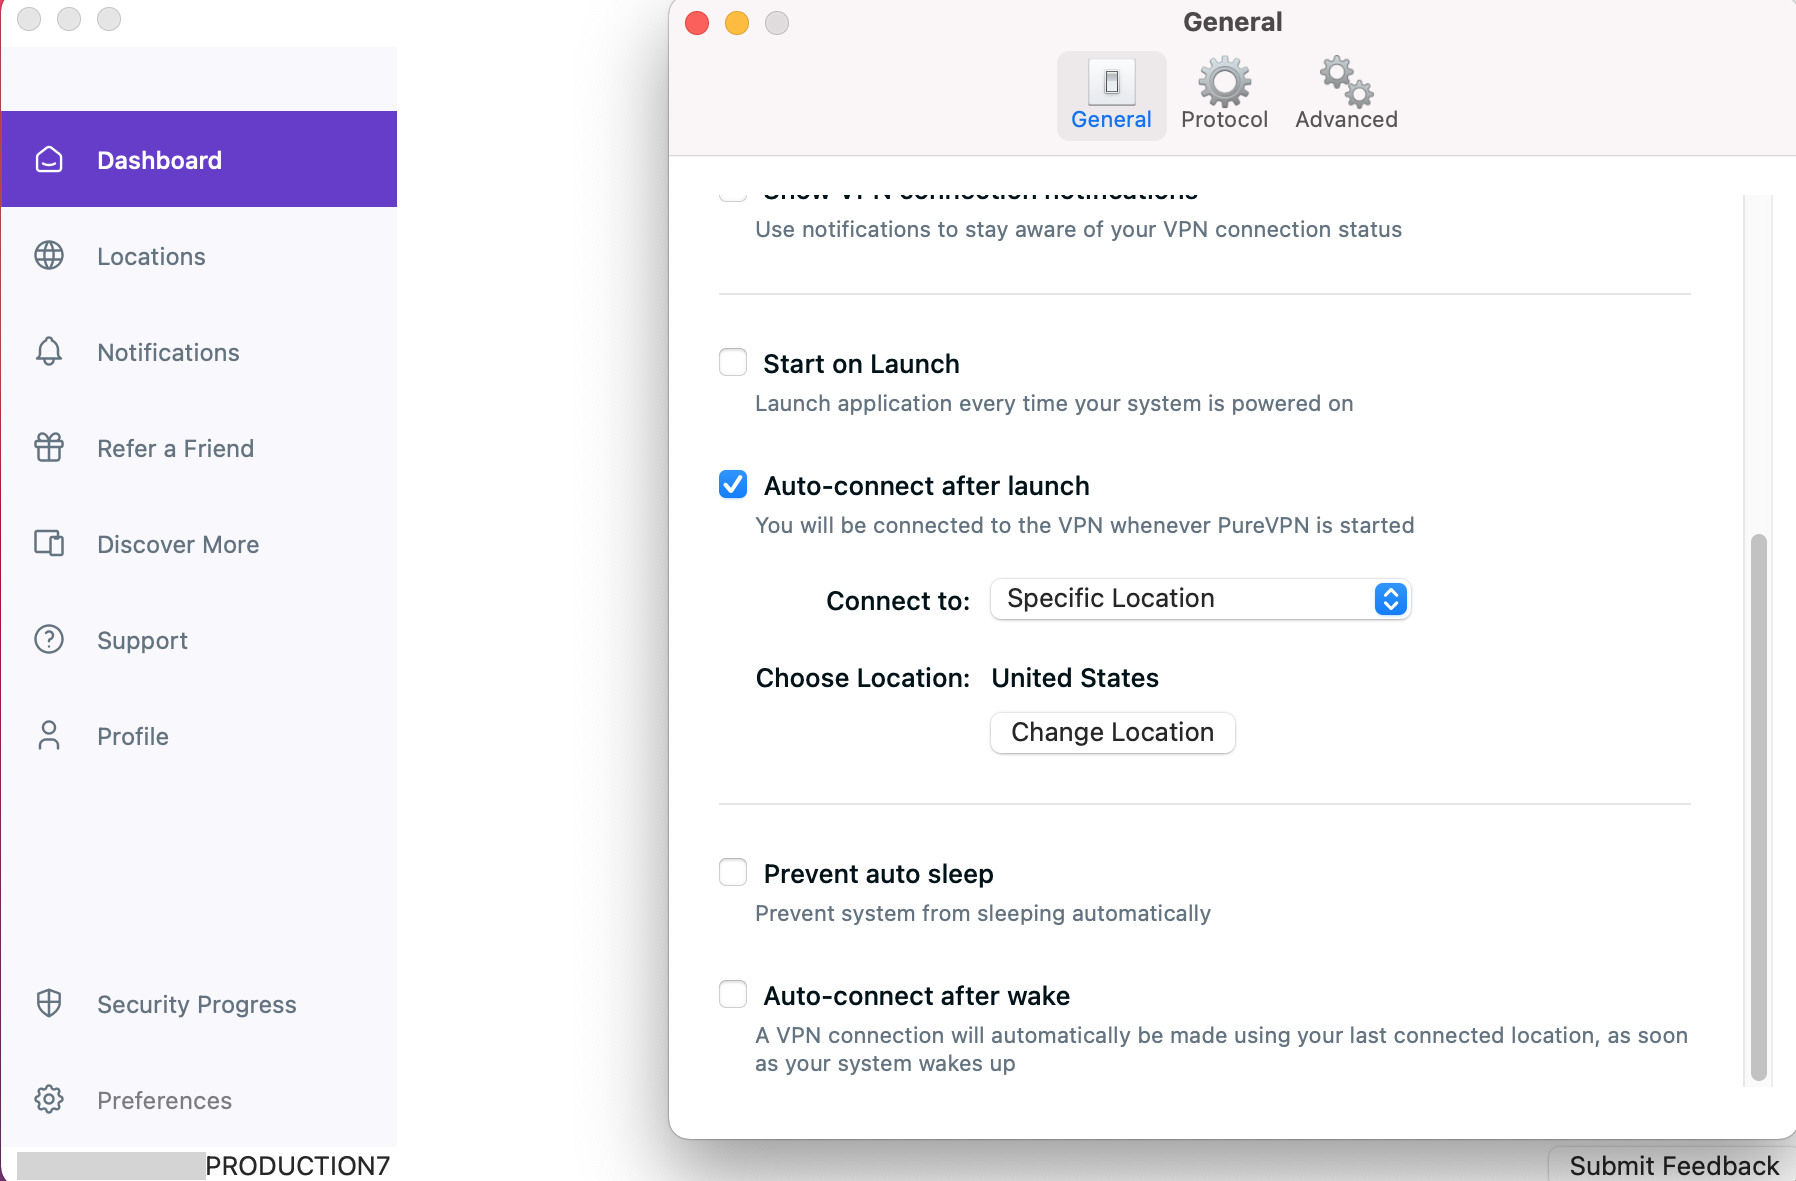
Note: This won’t be applicable if your system is in sleep mode.
Show notifications
To ensure you stay updated with notifications from PureVPN, including connection status updates and the latest news, upgrades, and offers, follow these simple instructions to enable notifications.
- Click the ⚙️ Preferences option at the left panel of the PureVPN app.
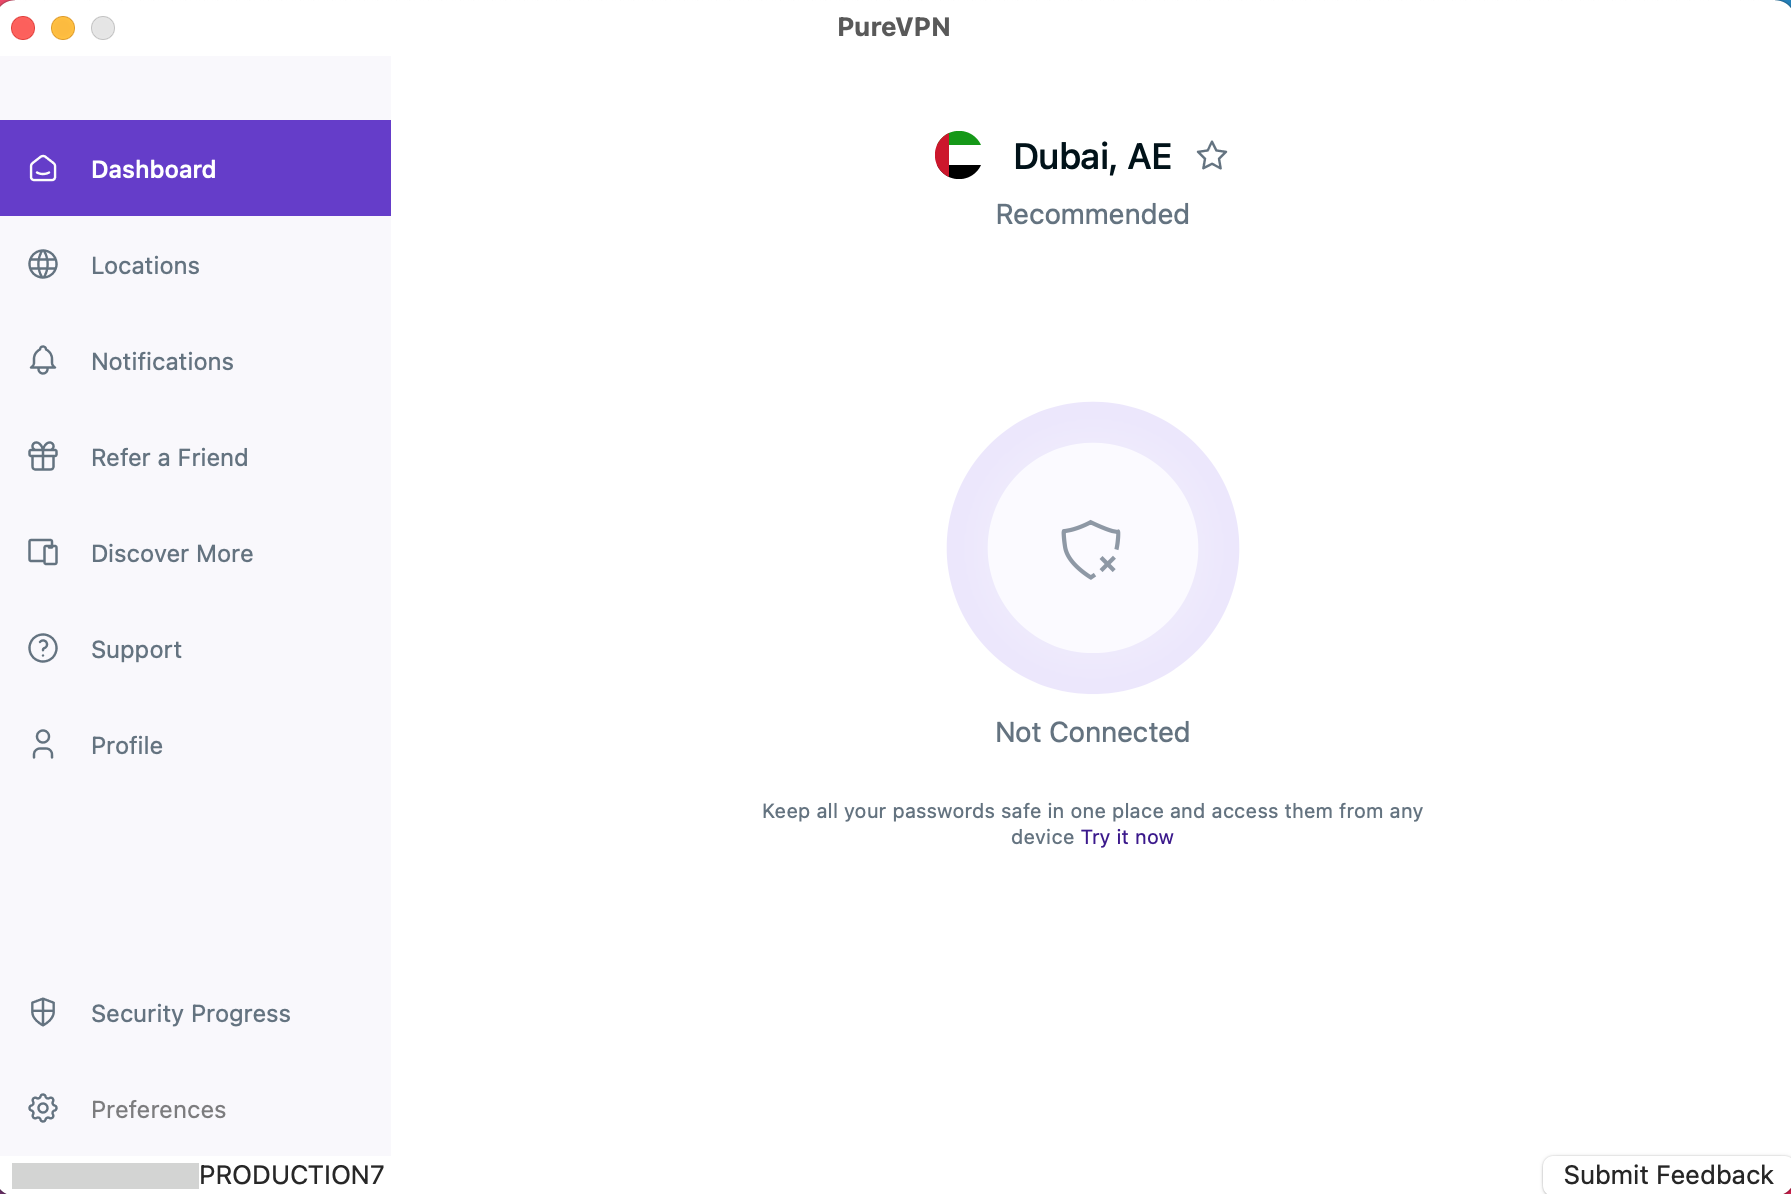
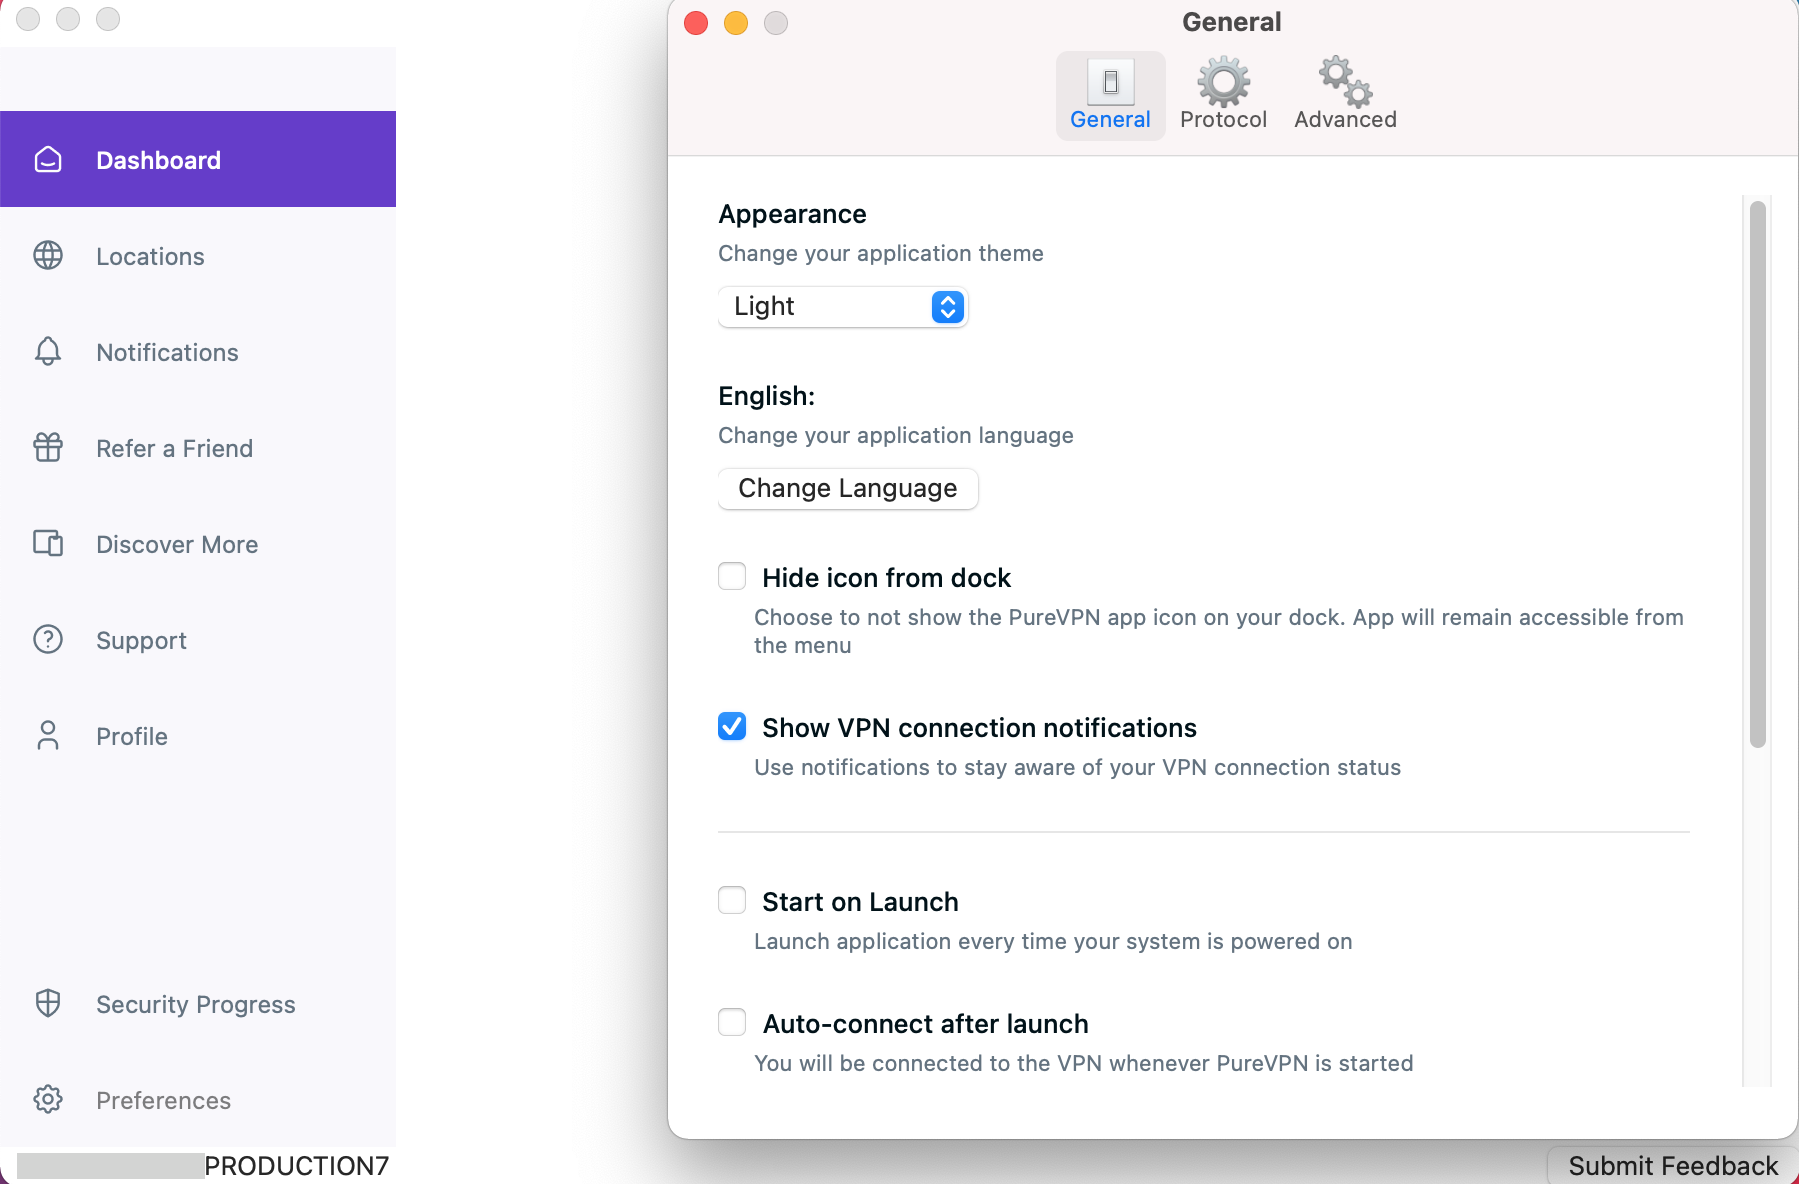
In the general settings tab, scroll down to be able to see Show VPN connection notifications option.
- Mark check ☑️ Show VPN connection notifications (if it’s not checked by default).
Hide the PureVPN App icon from the dock
Want more space on your dock while keeping PureVPN active. Here’s how you can proceed.
- Click the ⚙️ Preferences option at the left panel of the PureVPN app.
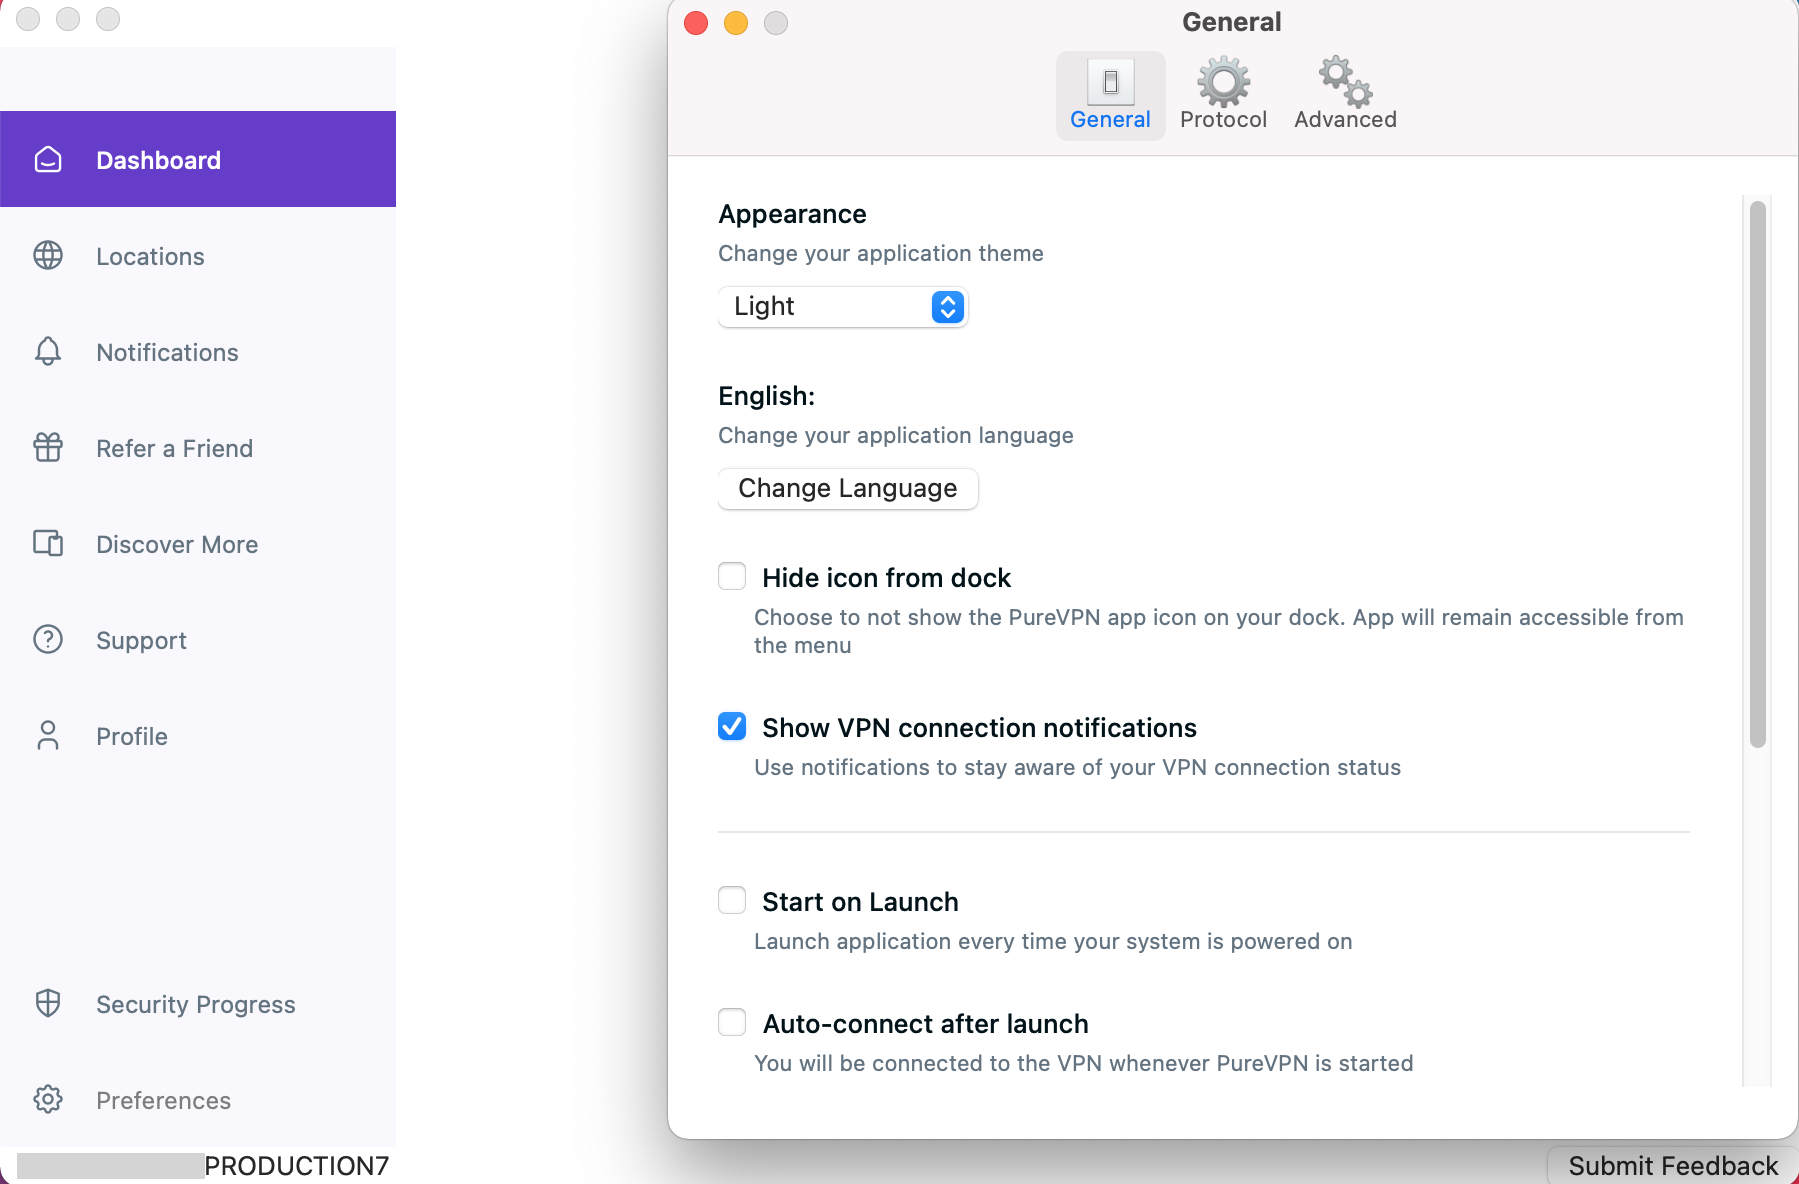
- In the general settings tab, scroll down to be able to see the Hide icon from dock option.
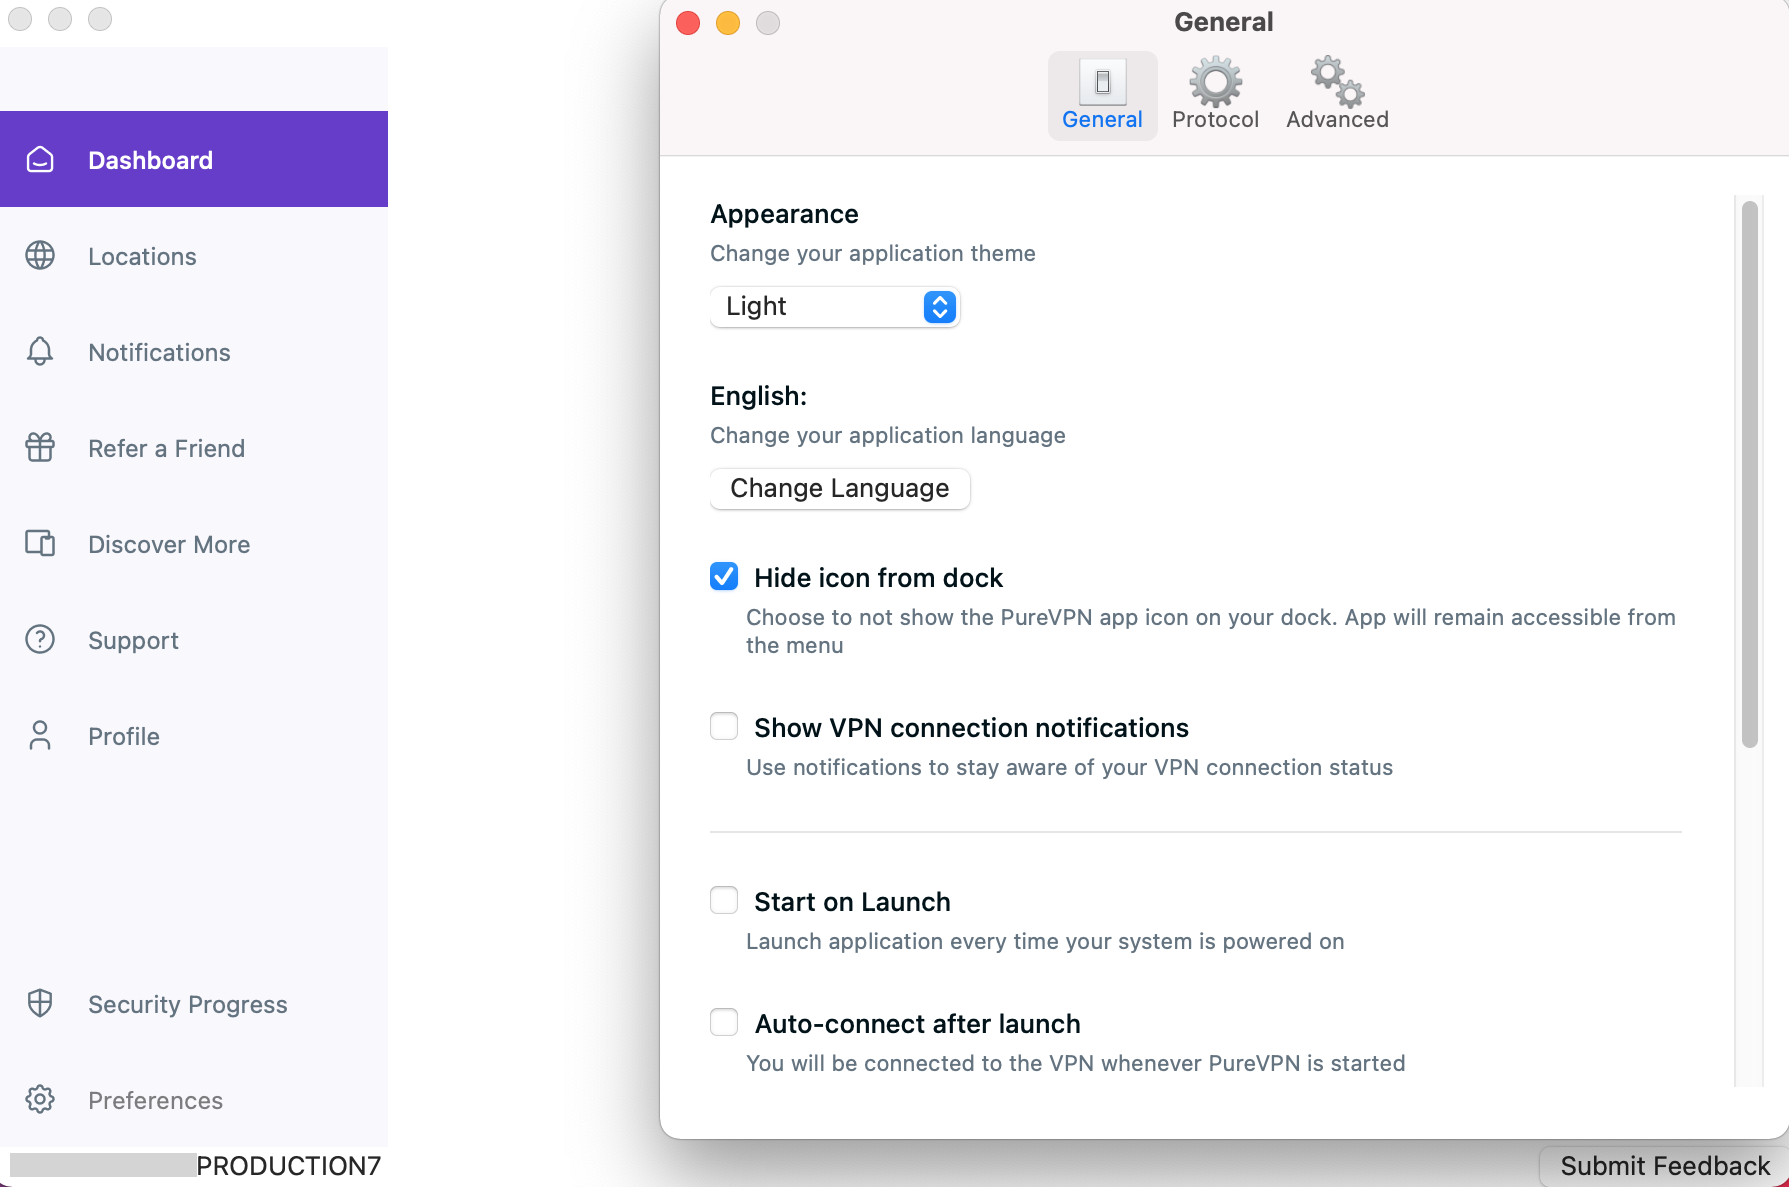
- Mark check ☑️ Hide icon from the dock (if it’s not checked by default).
Select application language
If you prefer using PureVPN in your native language, you're in luck! The PureVPN application supports multiple major languages. Here's how you can switch between languages.
- Click the ⚙️ Preferences option at the left panel of the PureVPN app.
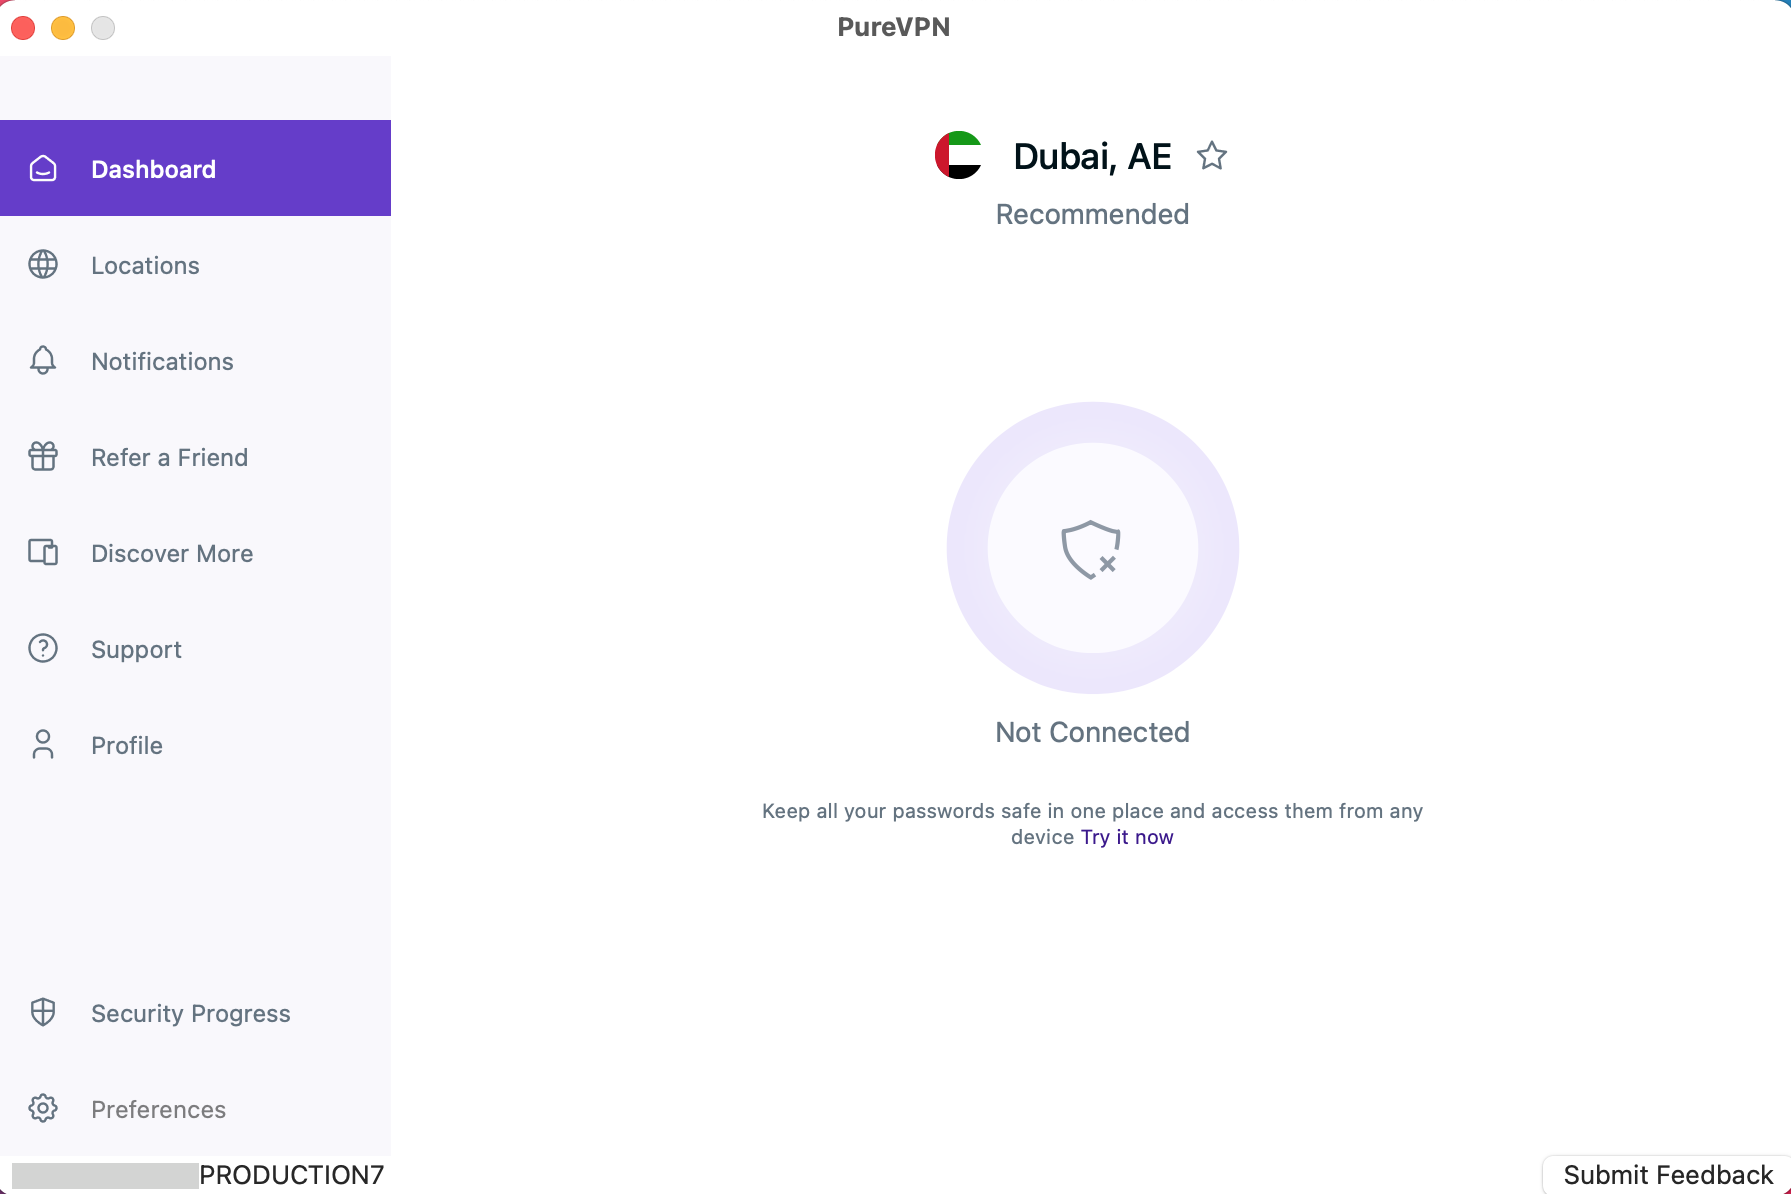
- In the general settings tab, you will be able to see Change Language option.
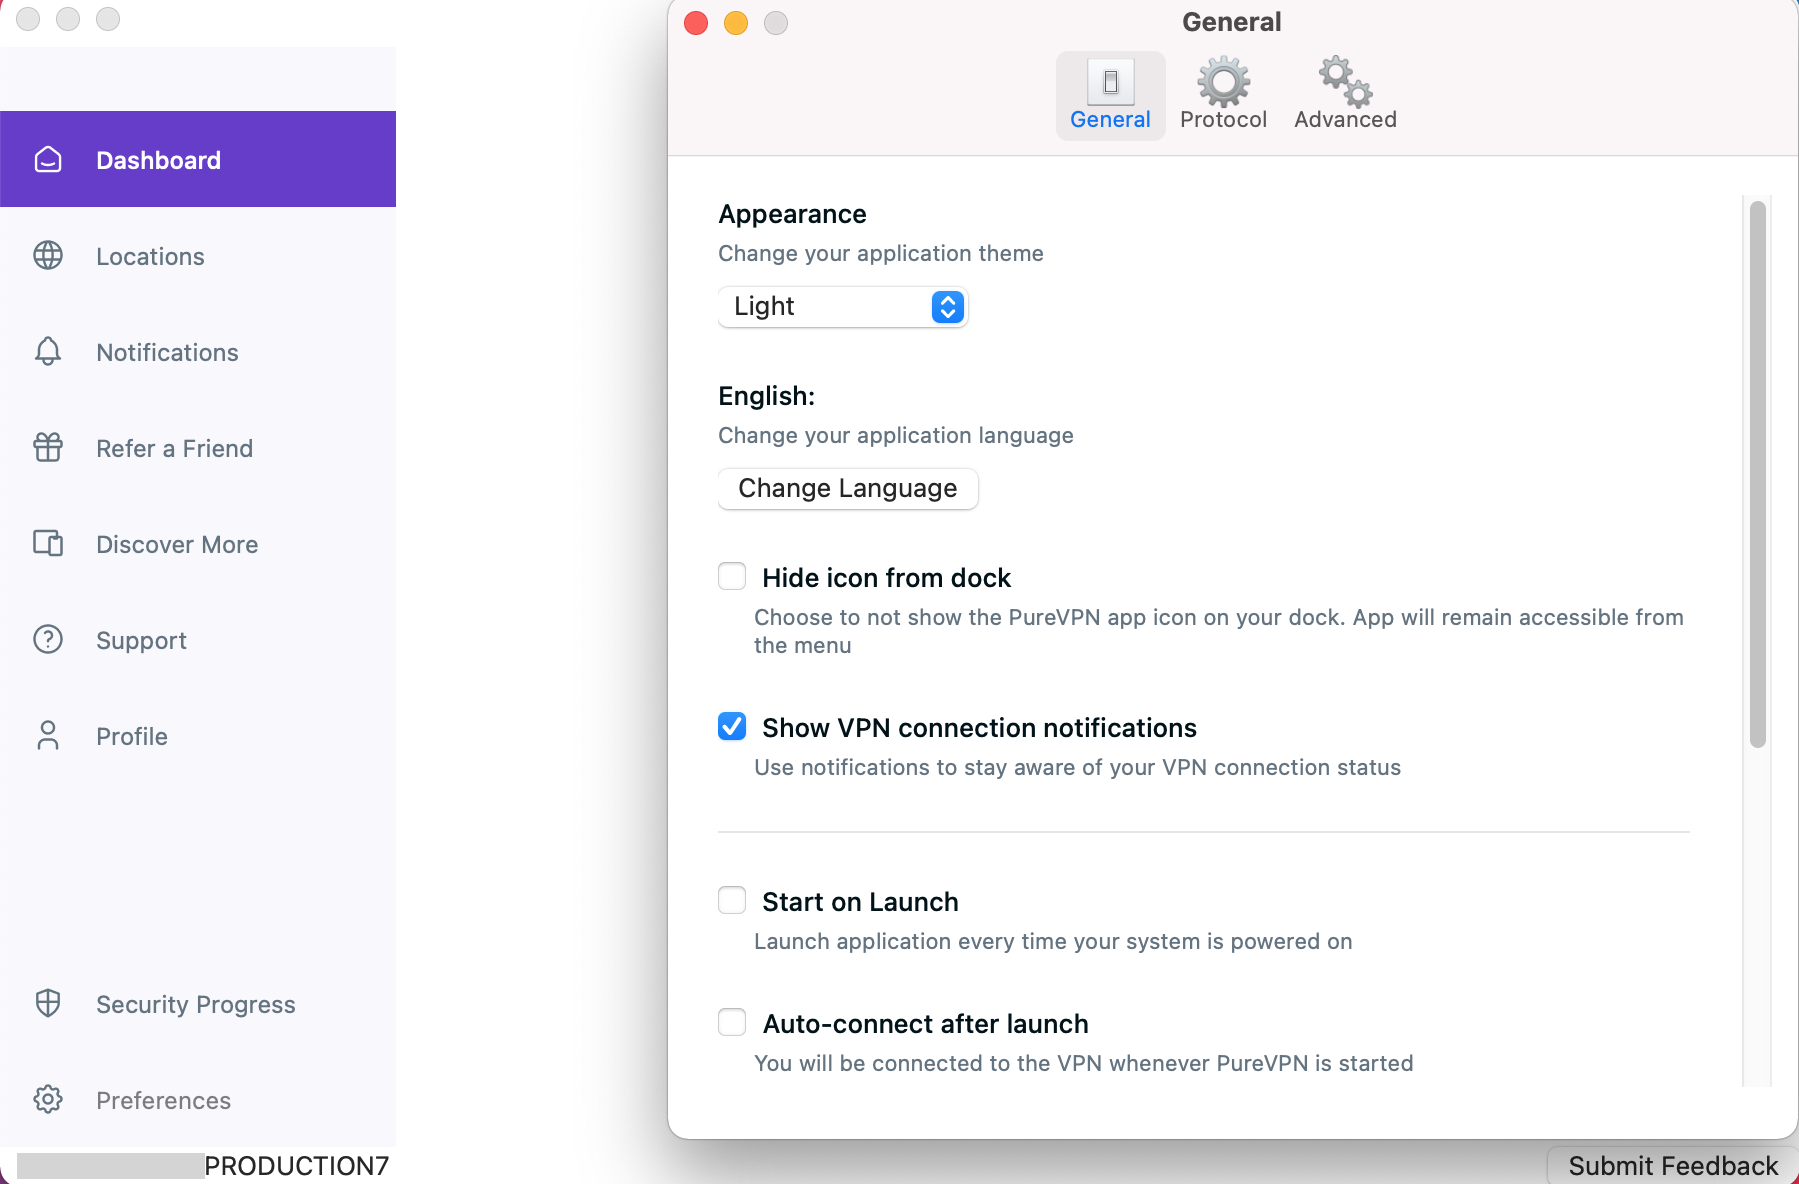
- Click Change Language. You may proceed to switch to a different language by selecting one from the available options.
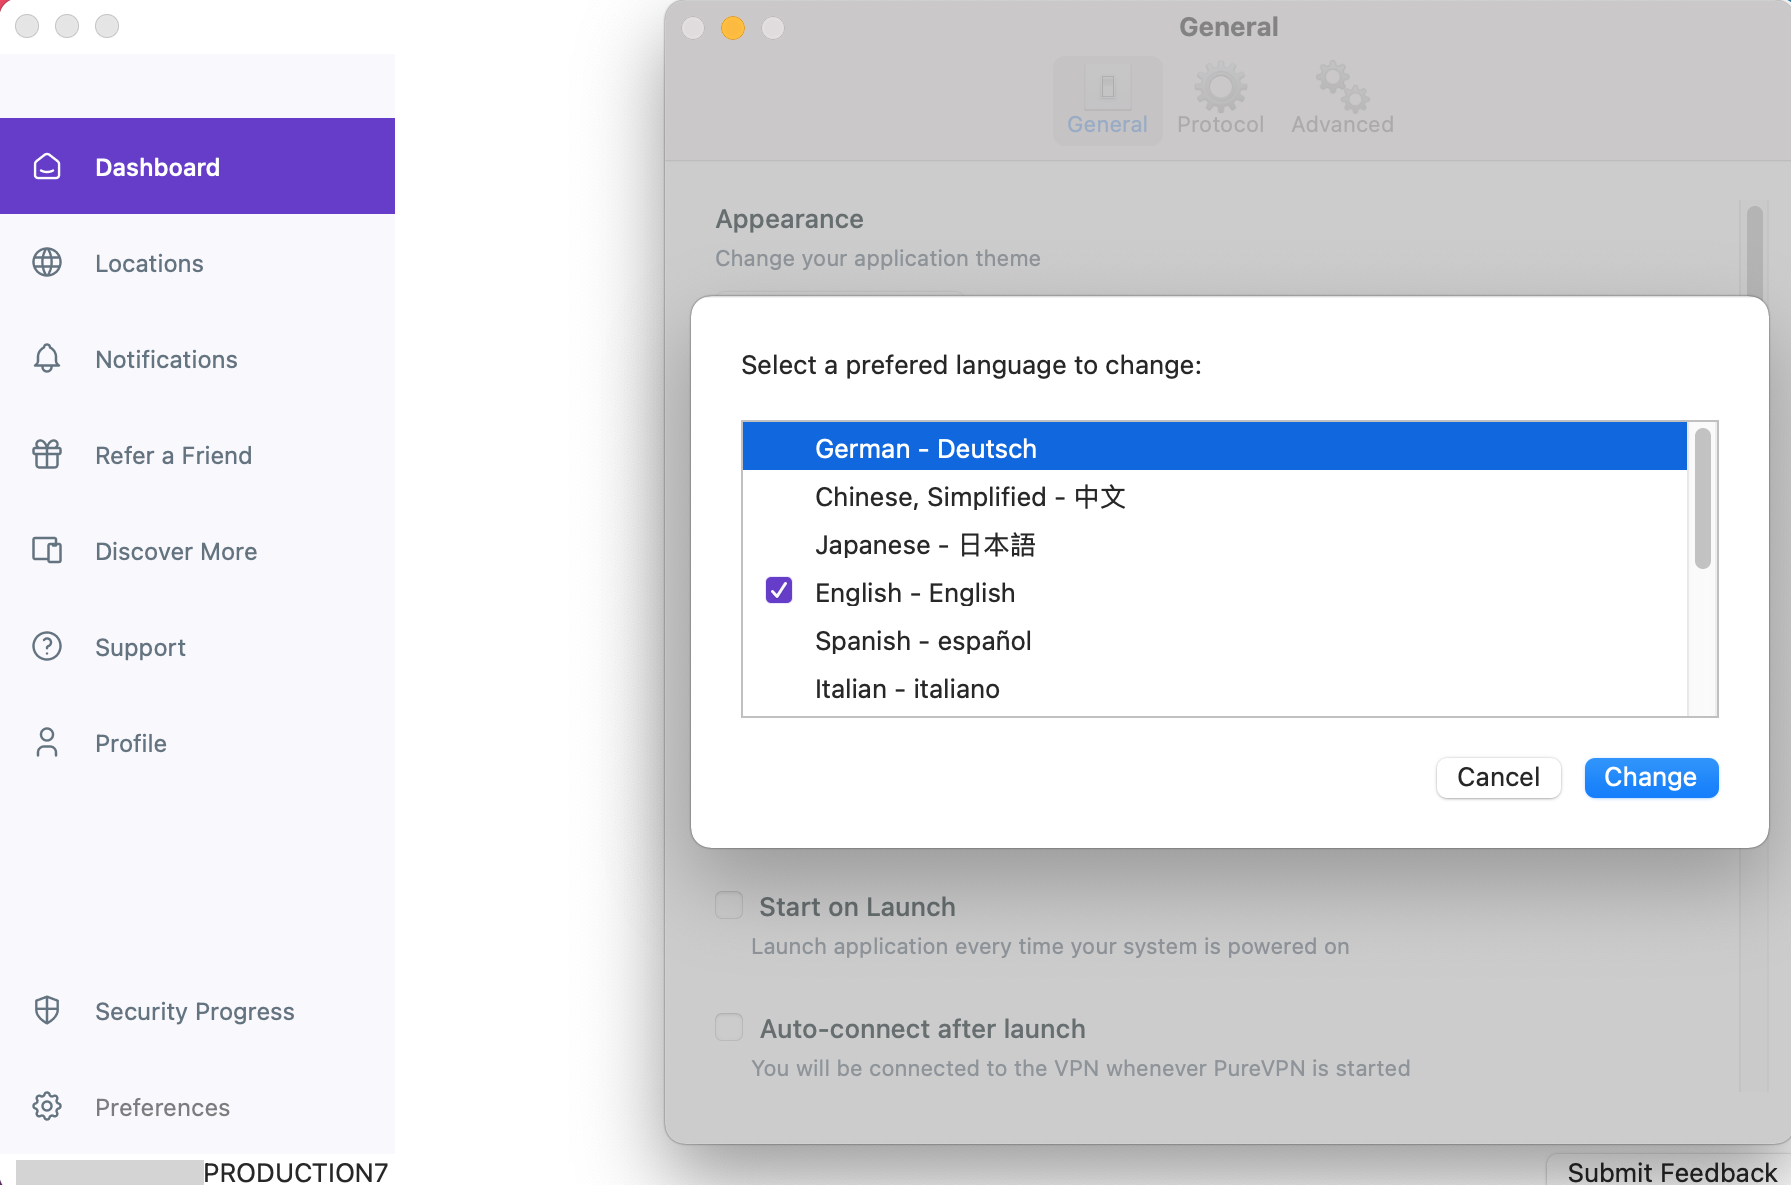
- A pop-up will appear asking to confirm the language change. Click Relaunch Now to proceed.
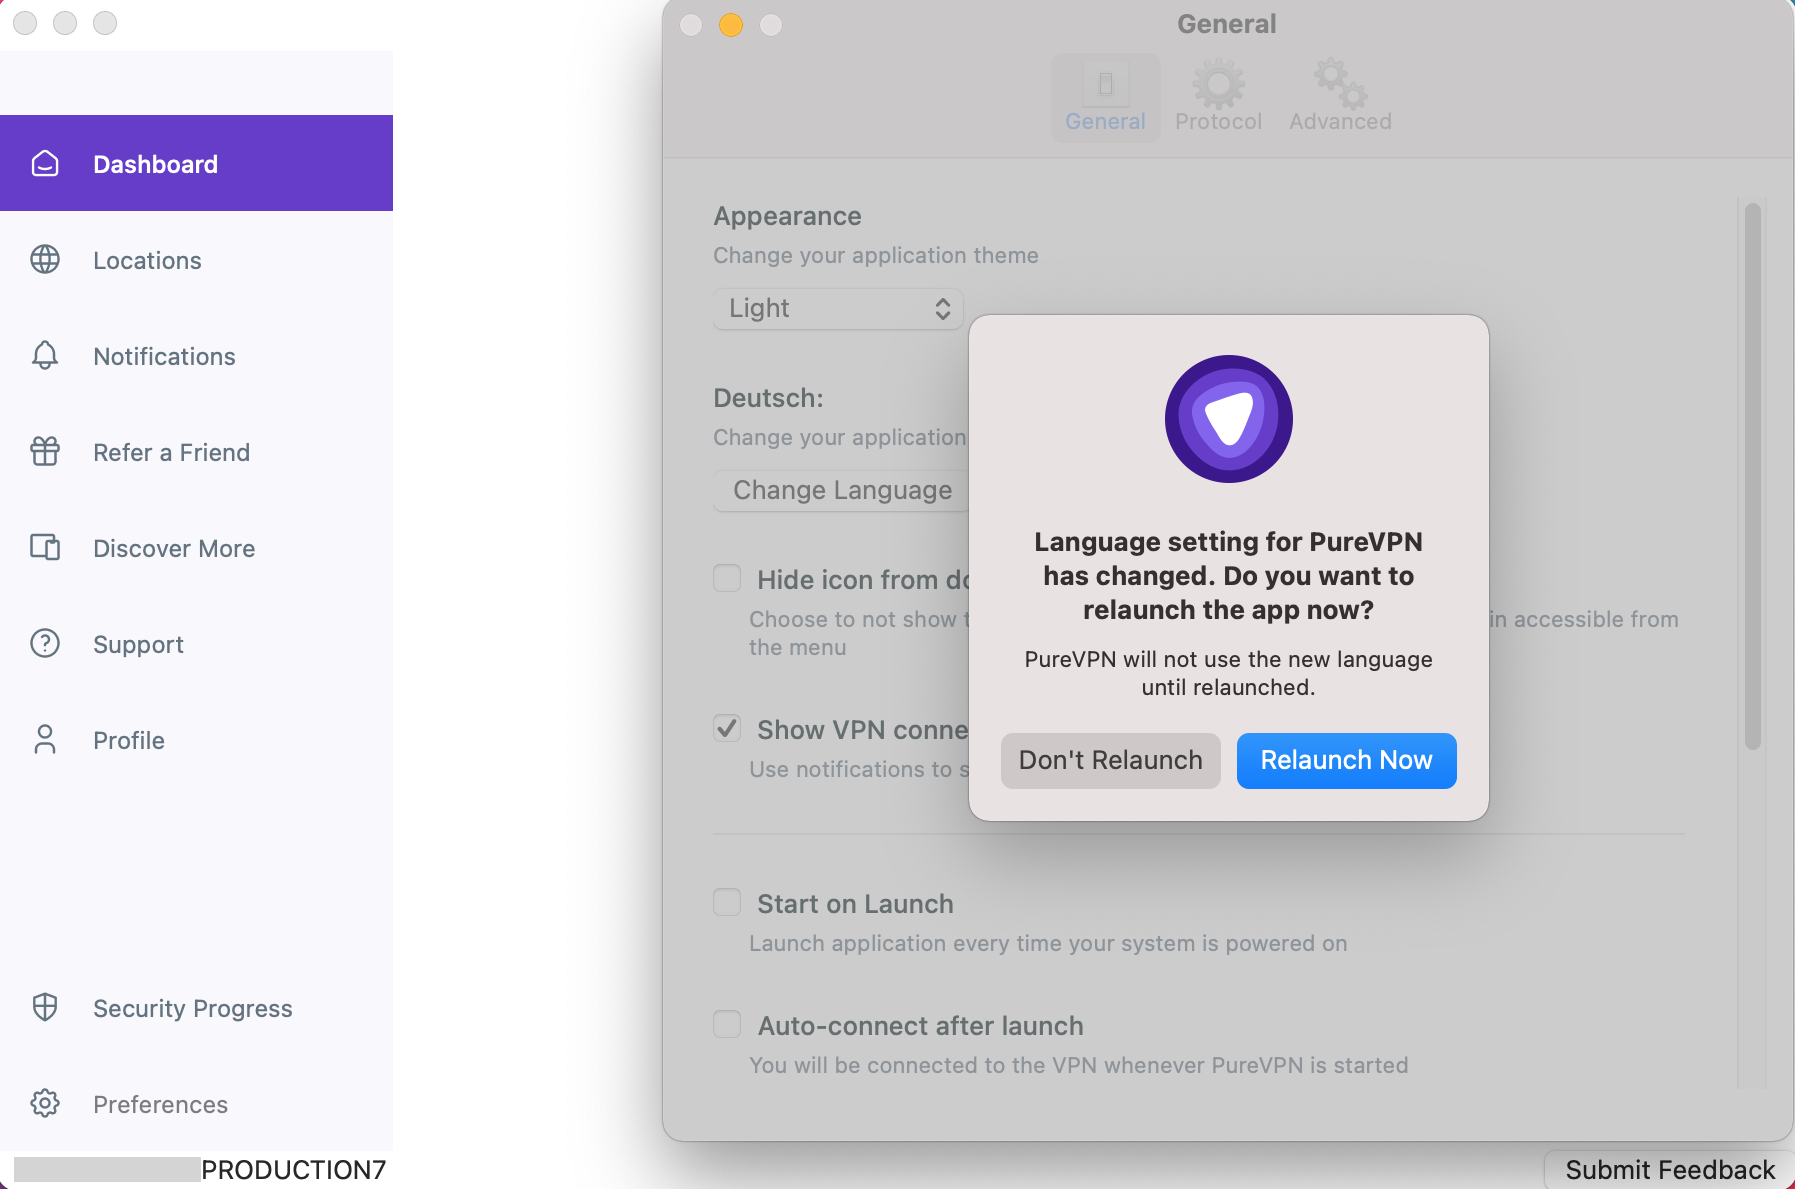
- PureVPN app will restart and launch into your chosen language.
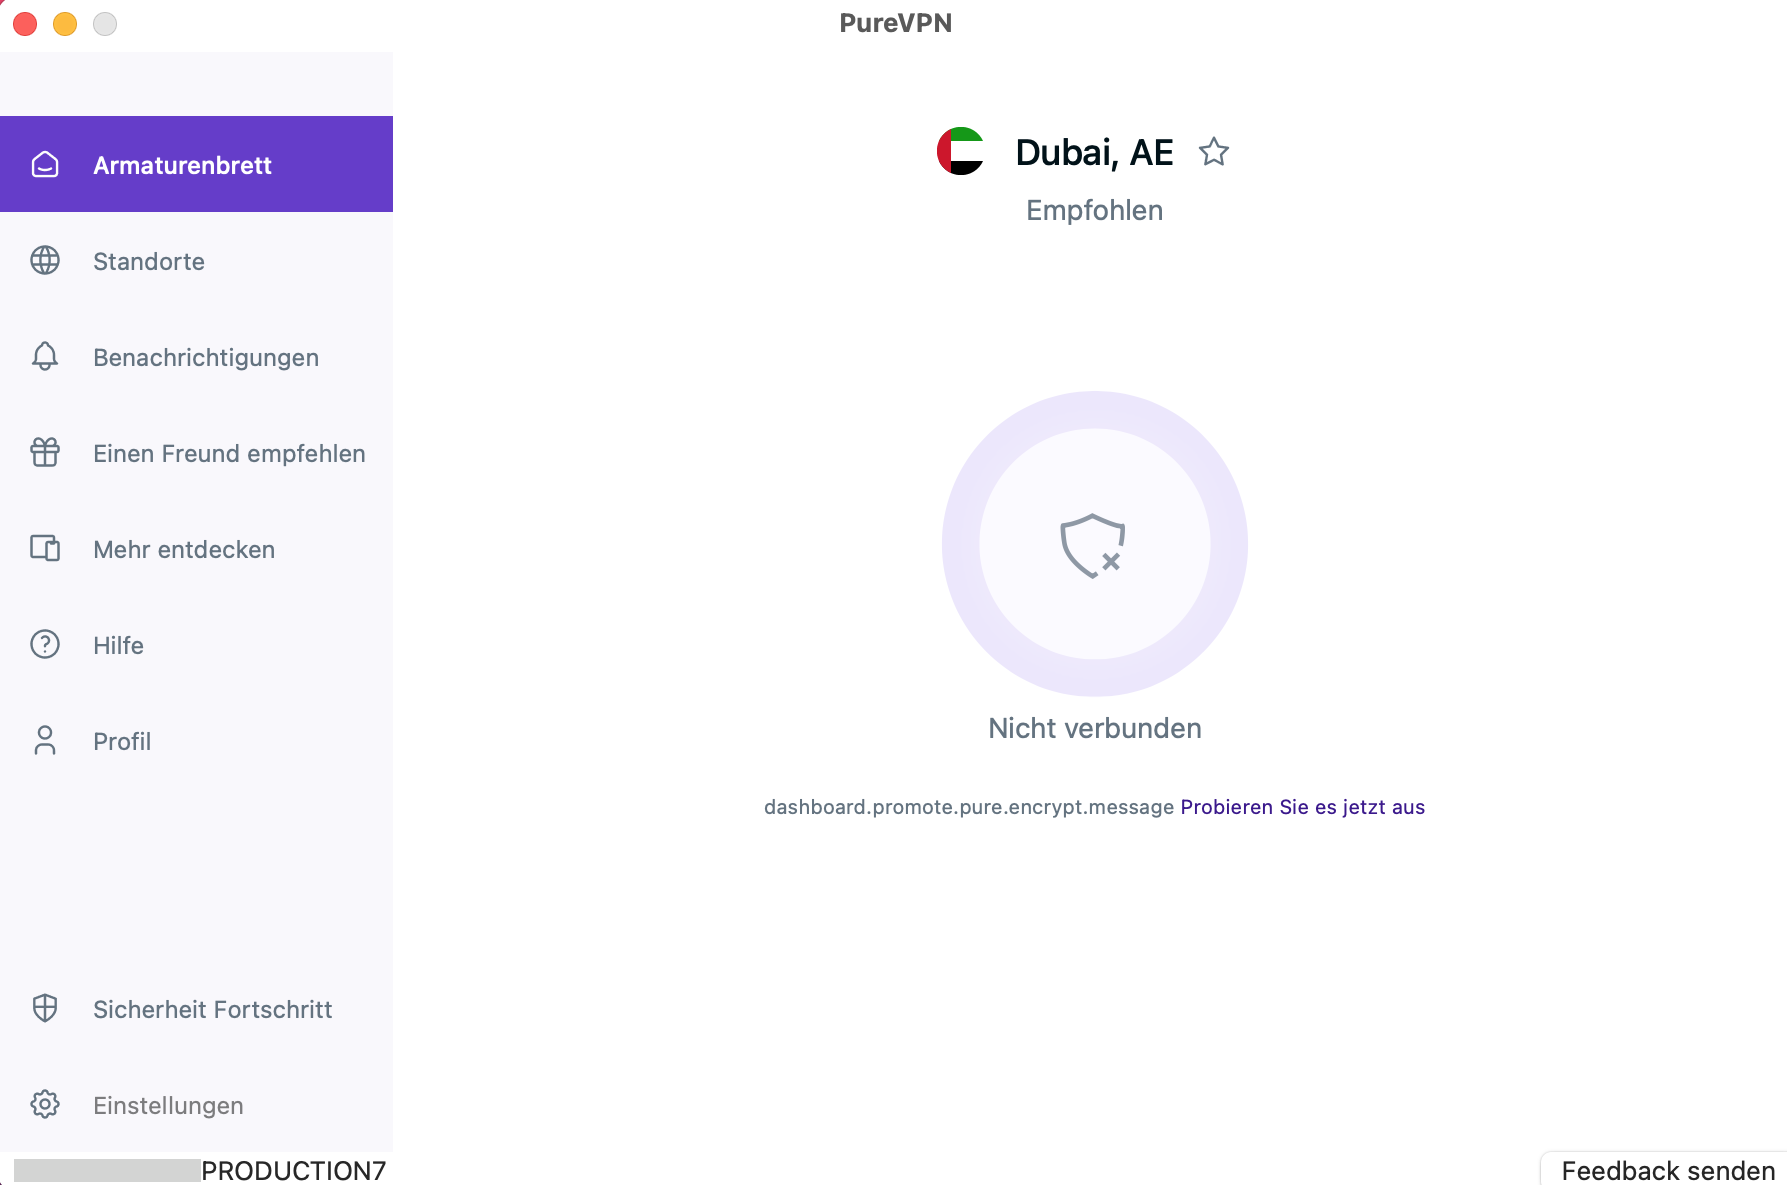
Start on launch
If you want the PureVPN app to open automatically when you start your computer, here’s a simple guide to help you set it up.
- Click the ⚙️ Preferences option at the left panel of the PureVPN app.
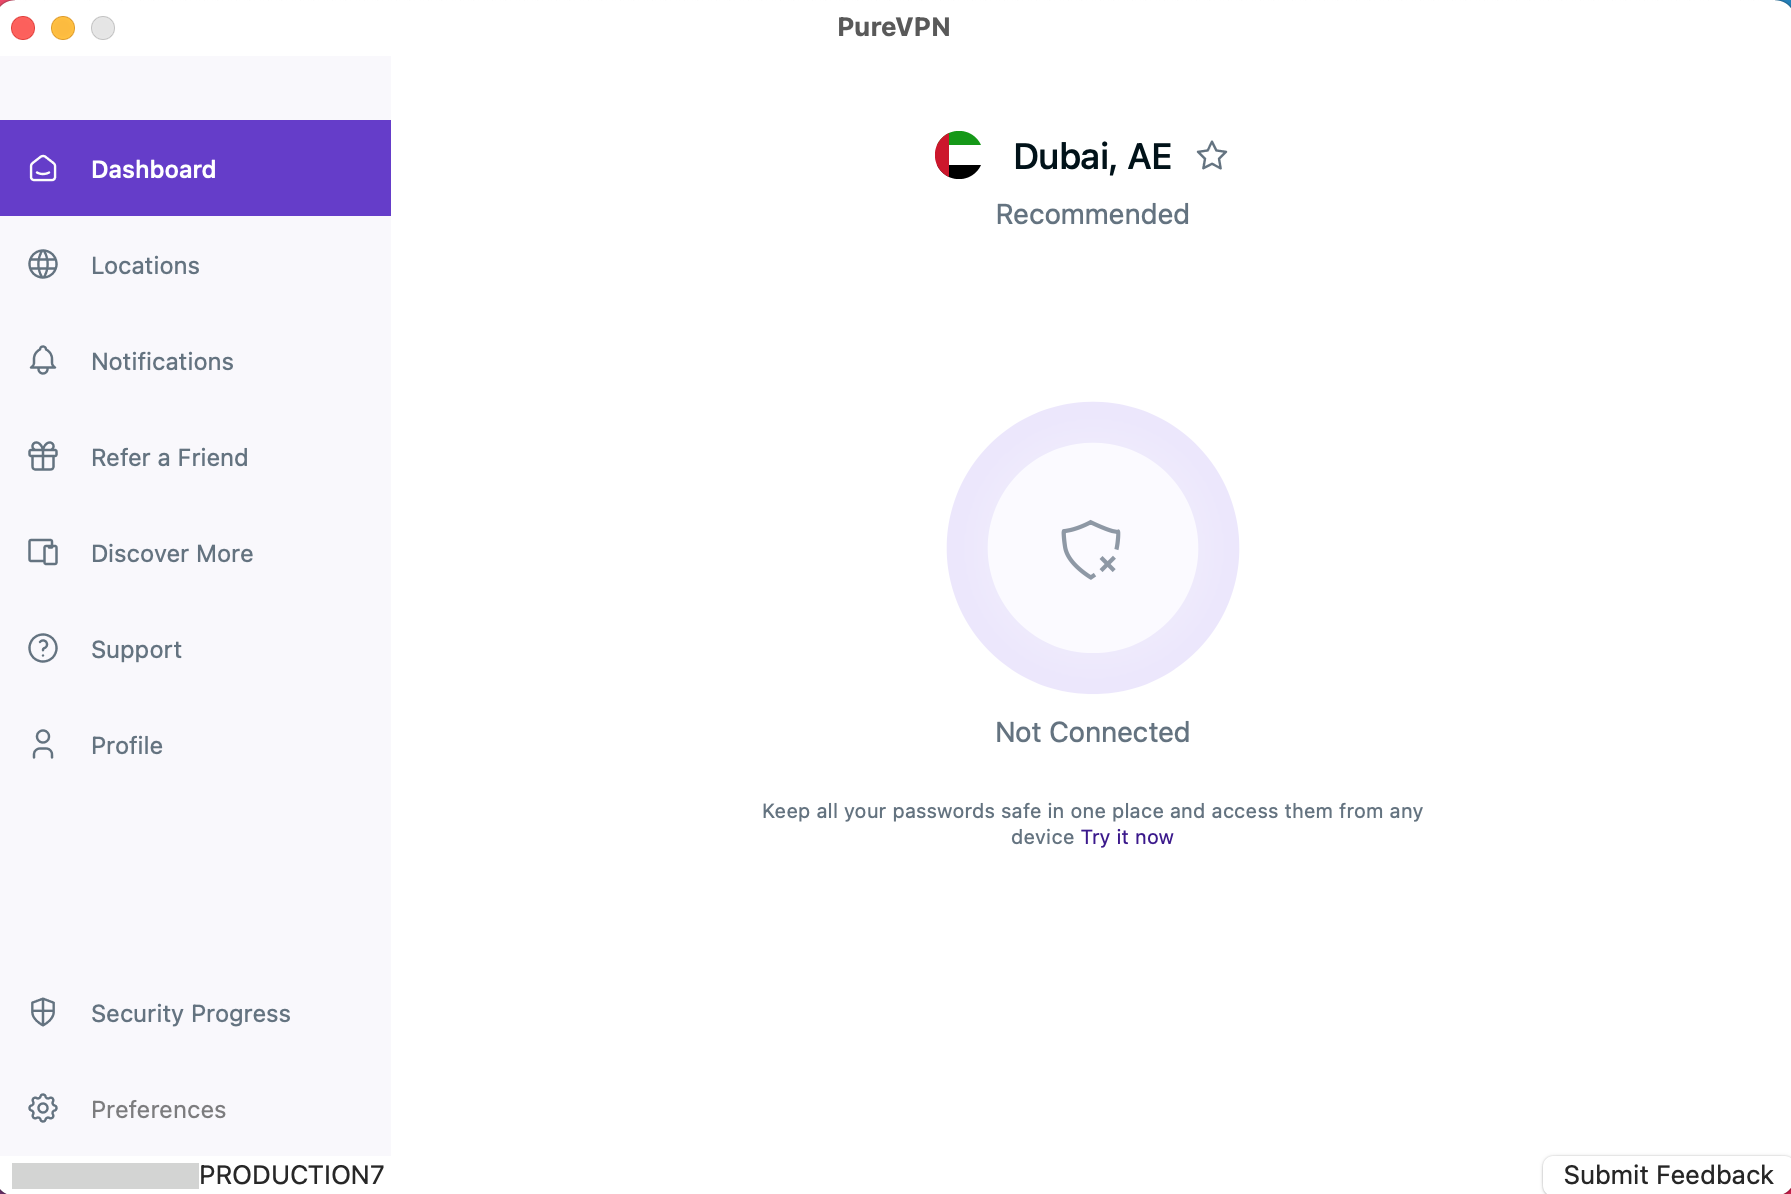
- In the general settings tab, scroll down to be able to see the Start on Launch option.
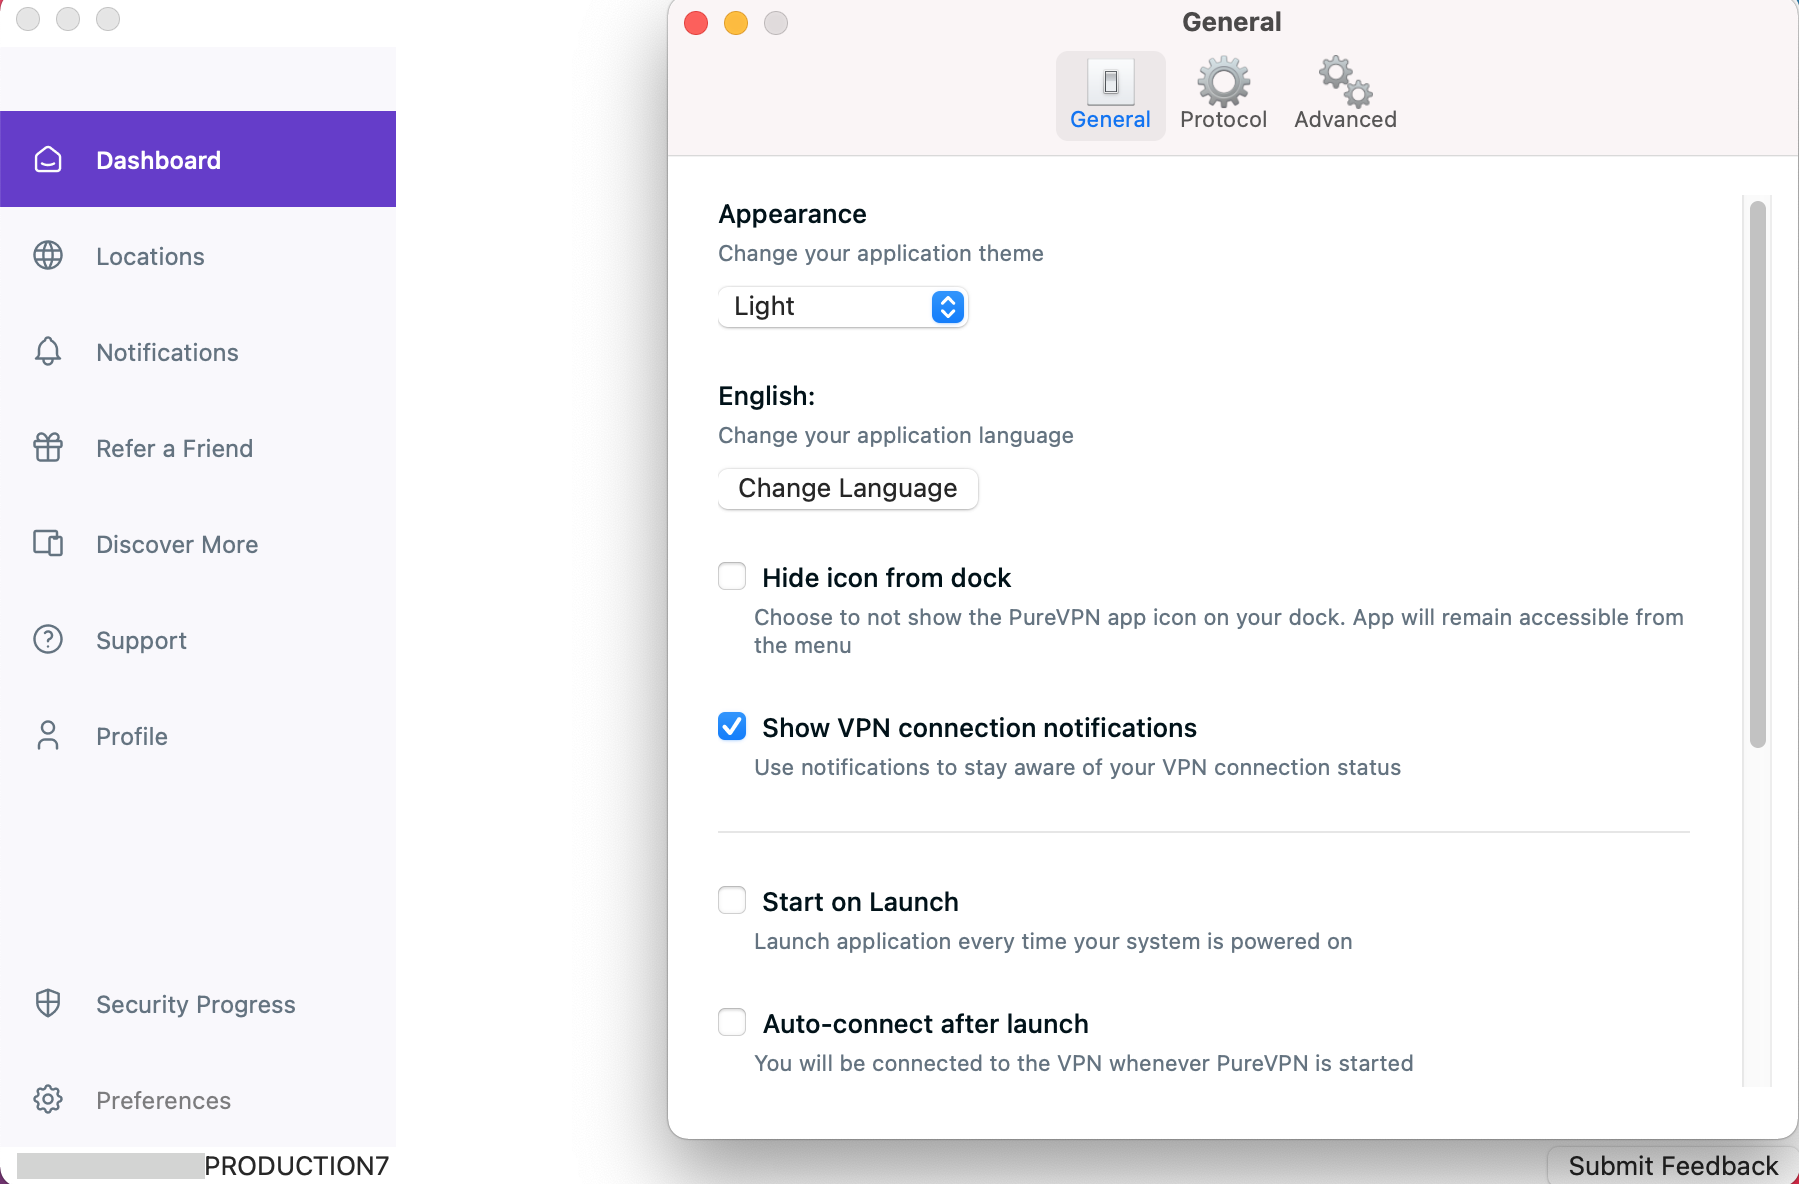
- Mark check ☑️ Start on Launch (if it’s not checked by default).
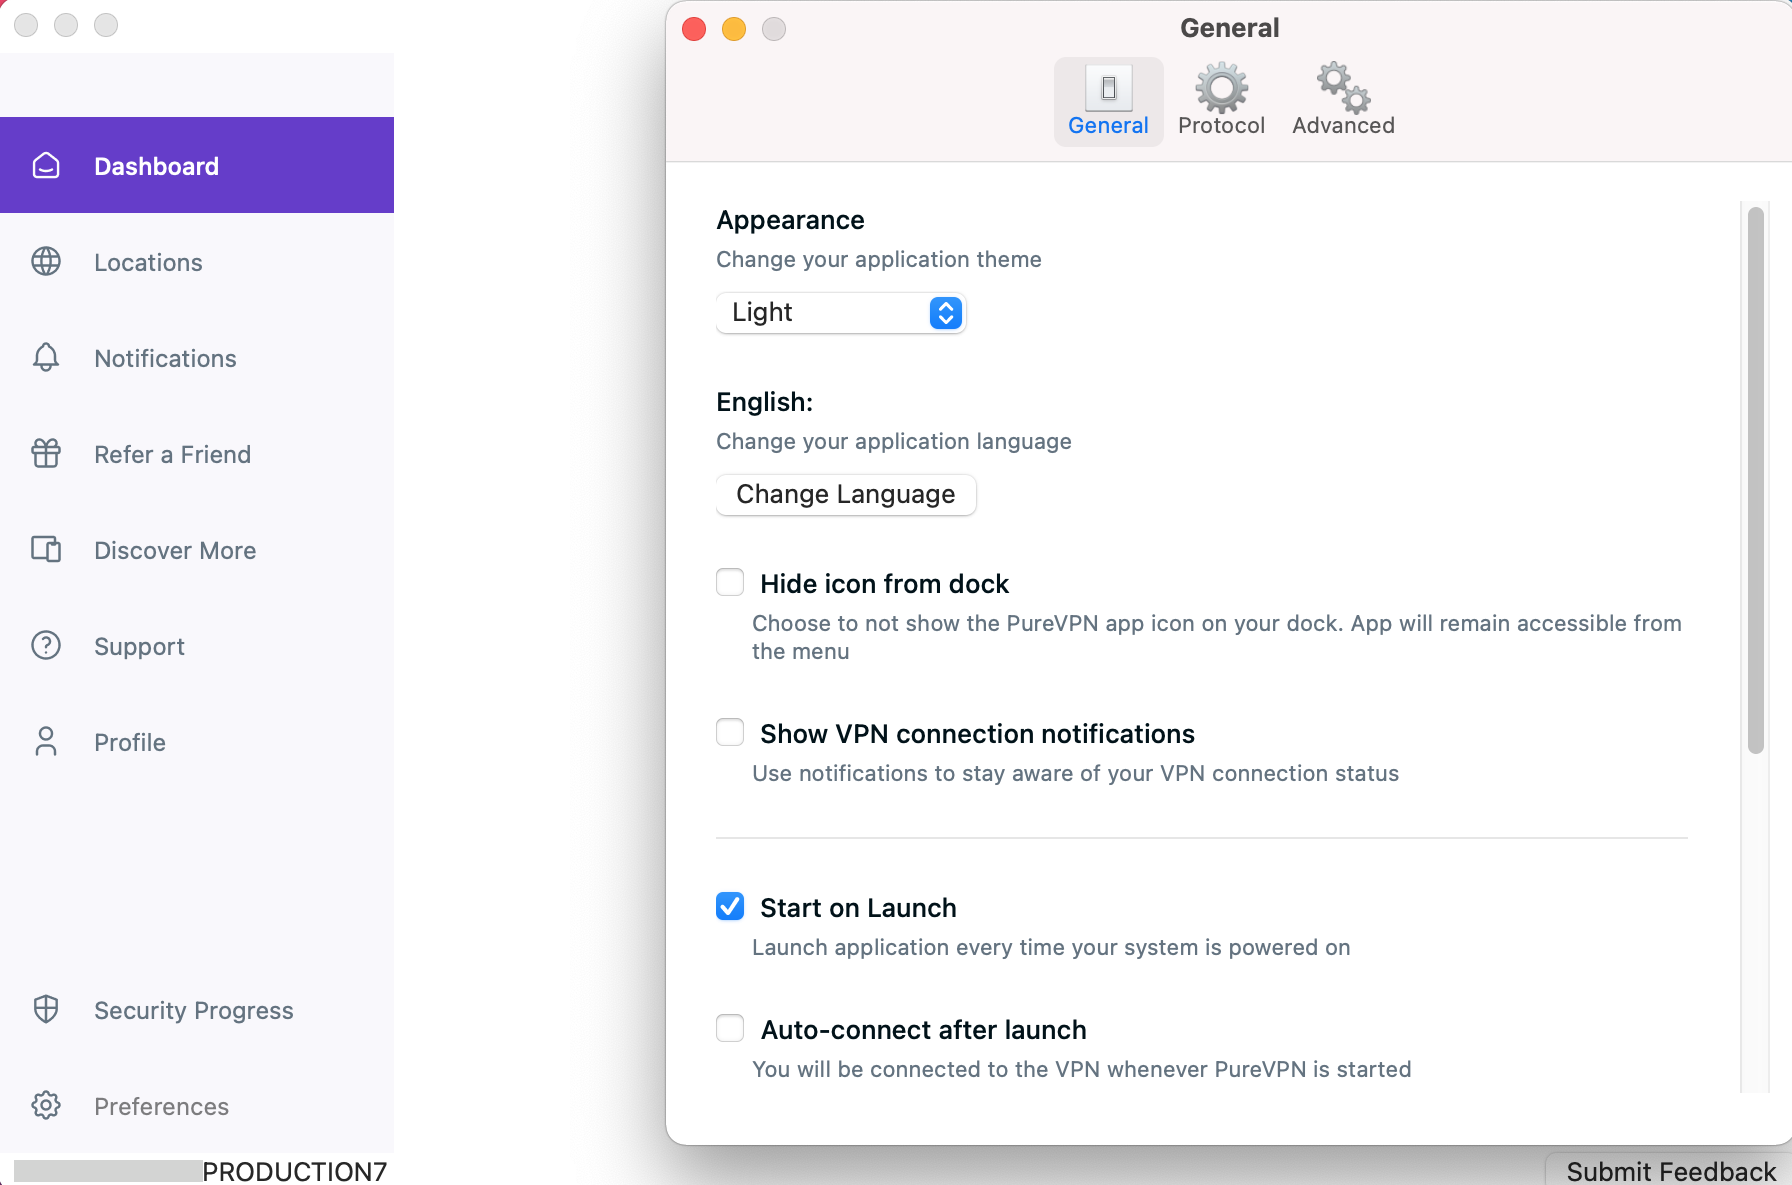
Hurrah! PureVPN app will now start on launch.
Change appearance of PureVPN
Tired of the same old appearance of PureVPN? Now, you have the option to select and change themes within the PureVPN application.
Excited to give your VPN interface a fresh new look? Follow the simple instructions below to learn how:
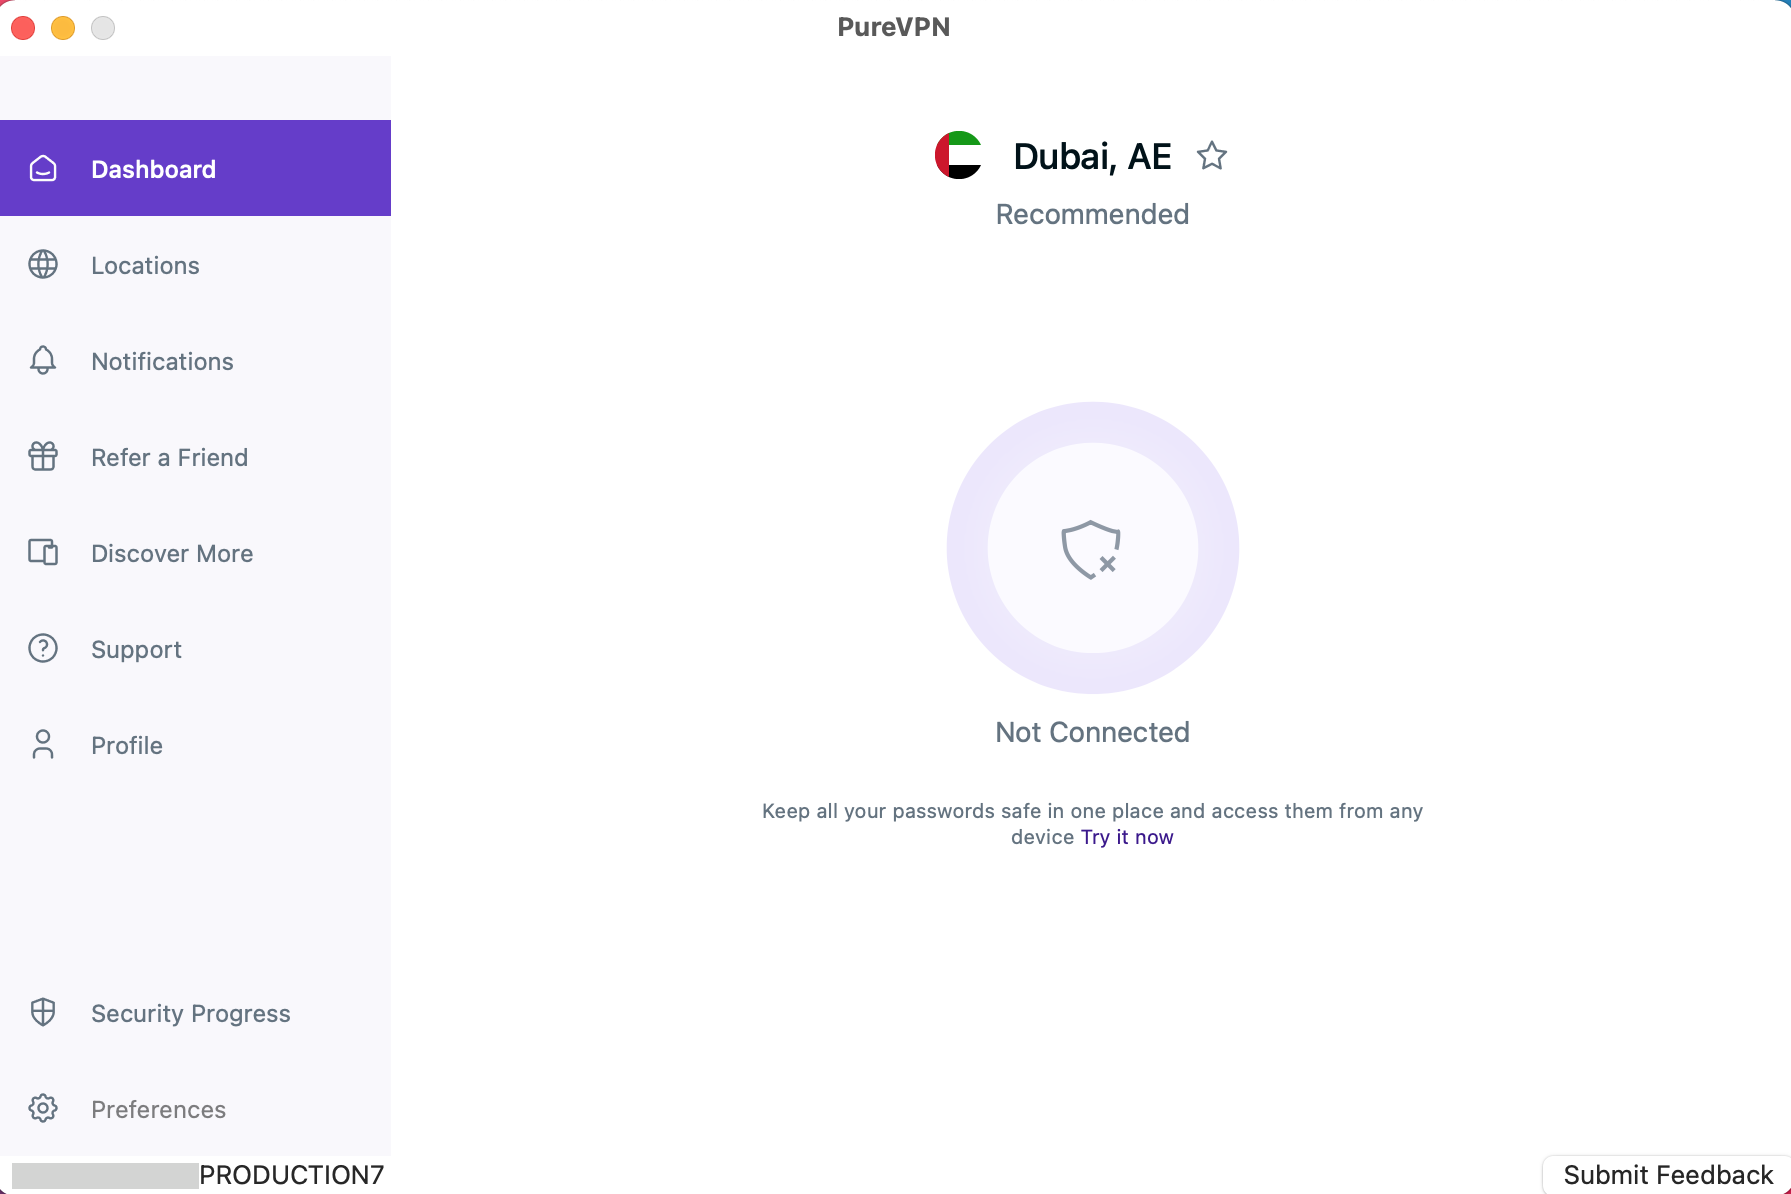
- Click the ⚙️ Preferences option at the left panel of the PureVPN app.
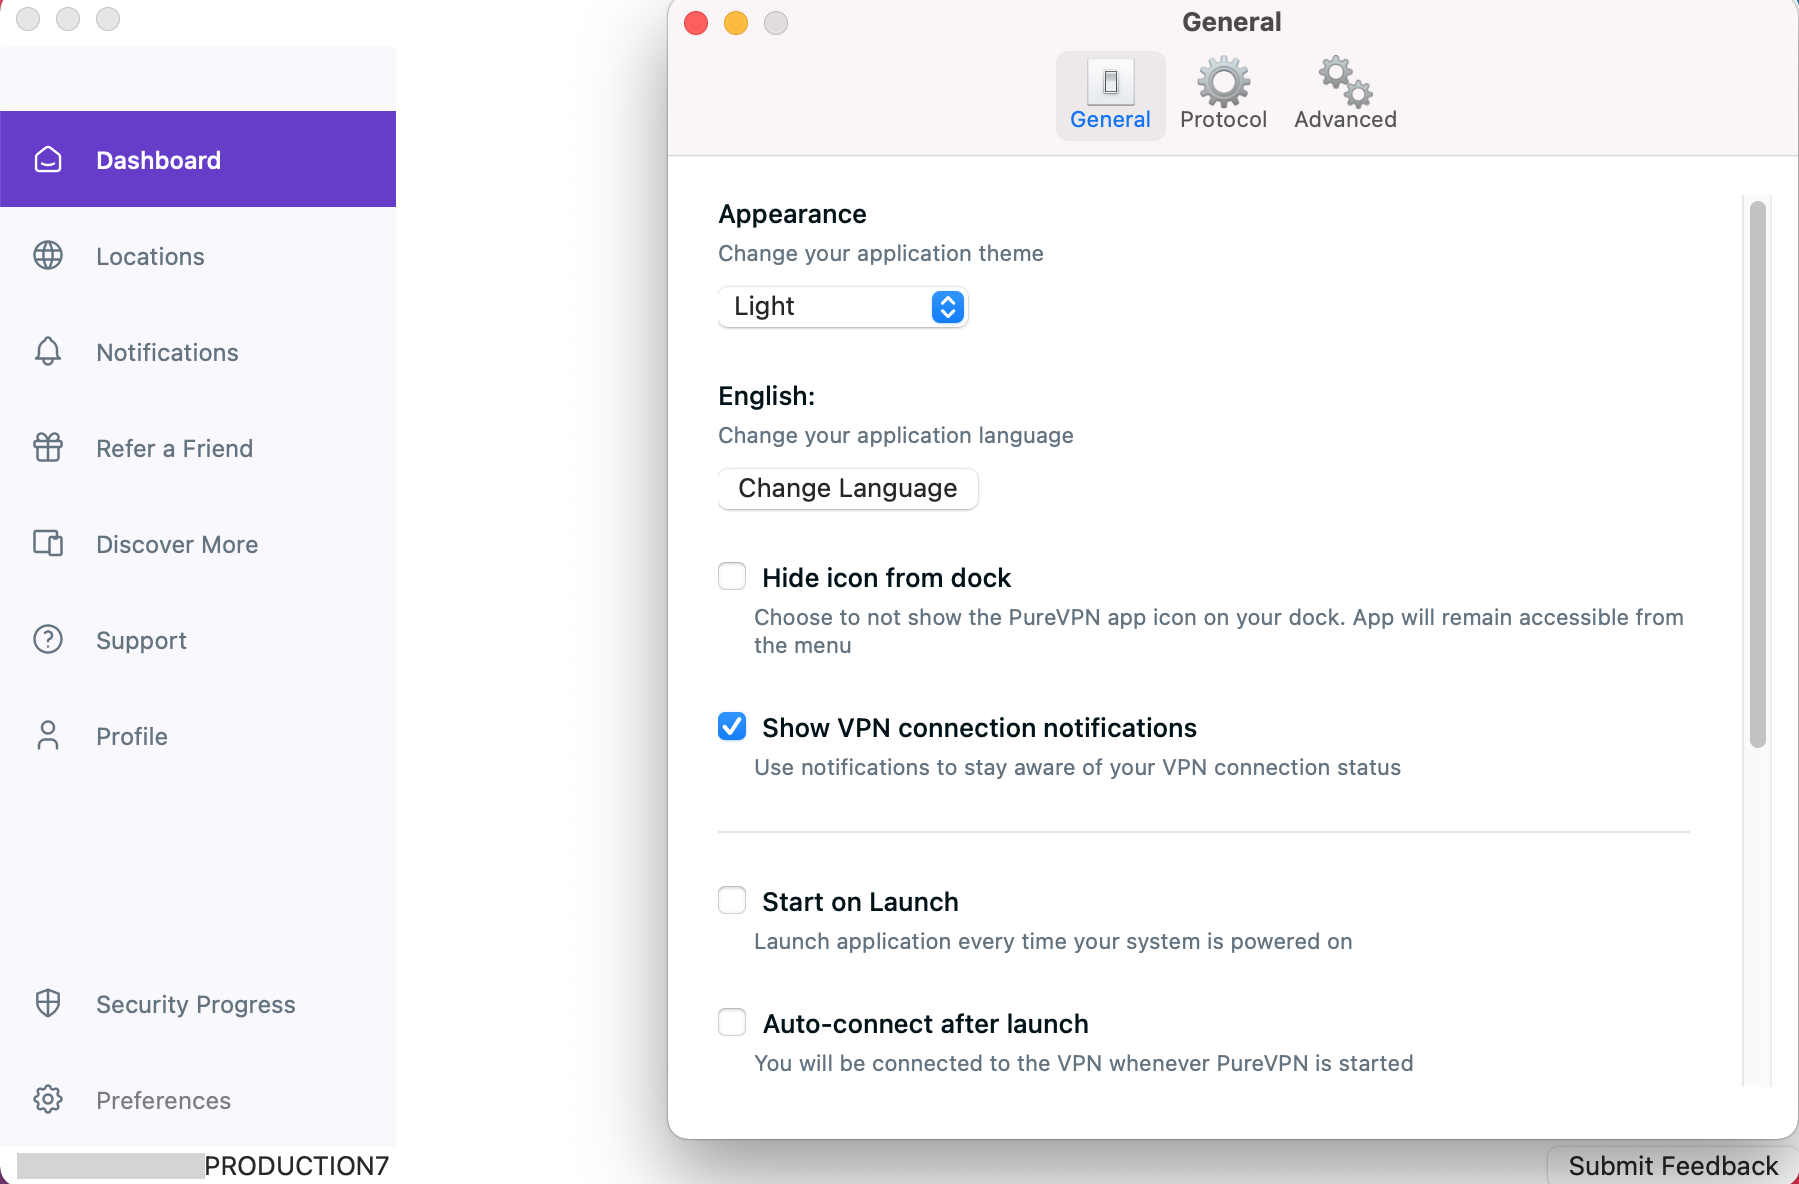
- In the general settings tab, You will be able to see Appearance option.
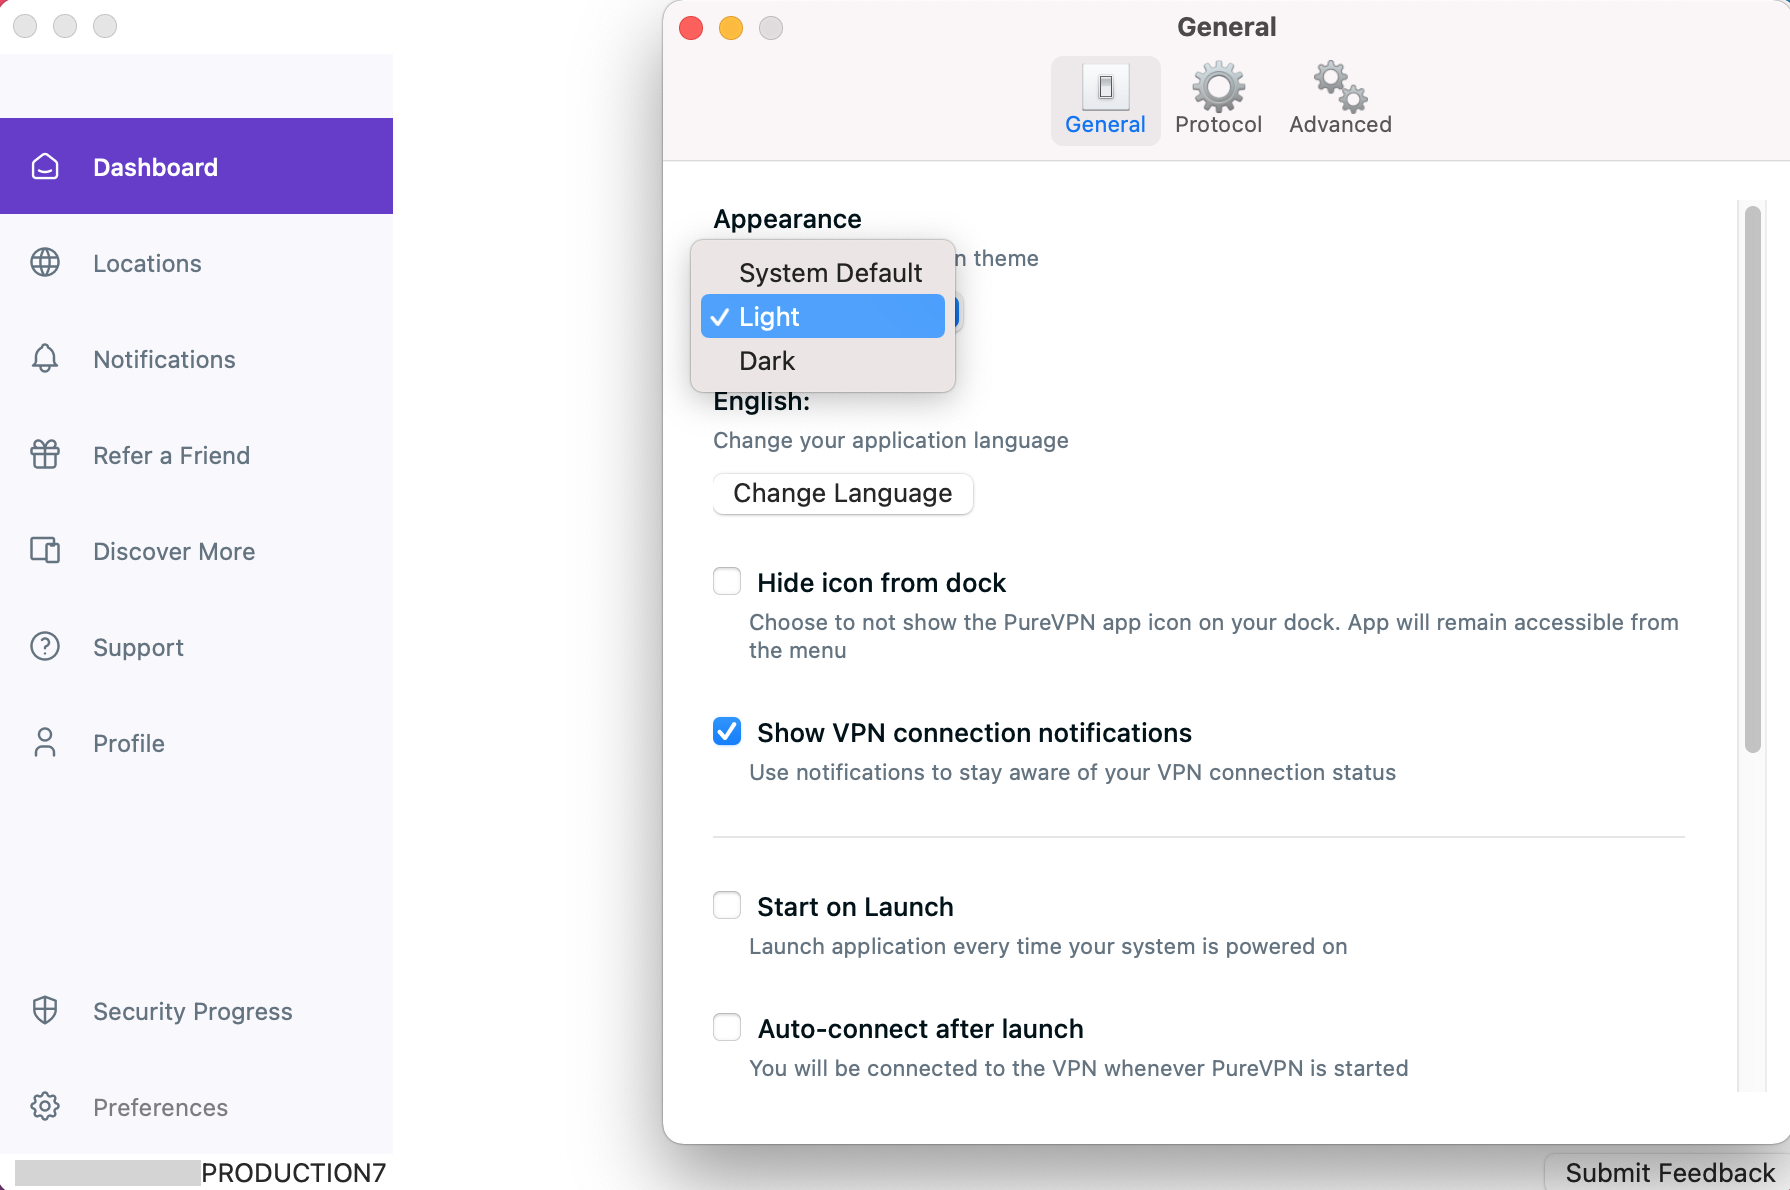
- Click System Default and select your preferred theme option from the drop down menu.
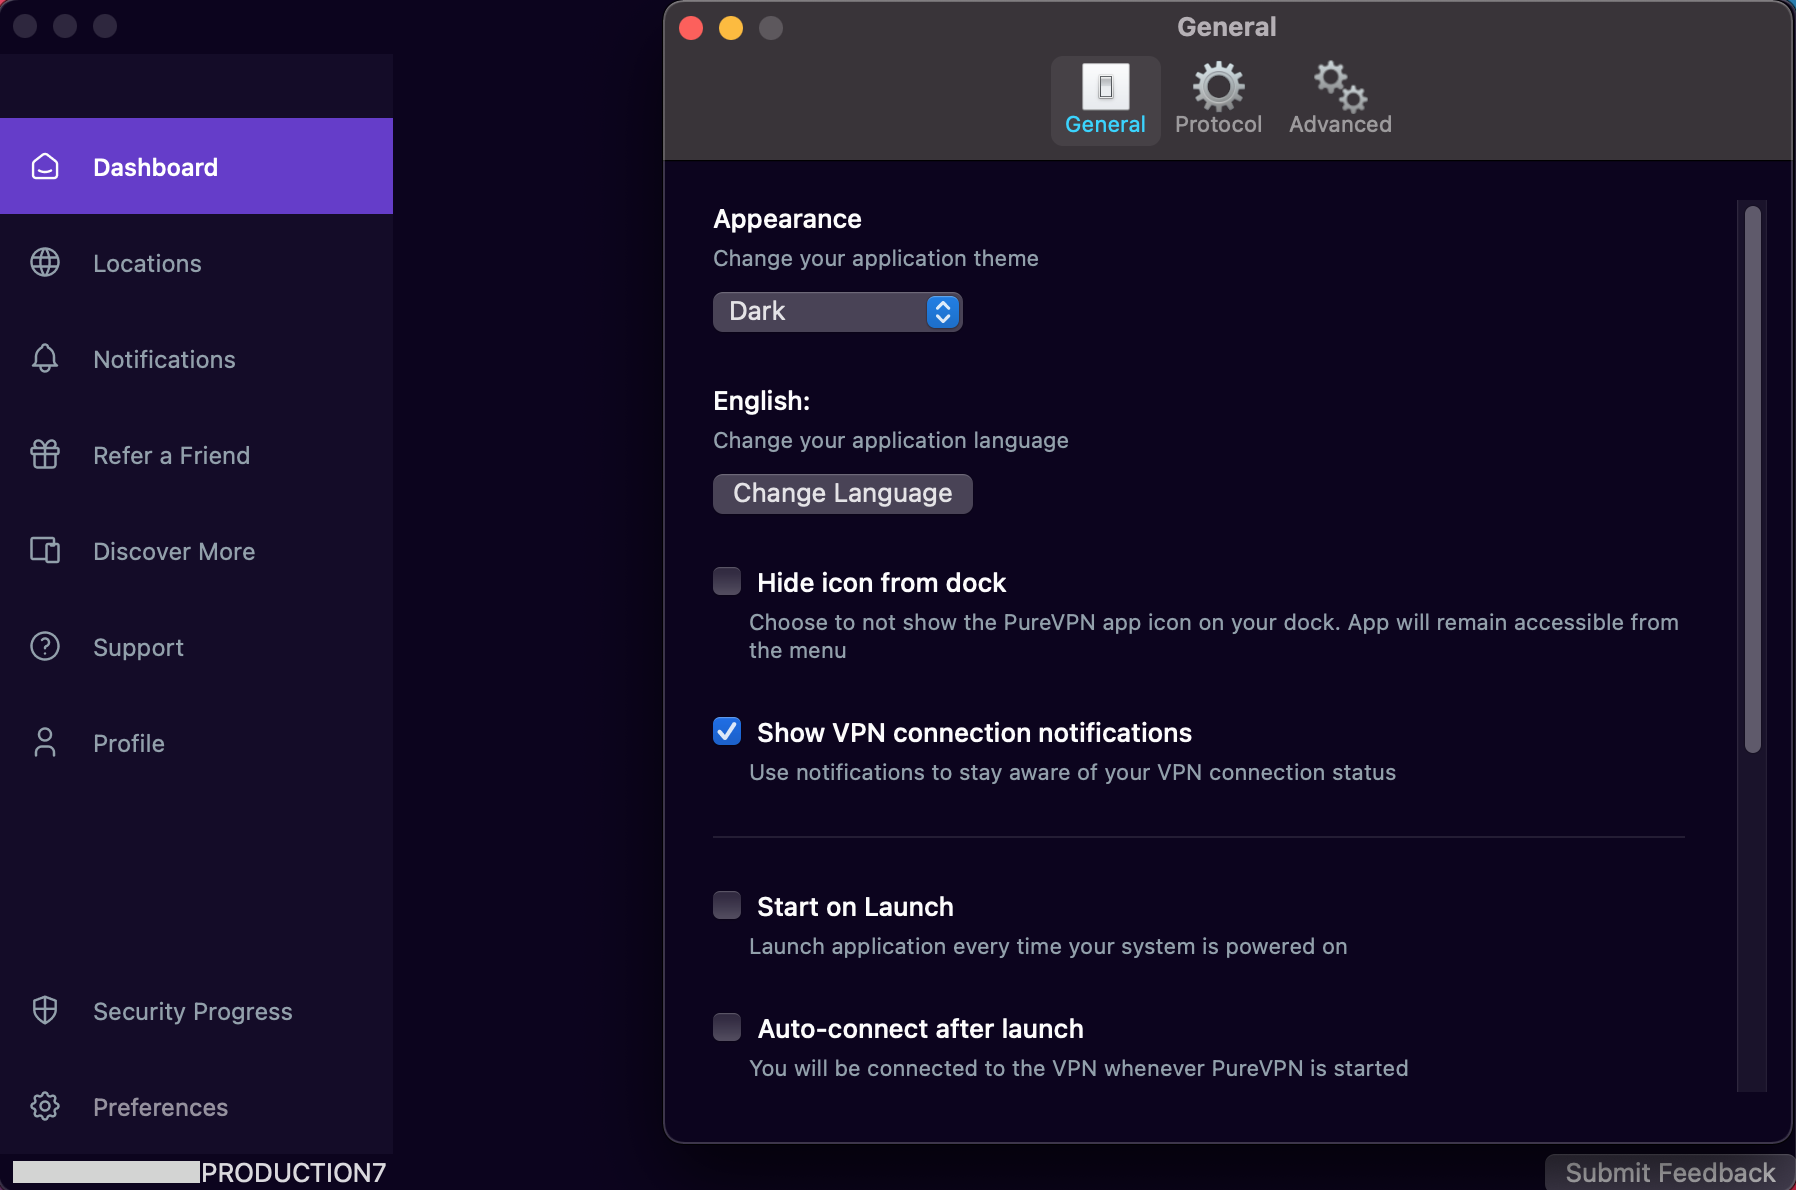
Hurrah! PureVPN theme has been successfully changed.
Enable internet kill switch
Protect your online privacy with PureVPN’s Internet Kill Switch feature. Learn how to enable this powerful security measure that automatically disconnects your internet connection if the VPN connection drops, preventing any accidental exposure of your sensitive data. Safeguard your online activities and enjoy uninterrupted privacy and security with the Internet Kill Switch feature provided by PureVPN.
- Click the ⚙️ Preferences option at the left panel of the PureVPN app.
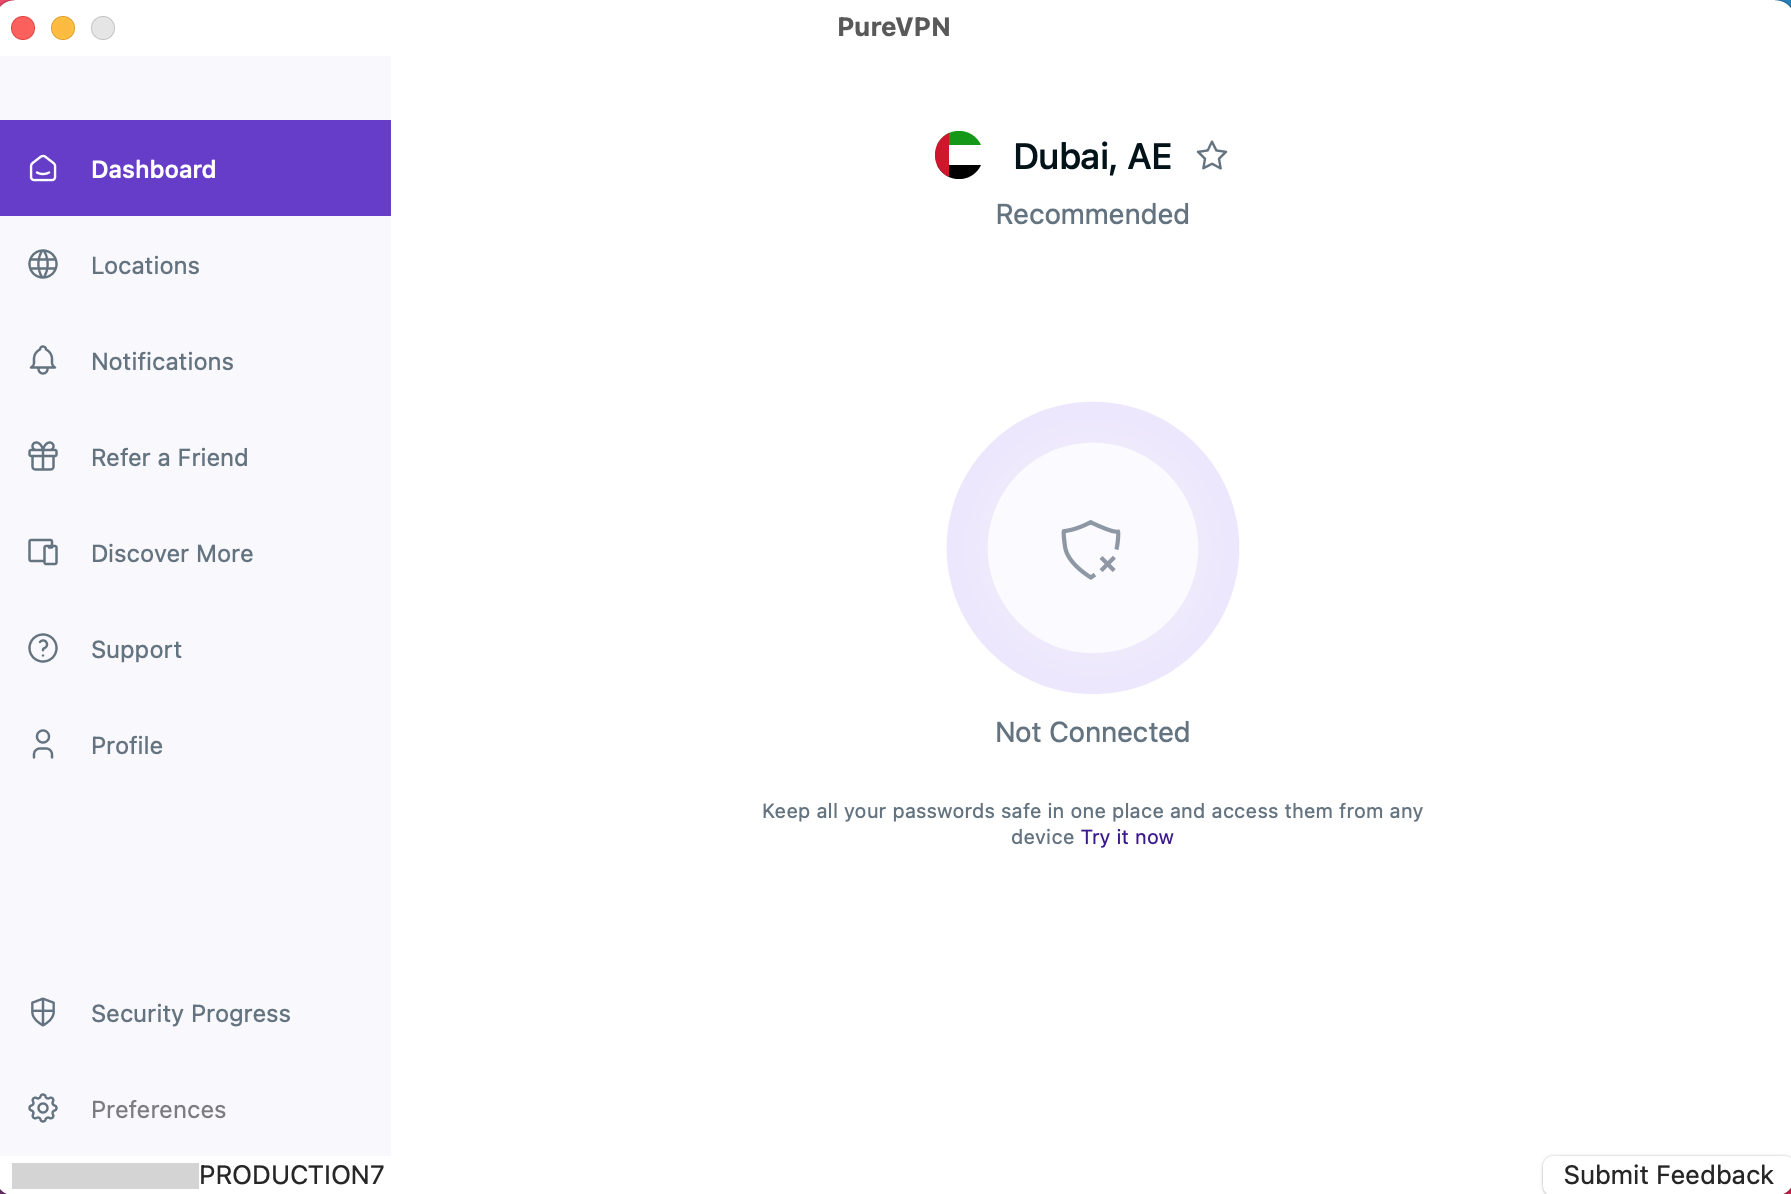
- From the General settings, go to the Advanced settings tab by clicking it.
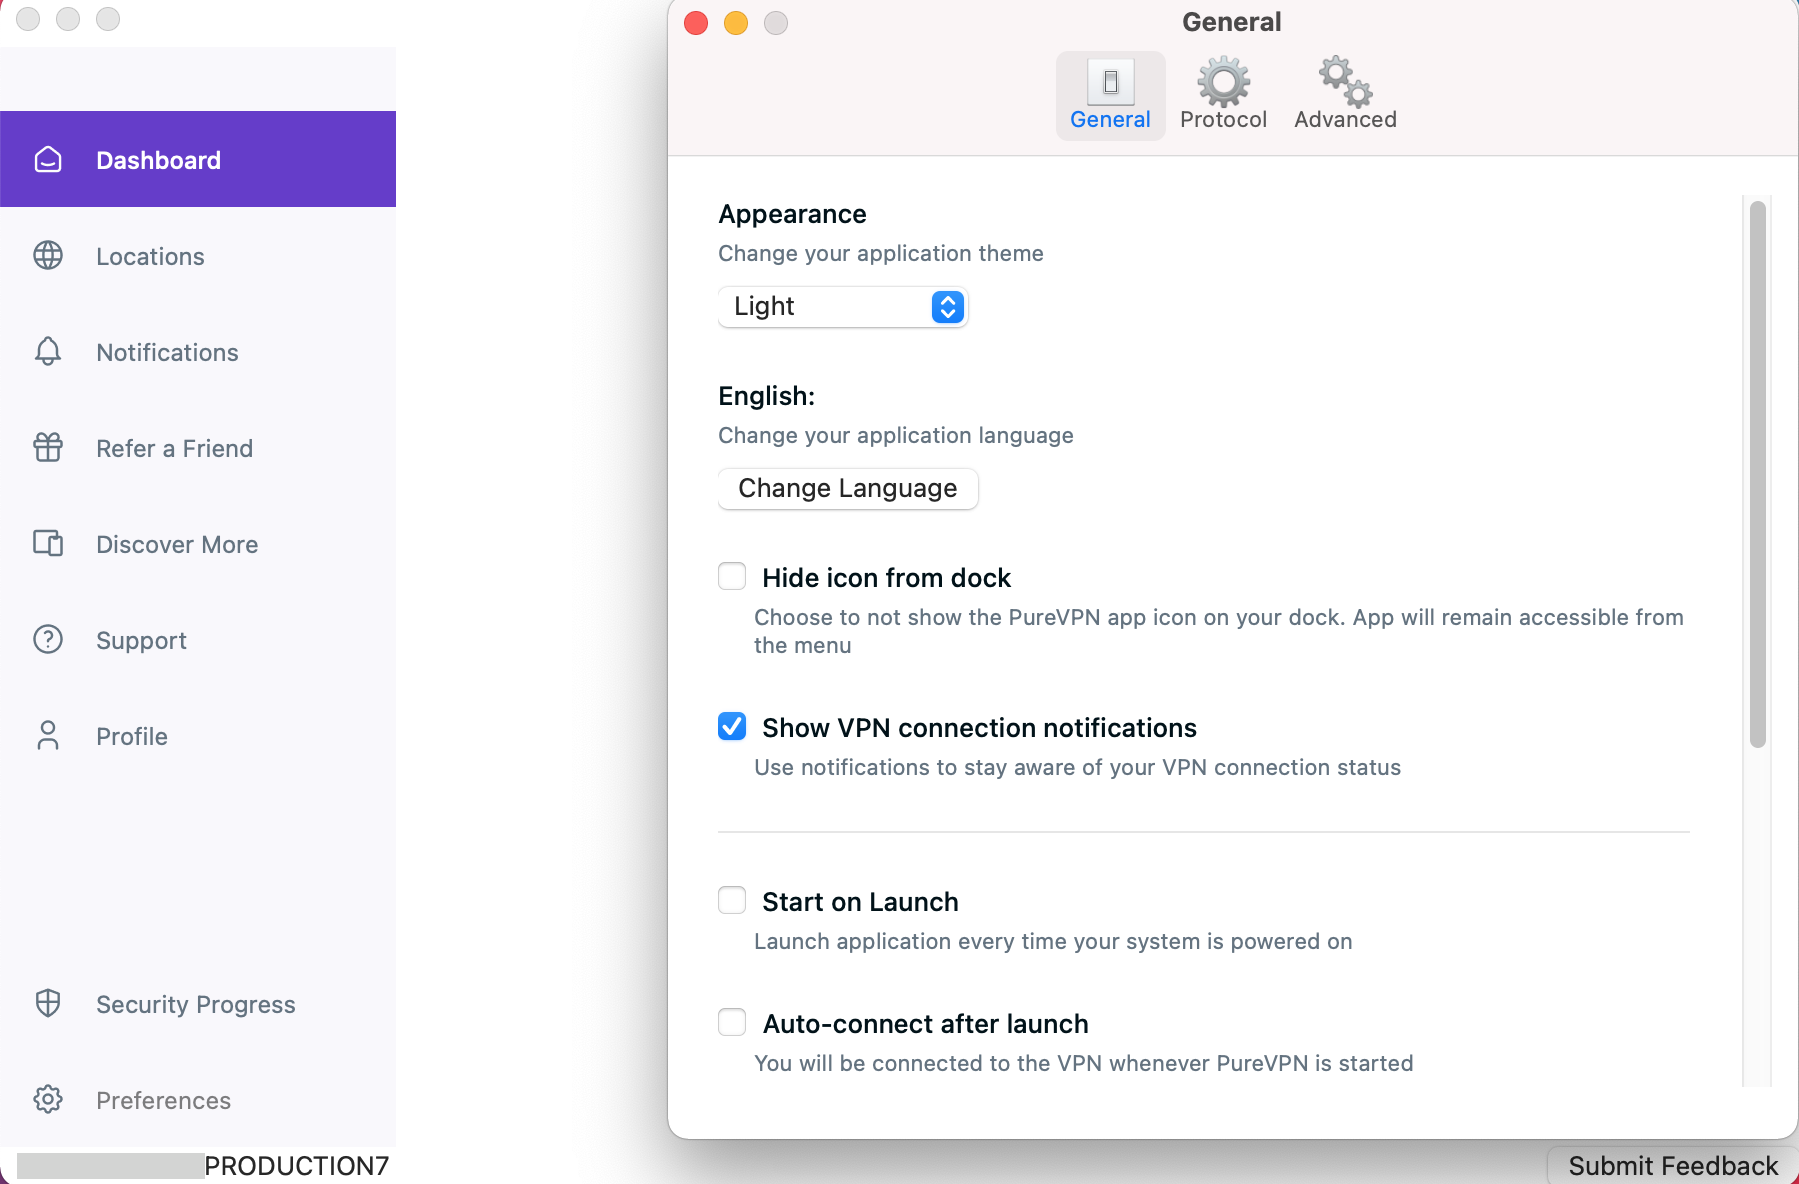
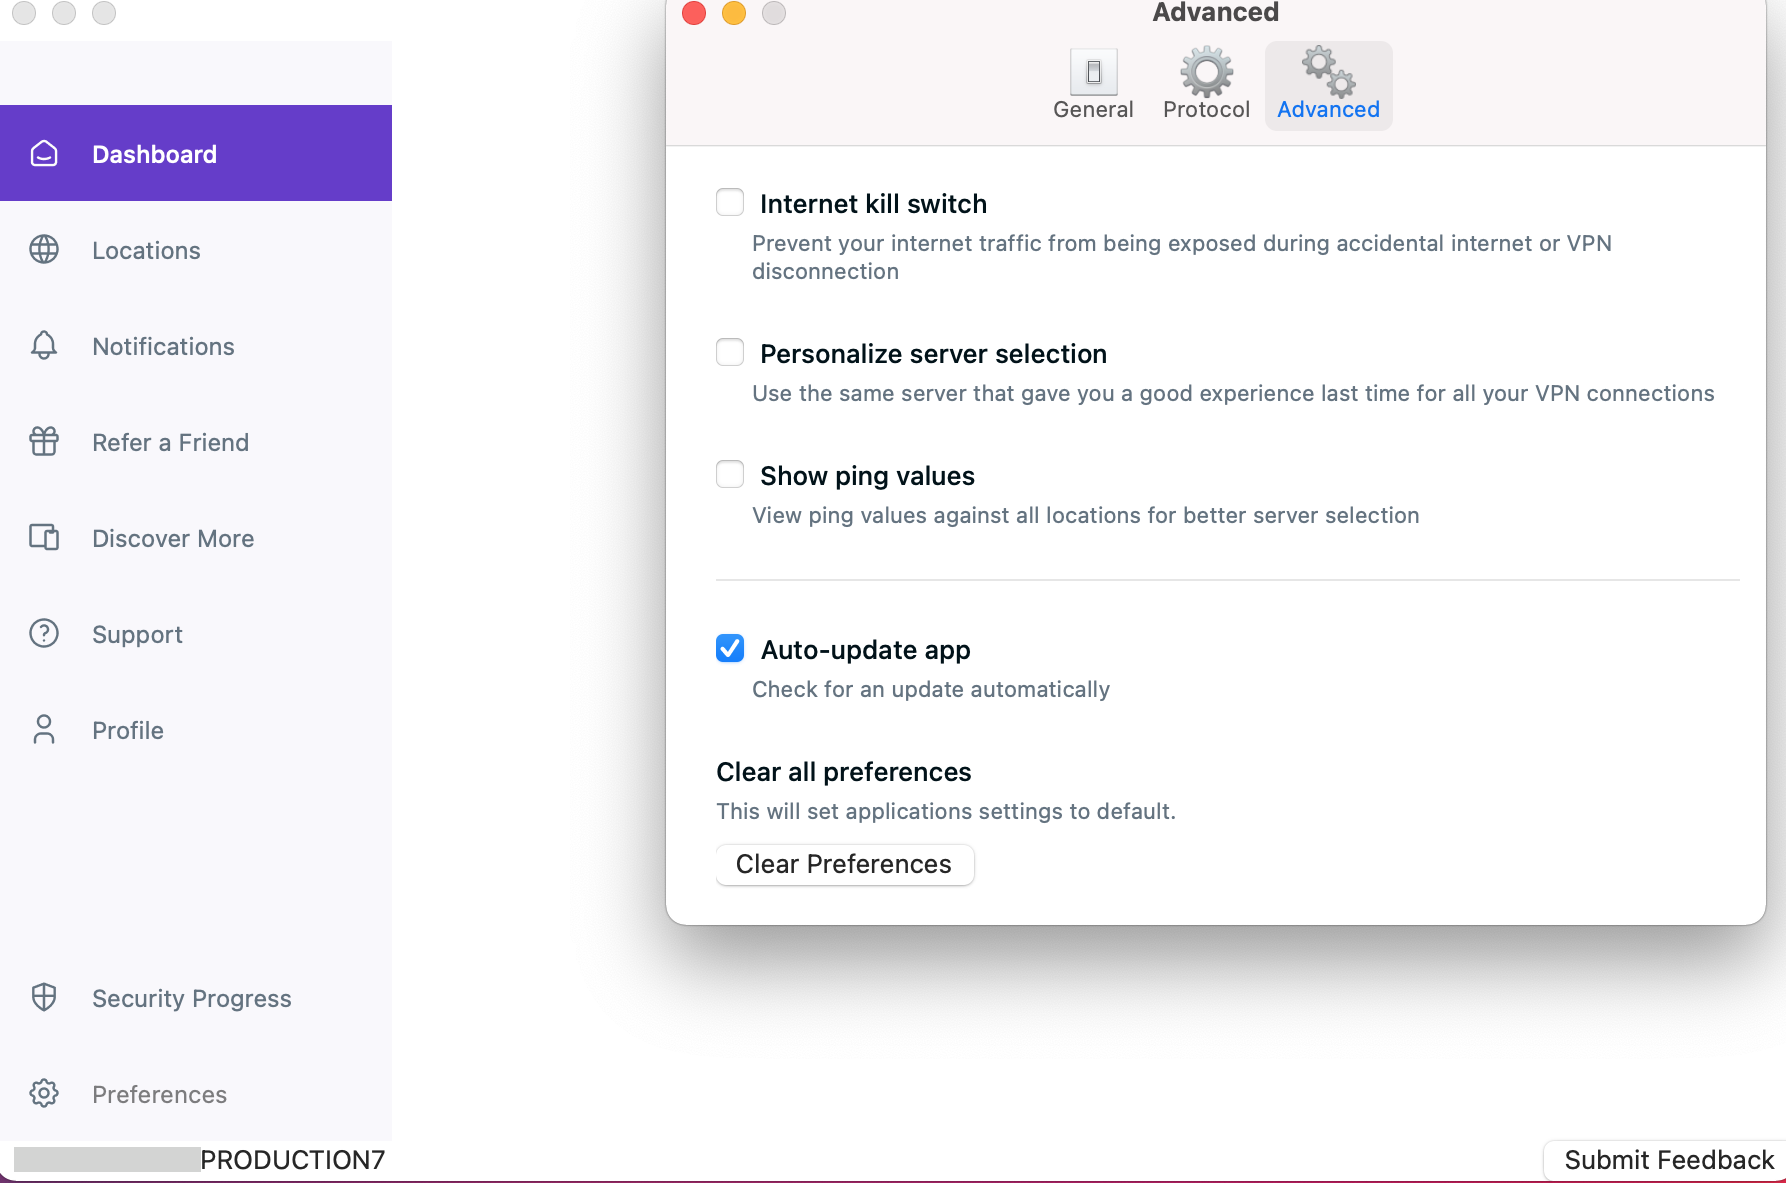
In the advanced settings tab, you will be able to see the Internet kill switch option.
- Mark check ☑️ Internet kill switch (if it’s not checked by default).
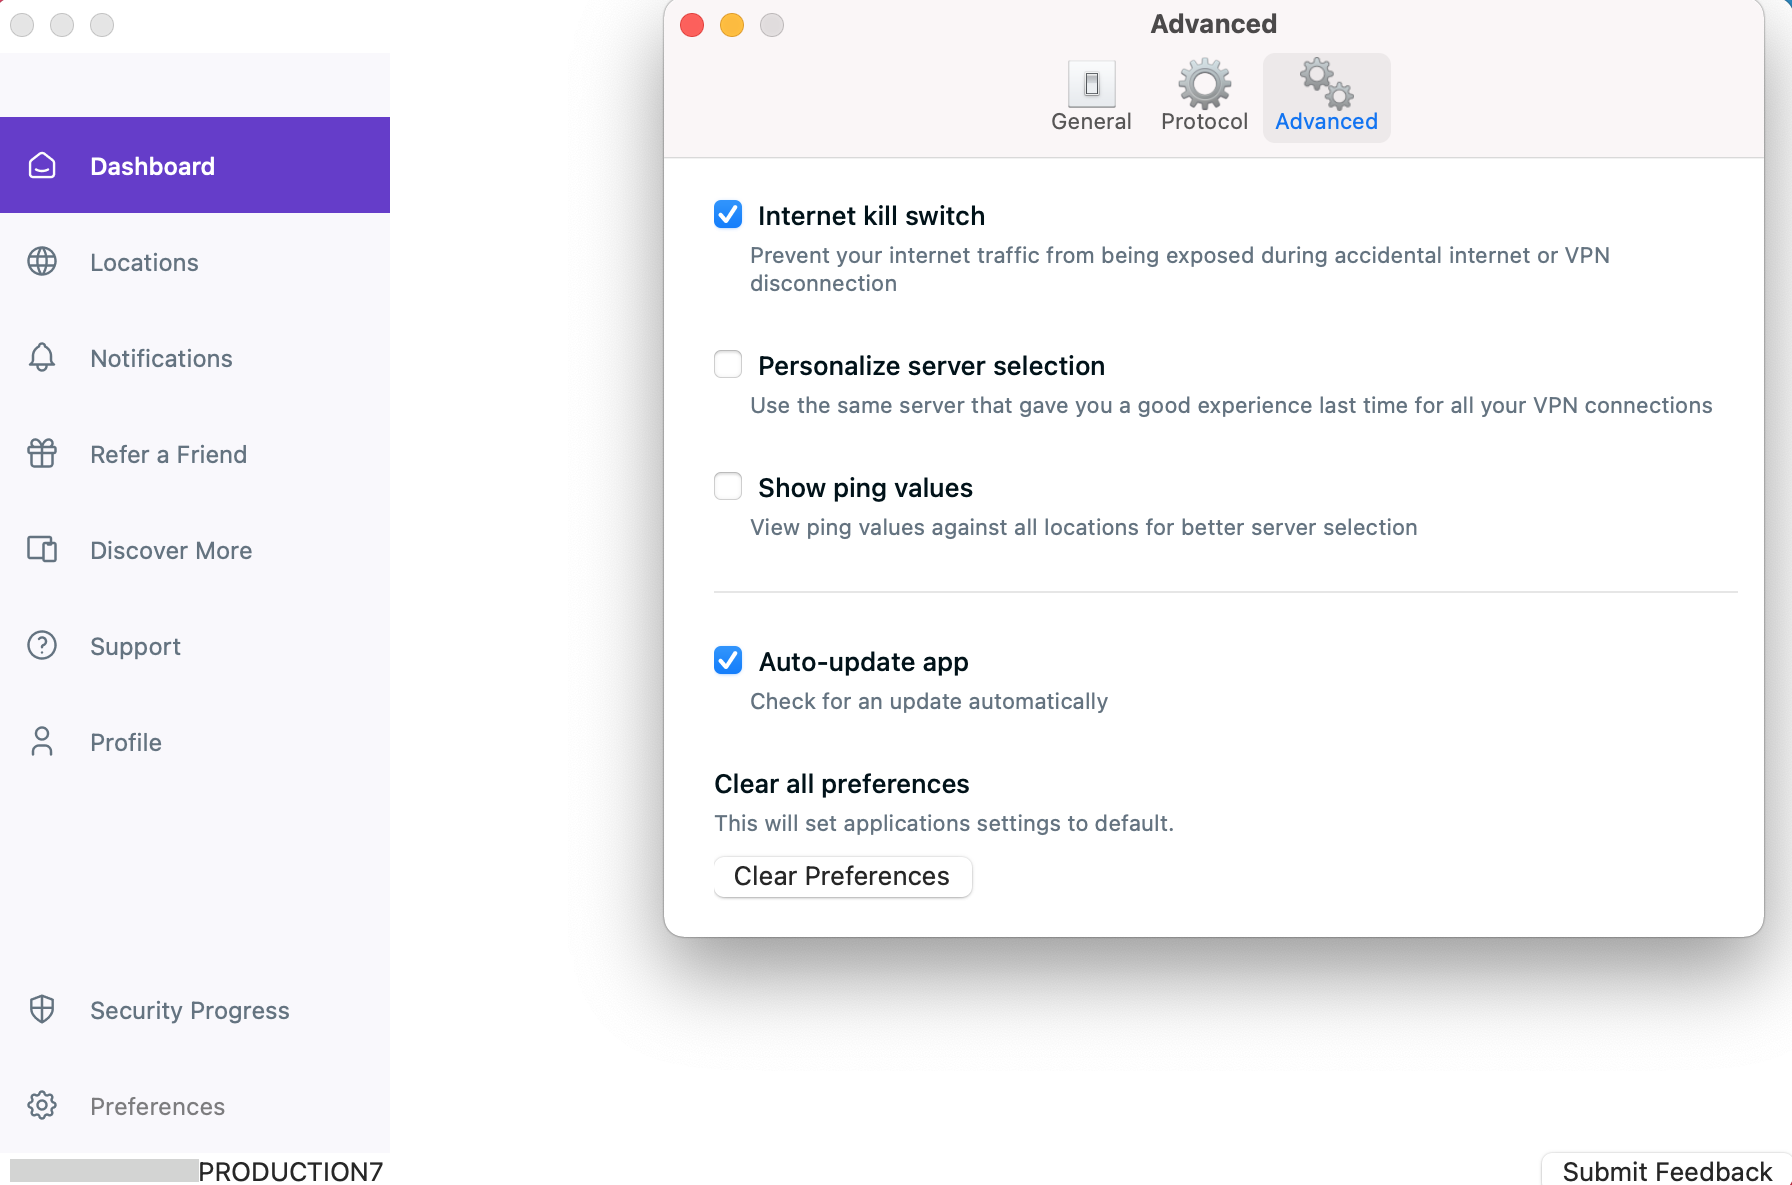
That’s it! You are now even more protected 😉 Your internet will automatically get disconnected upon disconnection.
Auto update App
Stay up-to-date with the latest features, improvements, and security enhancements of PureVPN by enabling the auto-update feature. Discover how to activate this convenient option, allowing the PureVPN app to automatically download and install updates, ensuring you always have the most recent version. Keep your VPN client optimized and secure effortlessly with the auto-update feature provided by PureVPN.
- Click the ⚙️ Preferences option at the left panel of the PureVPN app.
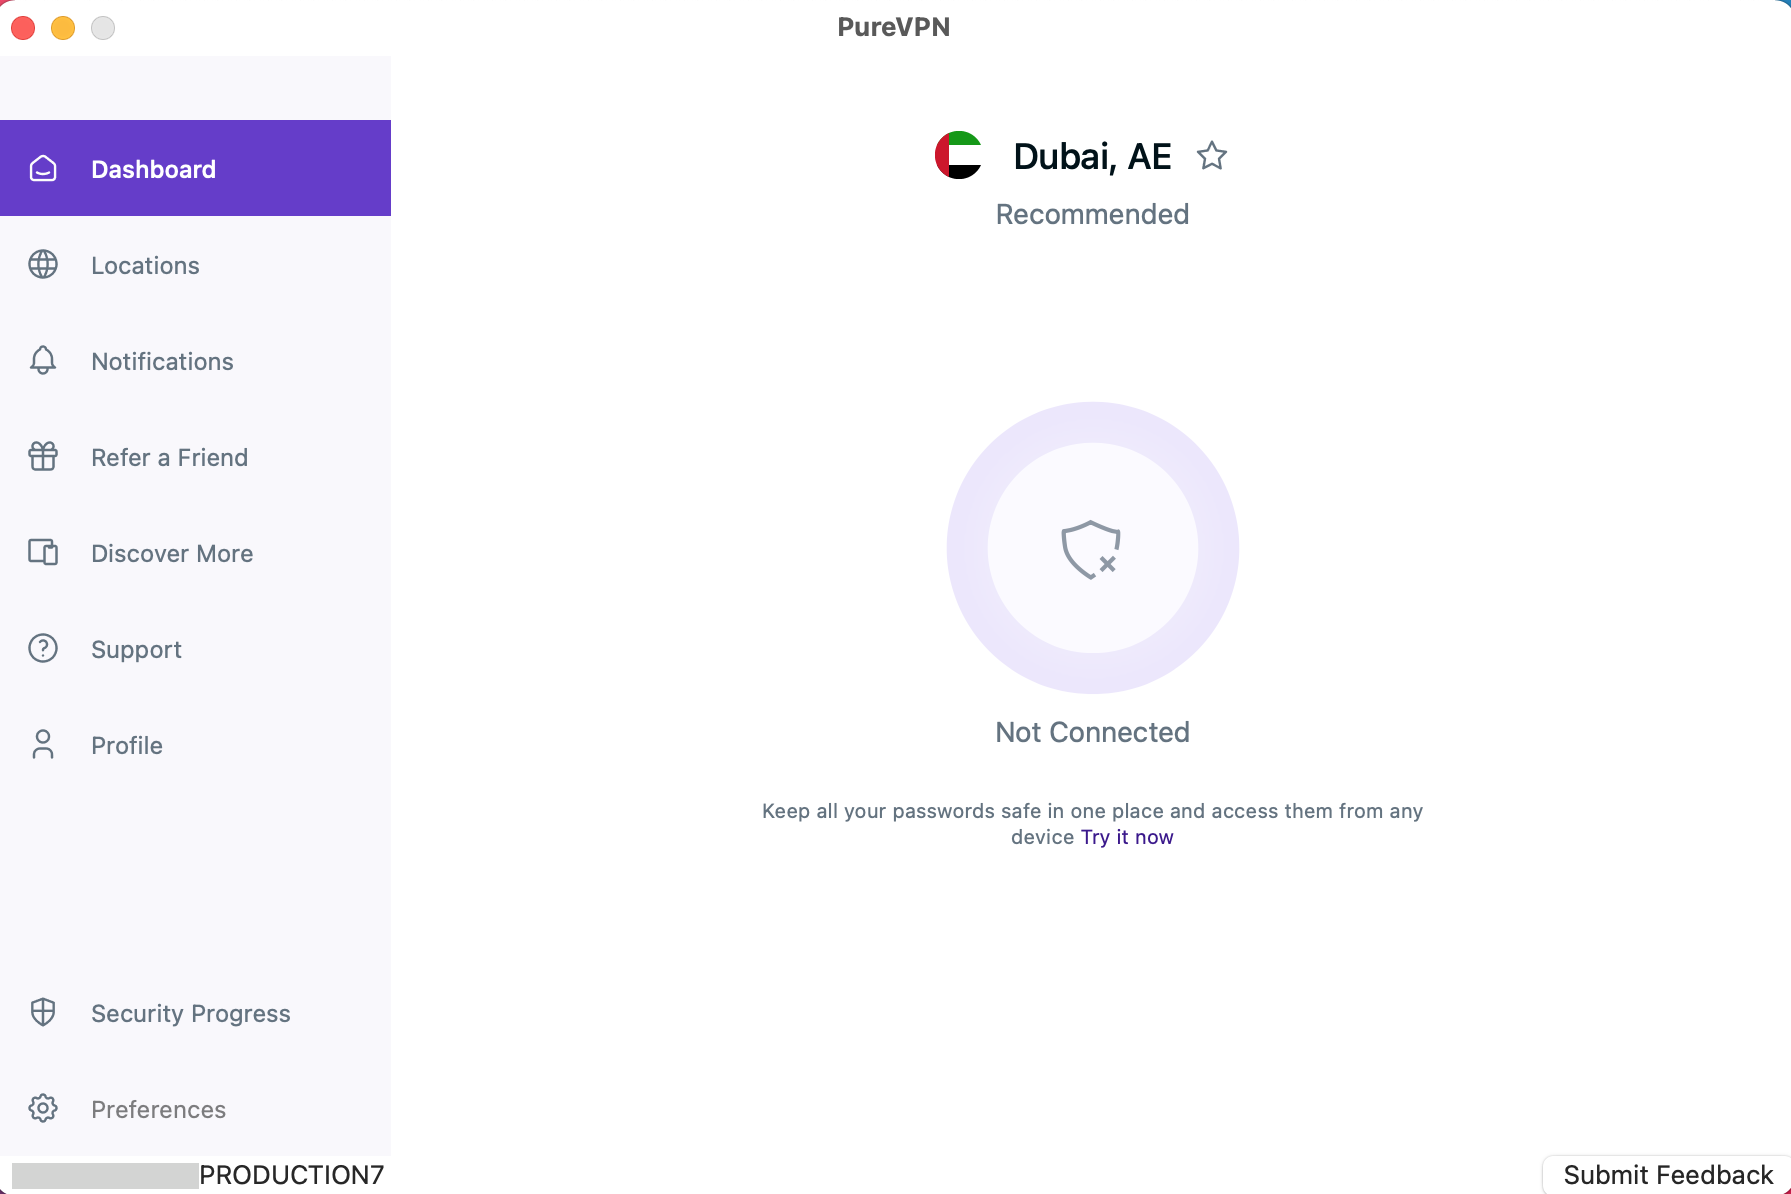
- From the General settings, go to the Advanced settings tab by clicking it.
In the advanced settings tab, you will be able to see the Auto-update app option.
- Mark check ☑️ Auto-update app (if it’s not checked by default).
Personalise server selection
To enhance your connectivity and improve your overall VPN experience, PureVPN offers a personalized server selection feature. This feature automatically connects you to servers that have provided a good VPN connection in the past. To enable this feature, follow these instructions.
- Click the ⚙️ Preferences option at the left panel of the PureVPN app.
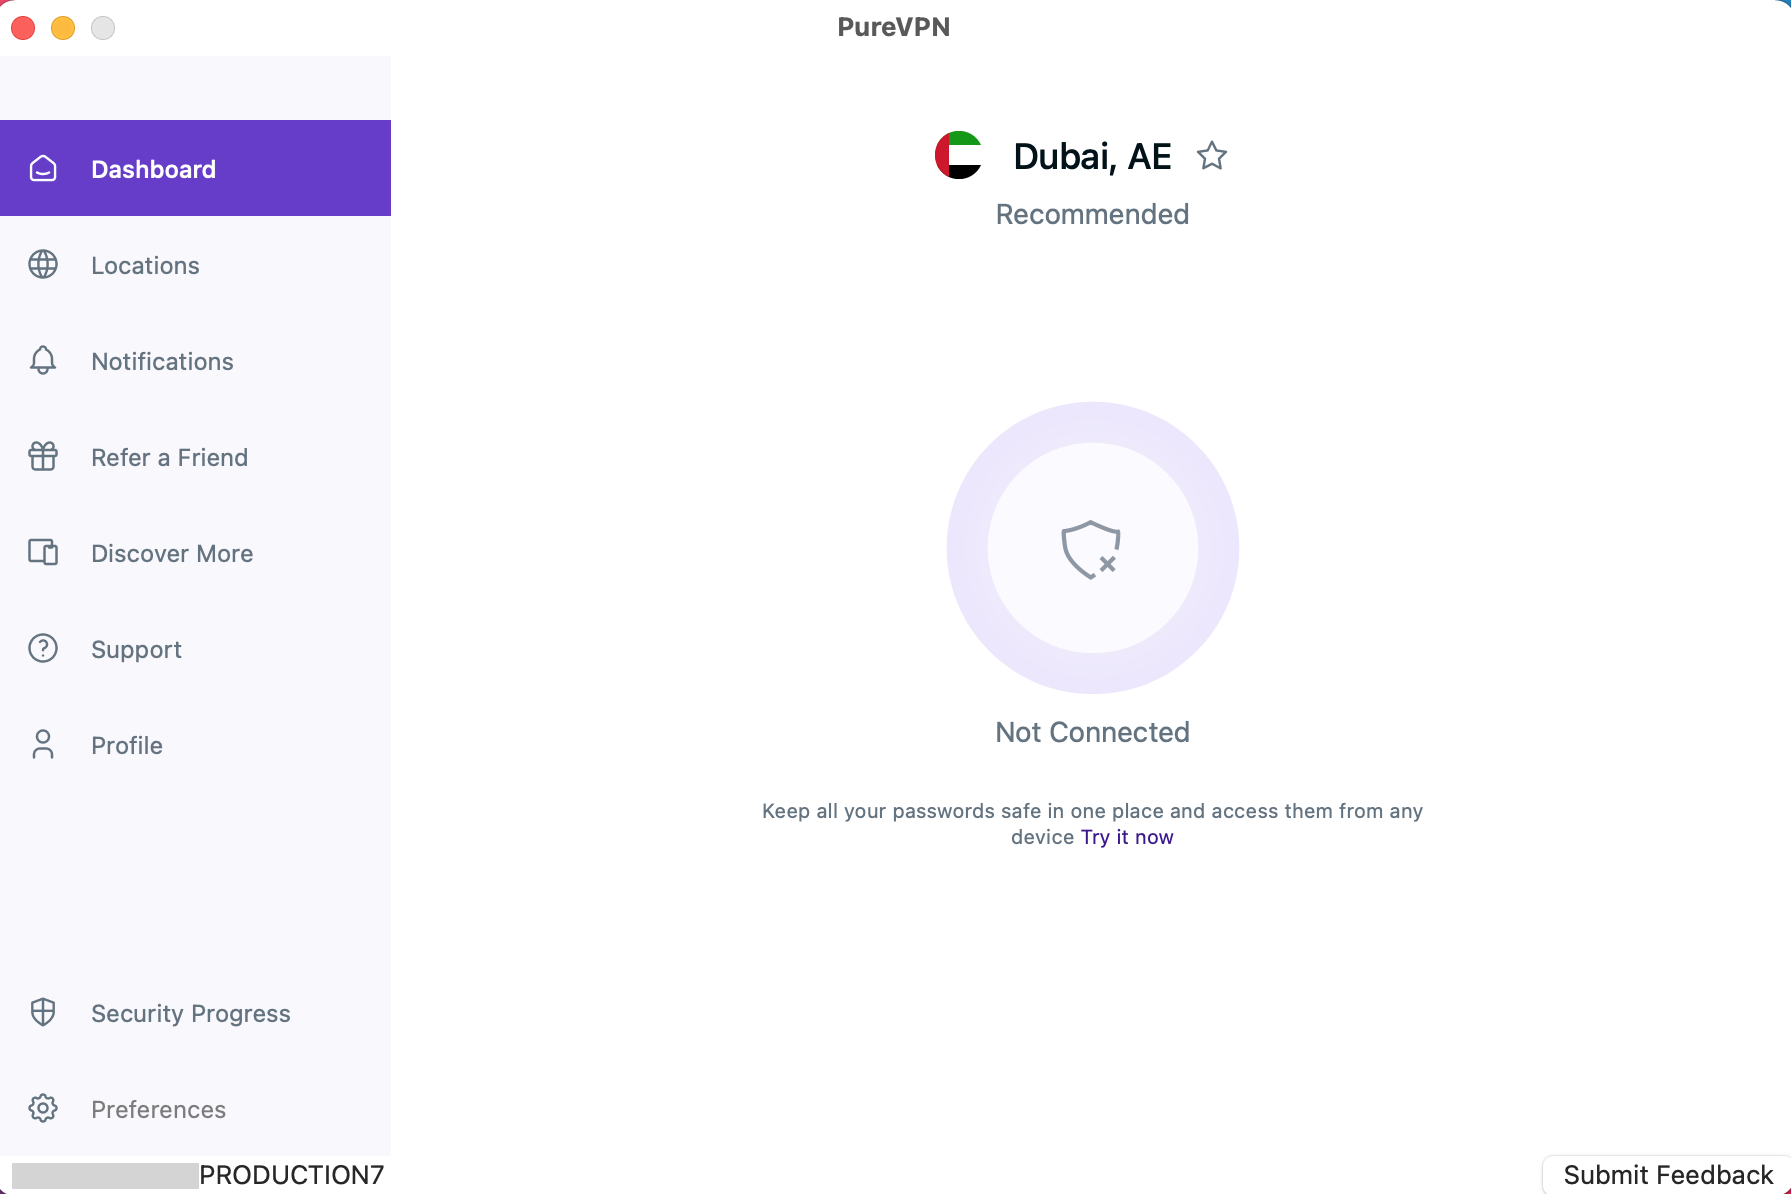
- From the General settings, go to the Advanced settings tab by clicking it.
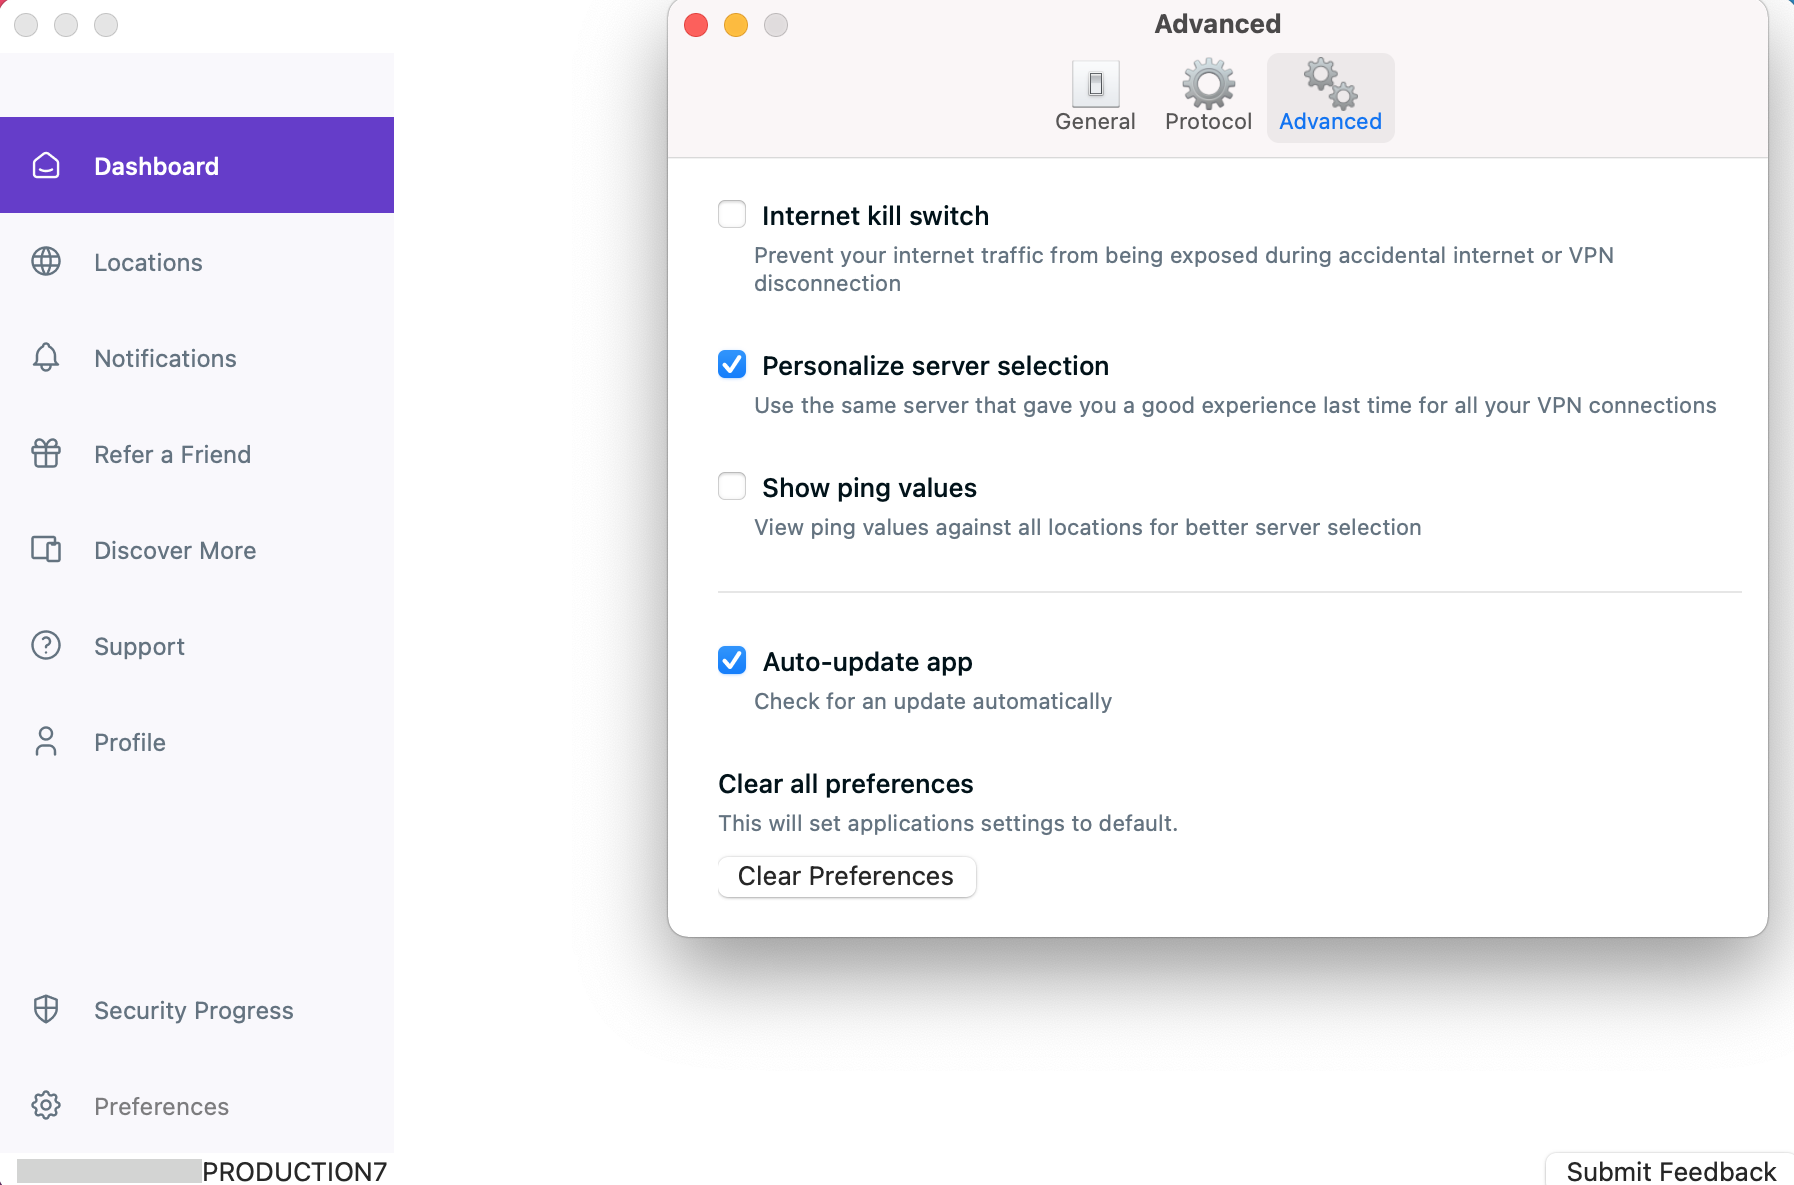
In the advanced settings tab, You will be able to see the Personalise server selection option.
- Mark check ☑️ Personalise server selection (if it’s not checked by default).
Clear preferences
If you want to reset the PureVPN app back to its default settings, follow these simple instructions.
- Click the ⚙️ Preferences option at the left panel of the PureVPN app.
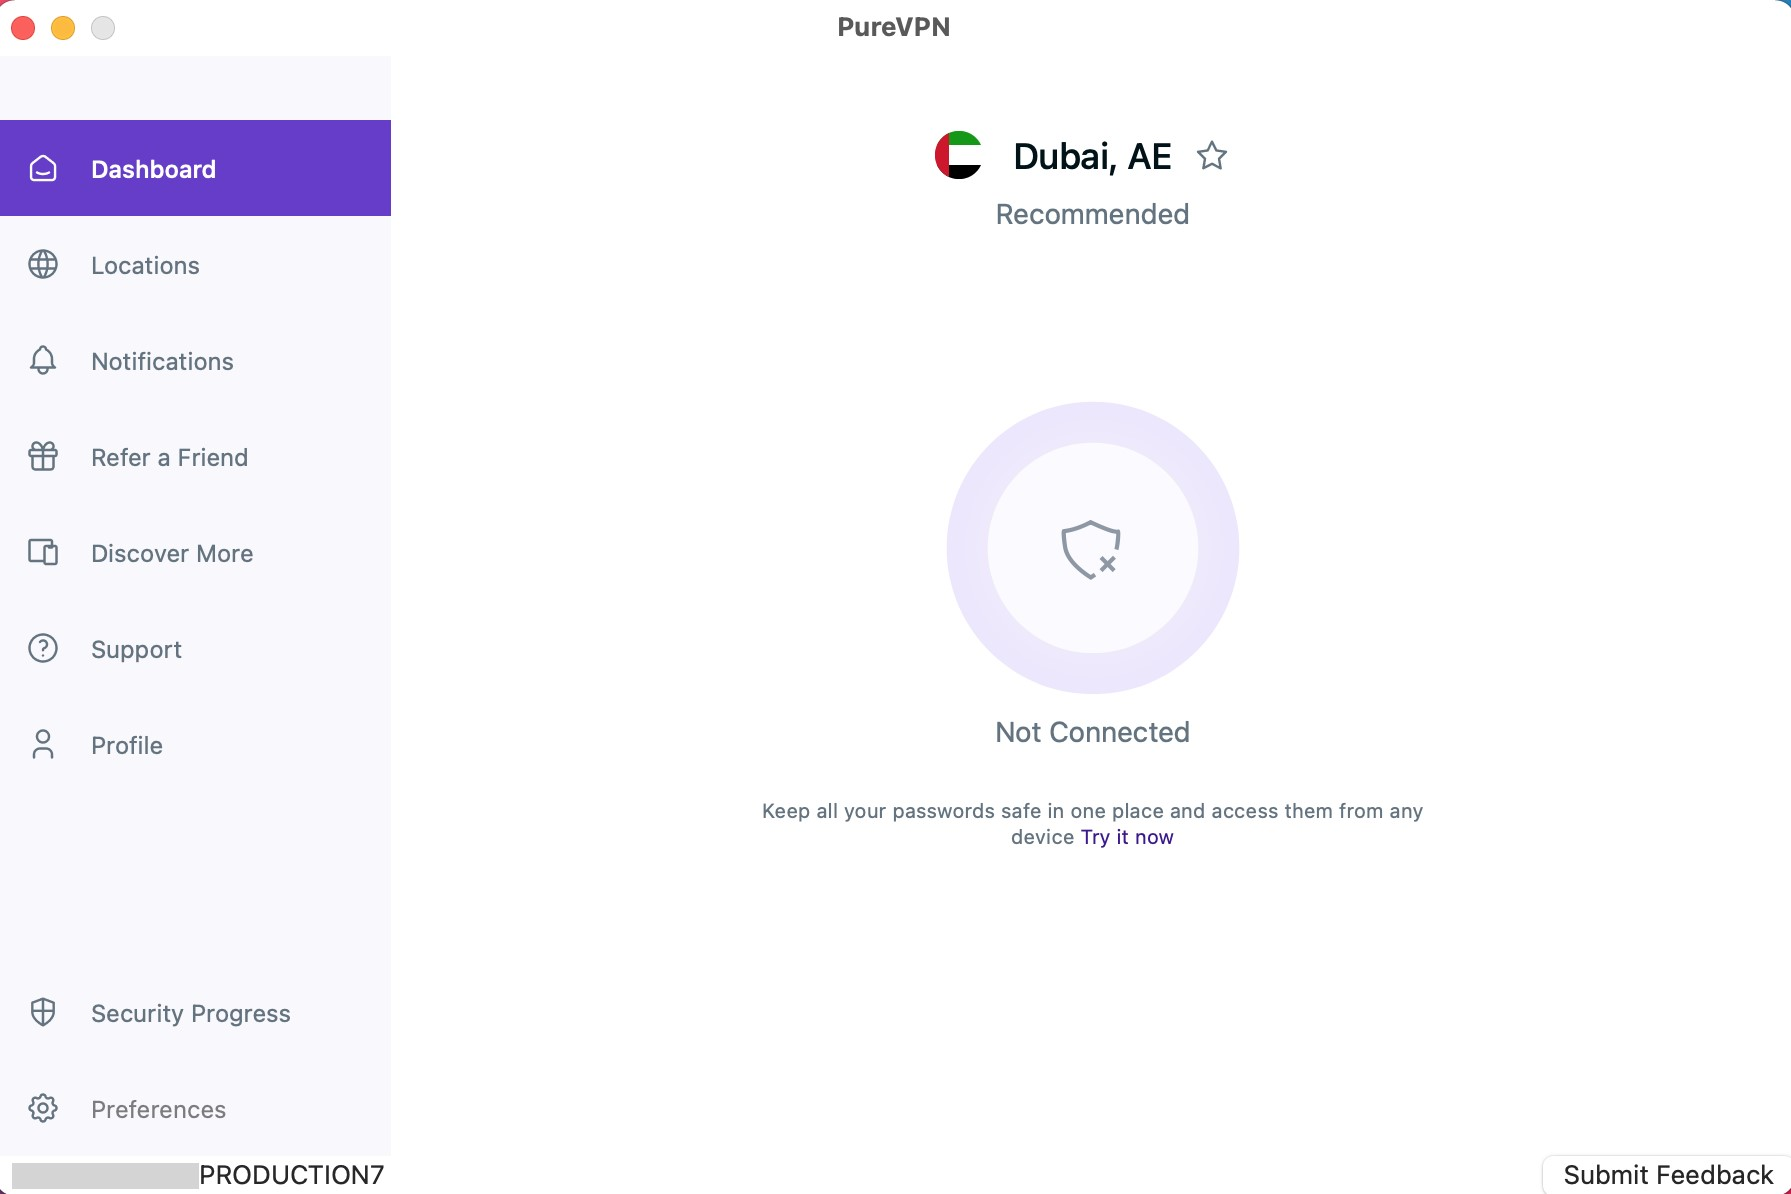
- From the General settings, go to the Advanced settings tab by clicking it.
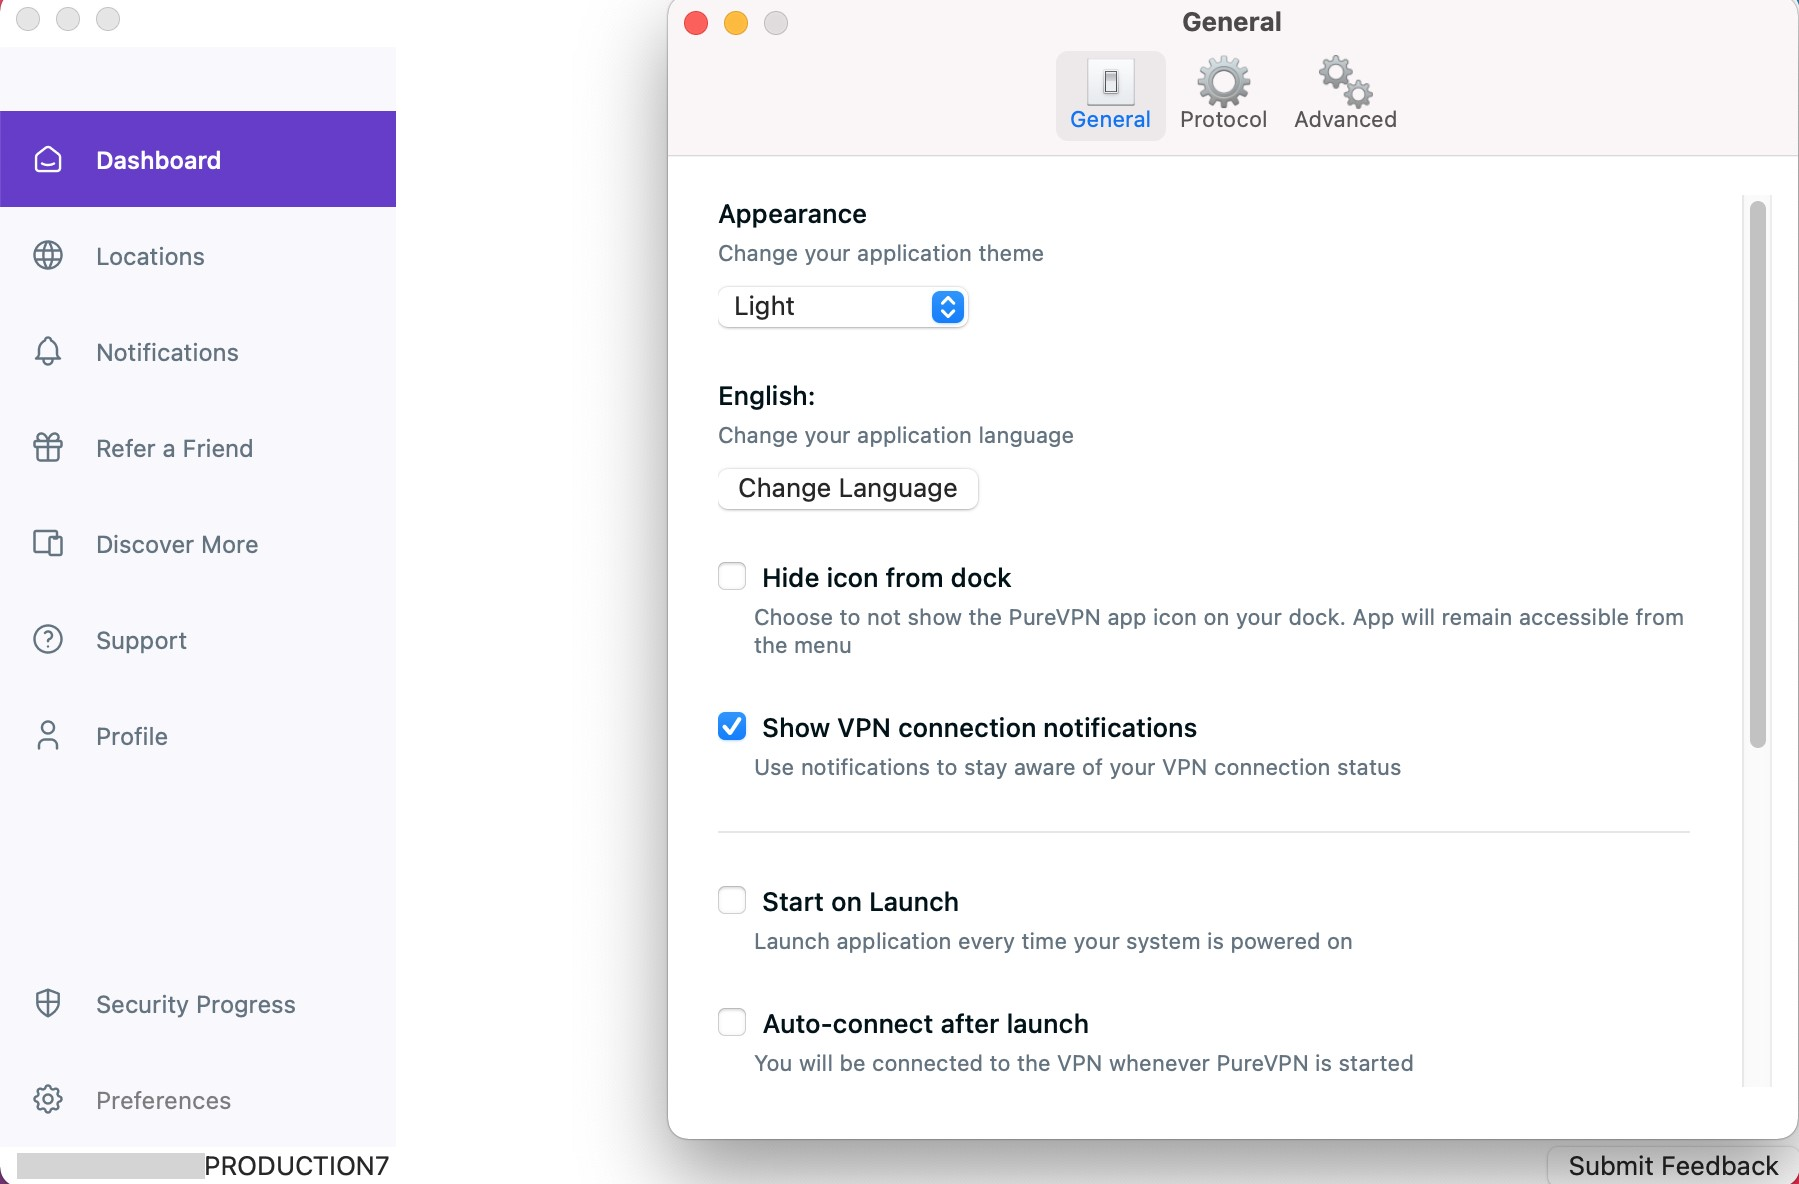
In the advanced settings tab, scroll down below you will be able to see the Clear Preferences option.
- Click Clear Preferences to proceed.
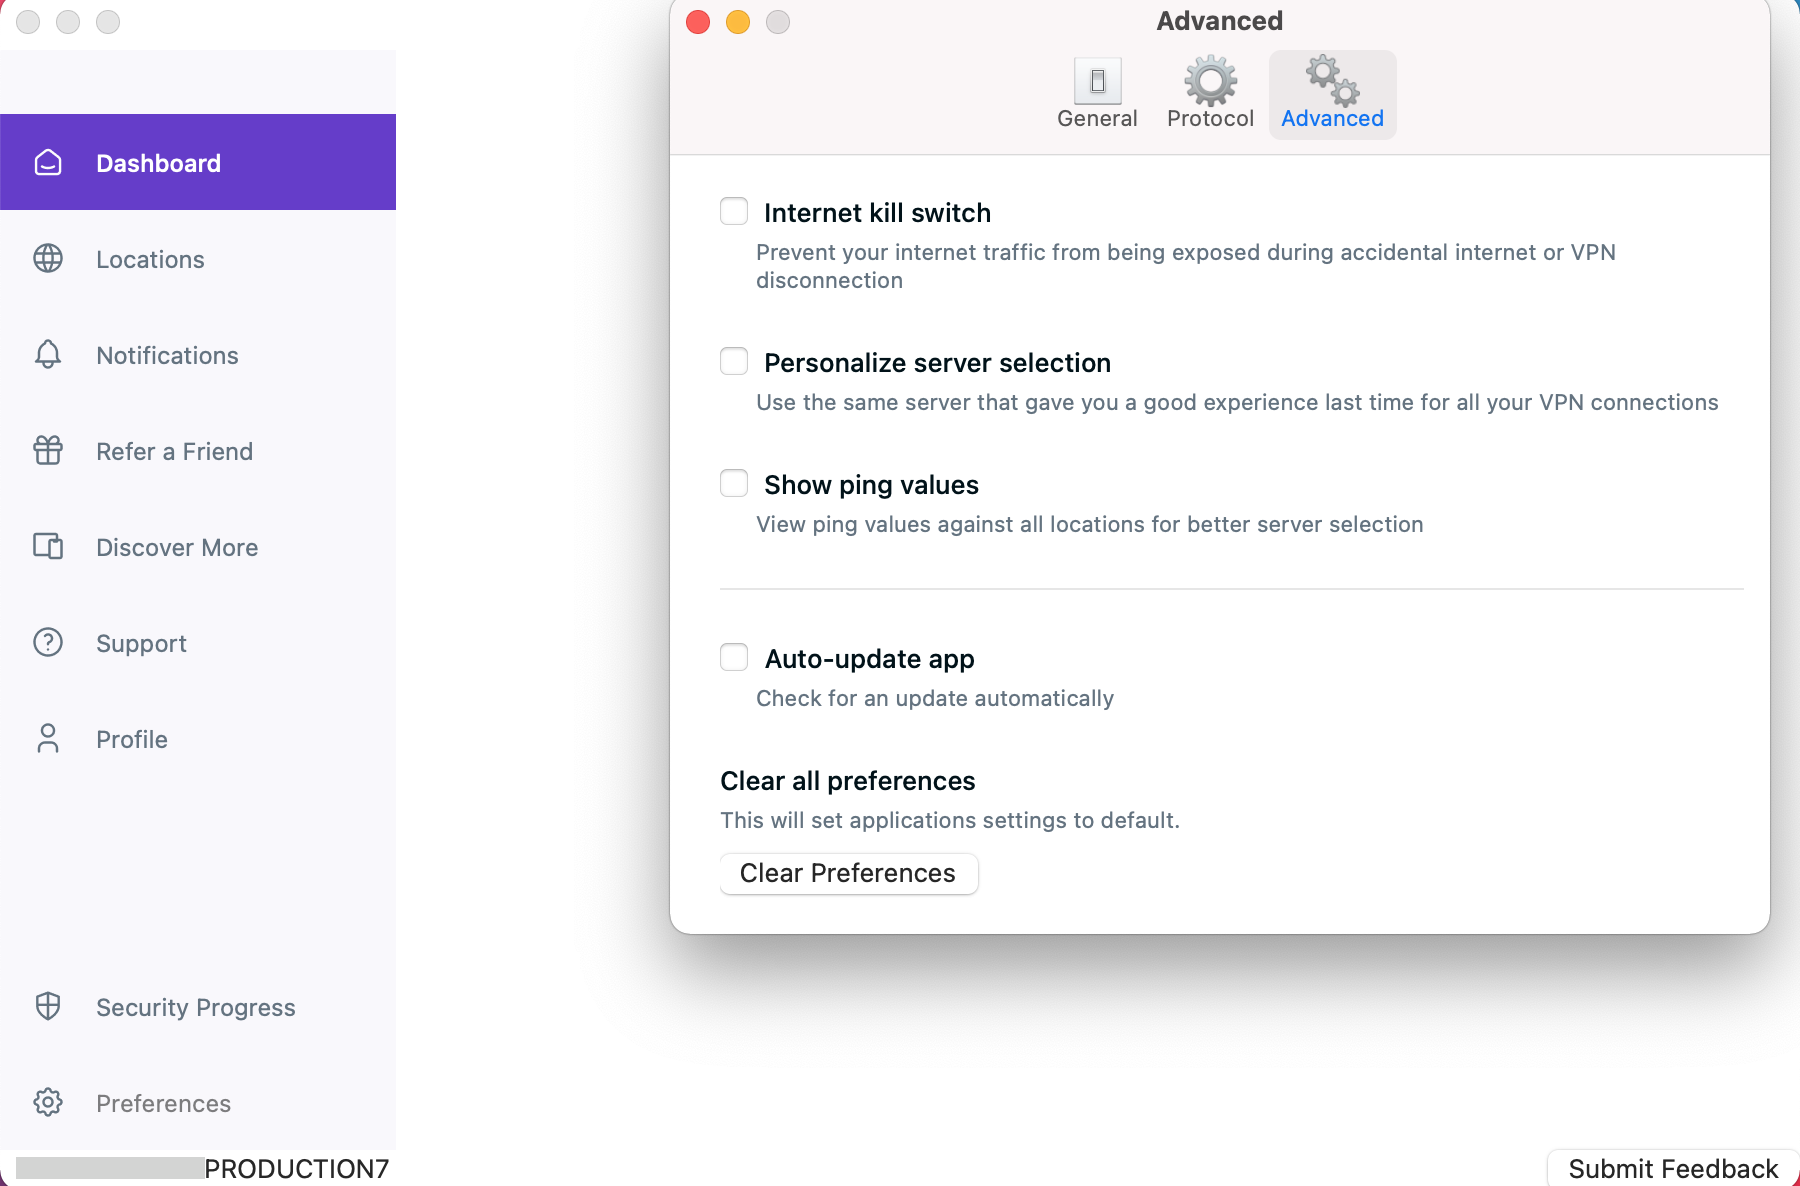
- Click the Clear button.
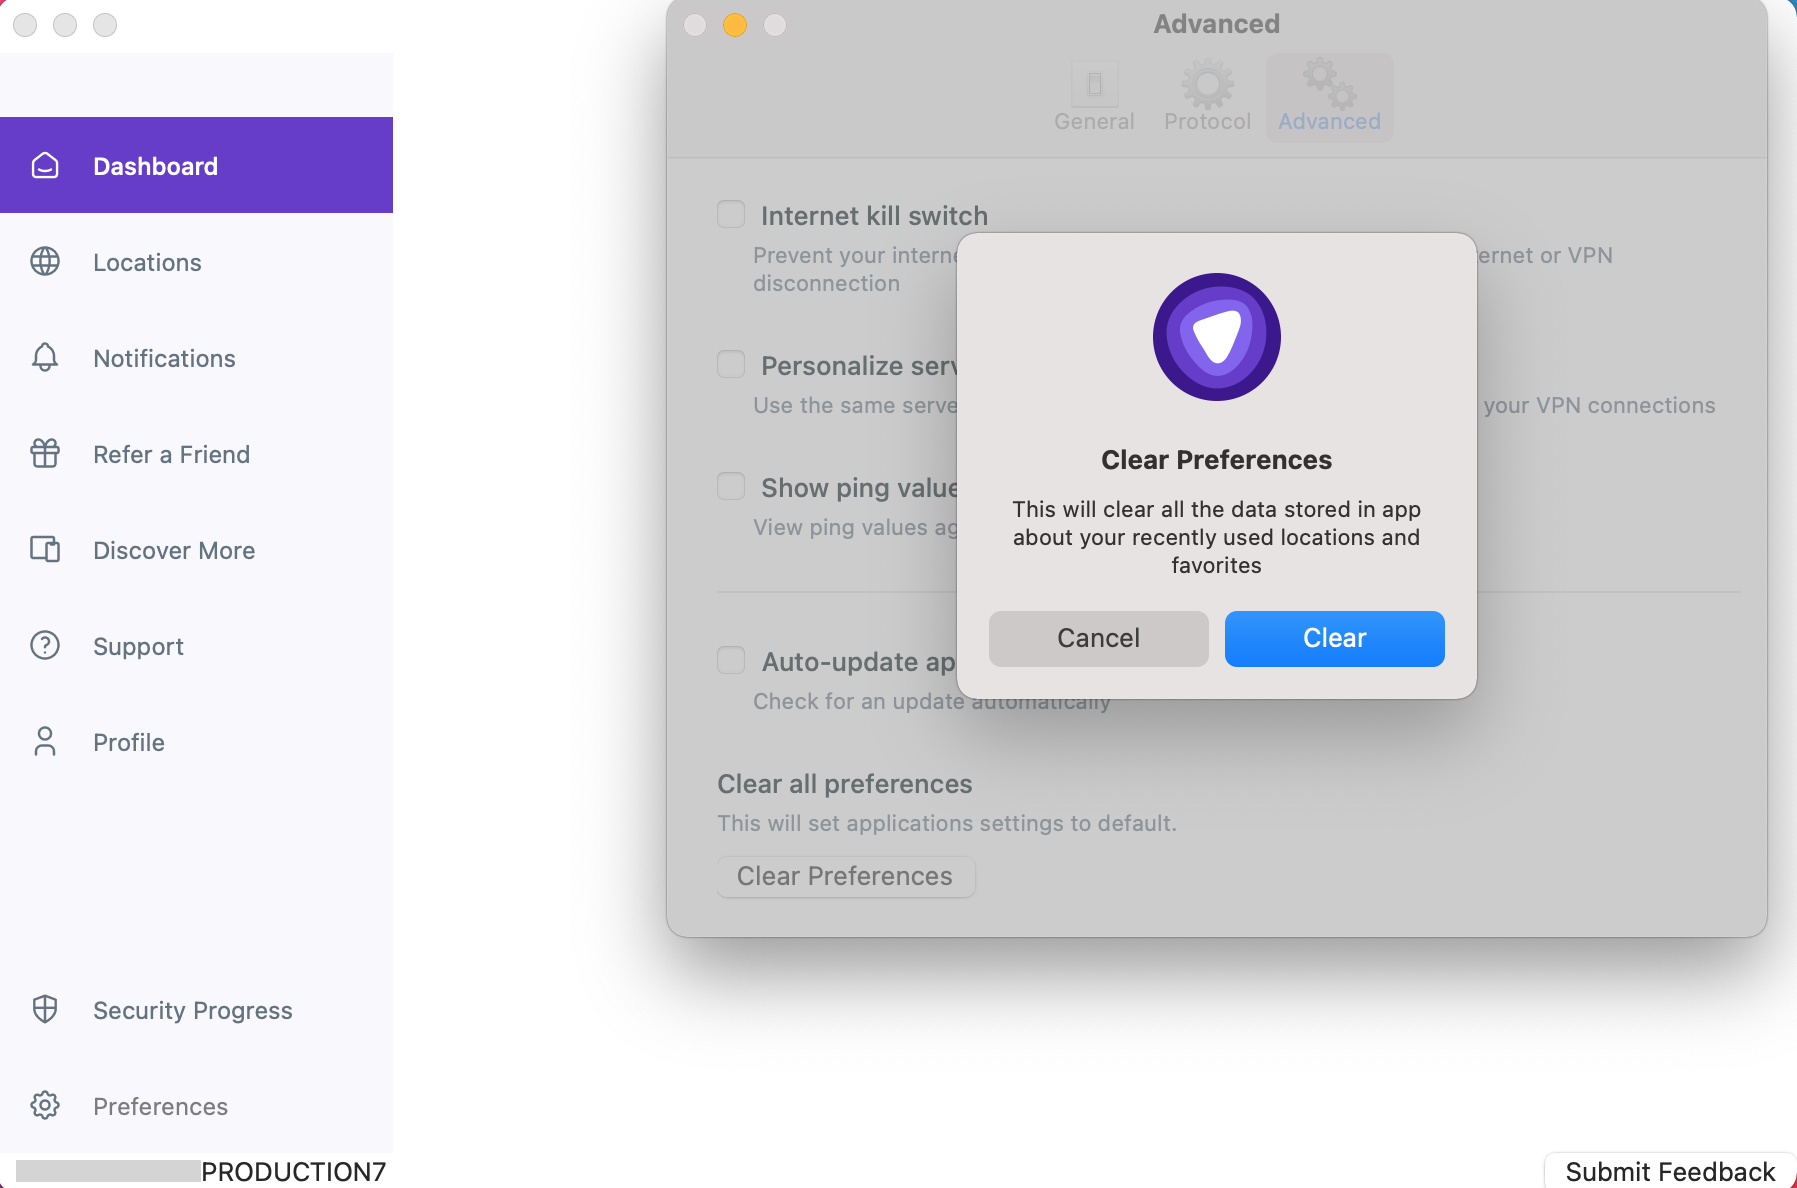
- Once done, your app preferences has been cleared successfully.
