Download PureVPN app
- We’re thrilled to see you here! To begin with, click 👉 here to download the PureVPN application.
- Click Download app button to download the PureVPN app on your device.

Install PureVPN app
If you're seeking a straightforward method to install the PureVPN app on your macOS, our user-friendly tutorial is here to assist you. The comprehensive guide will provide step-by-step instructions, ensuring a seamless installation process from beginning to end. Follow the tutorial to easily set up the PureVPN app on your macOS and unlock its full potential..
- Double-click to run the PureVPN app installer.
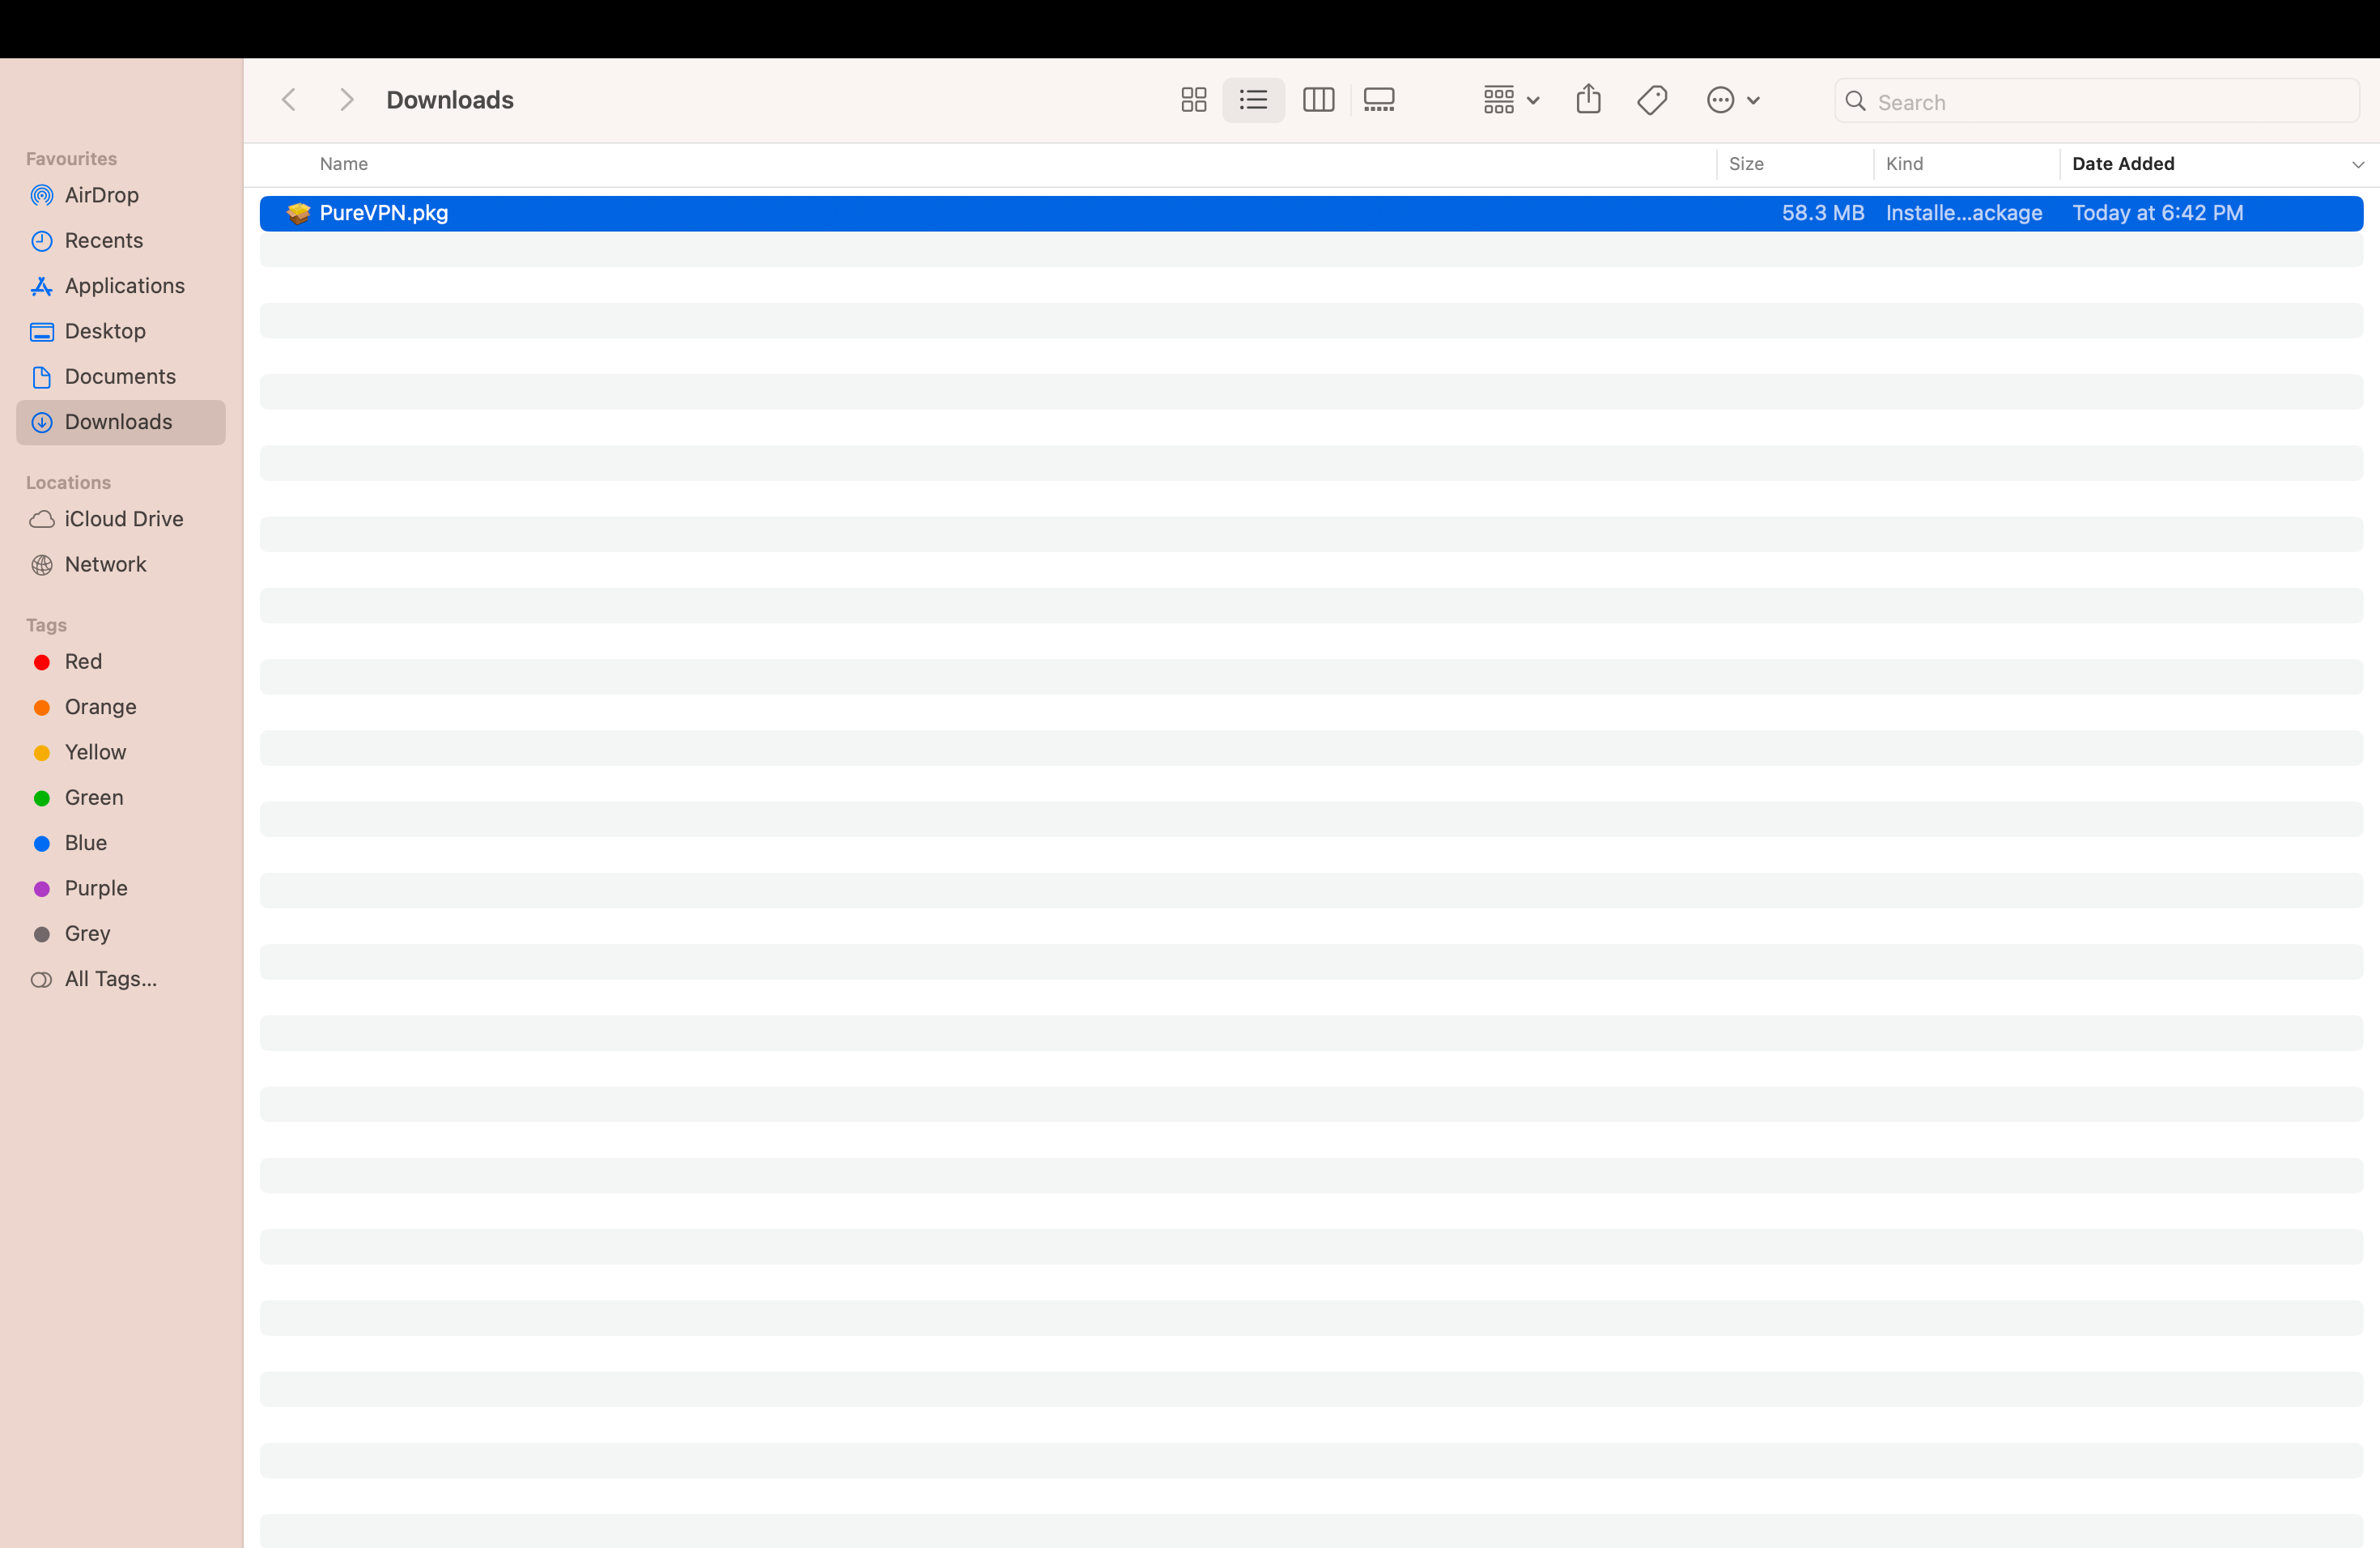
- To install the PureVPN application, you will need enough space in your destination folder.
A prompt window will appear asking you to enter your macOS Username and password.
- After typing your macOS username and password click Install software.
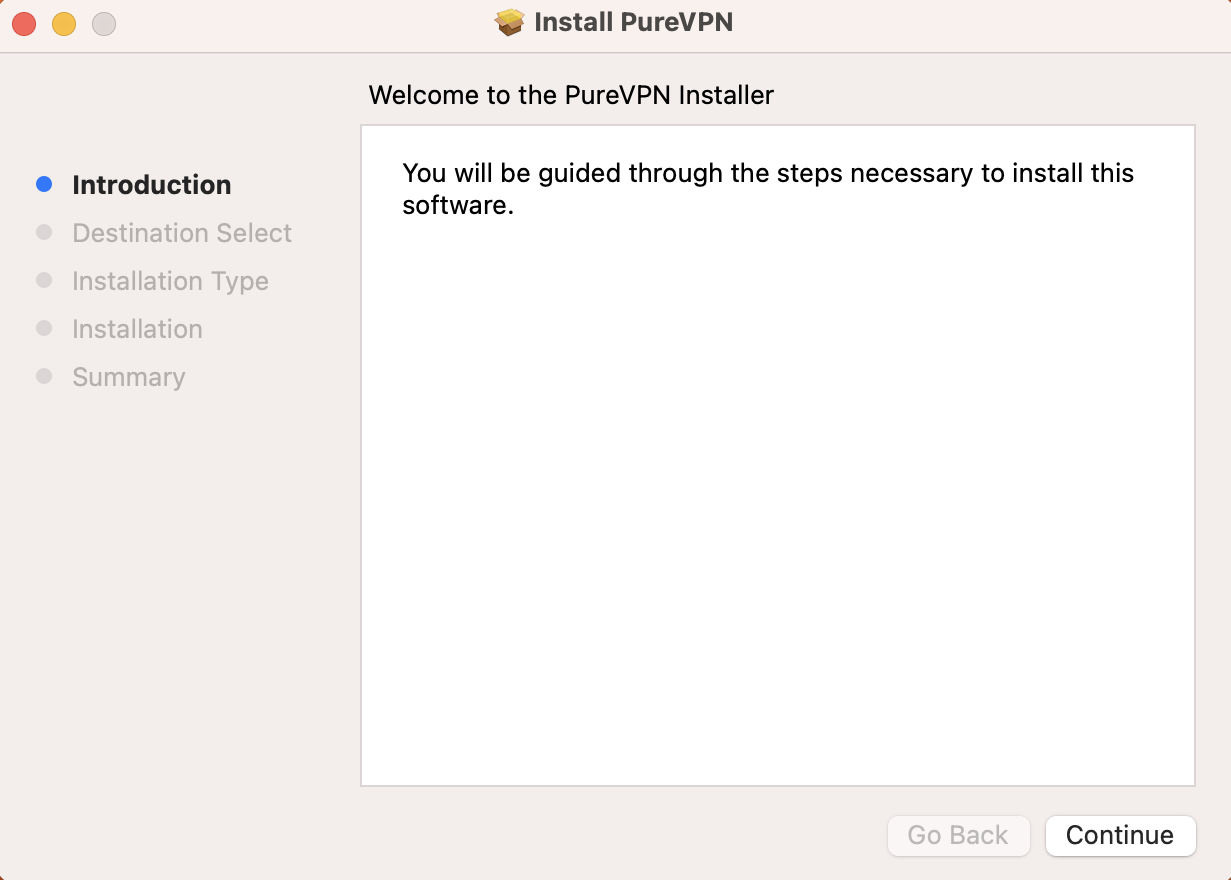
- When the installation is complete, you may proceed to close the Installation window.
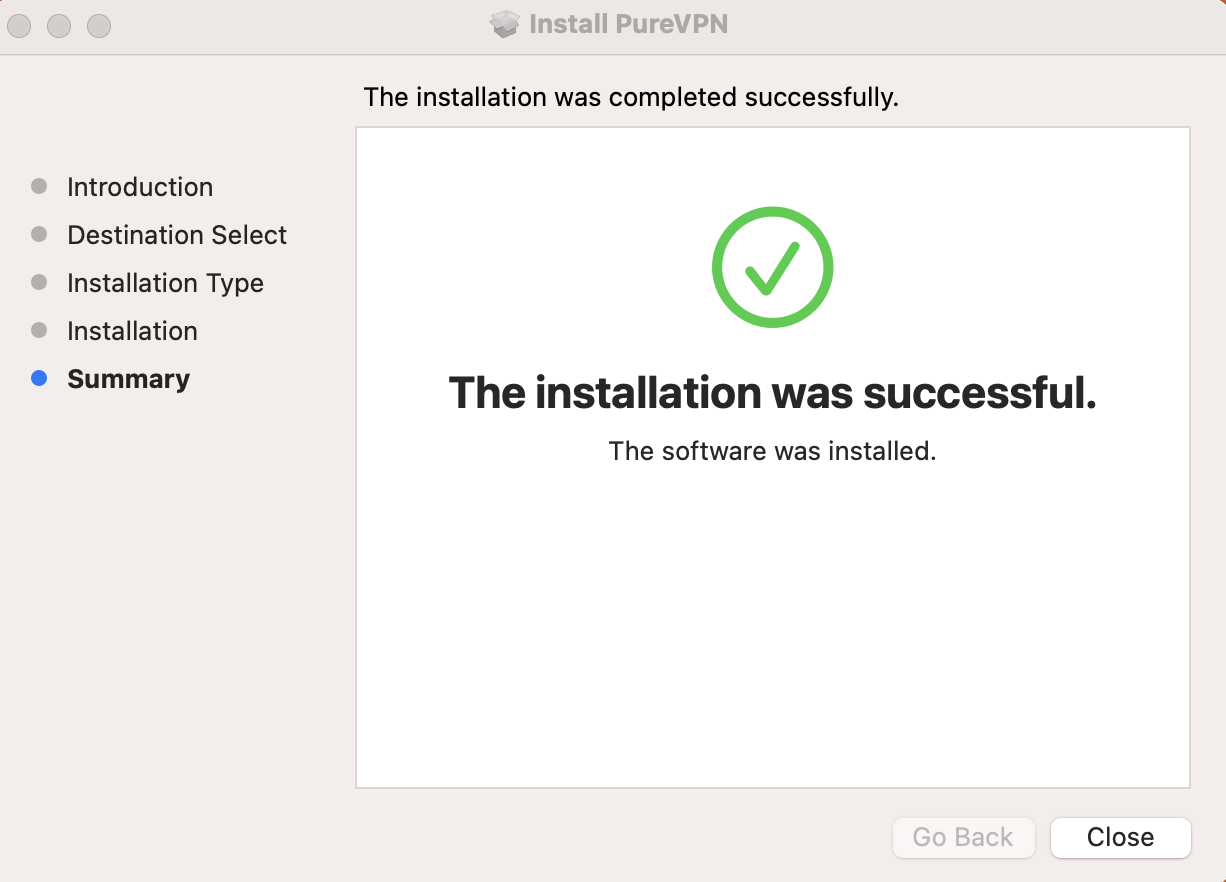
Login PureVPN app
After successfully installing the application, simply launch it and proceed to login. Here's a quick guide on how to login to the PureVPN app.
- Launch PureVPN app.
- Click Login.

You will be redirected to your default browser for login.
Enter your PureVPN email and password (Use the email and password you set up during the purchase).
- After entering the account details, click Submit.
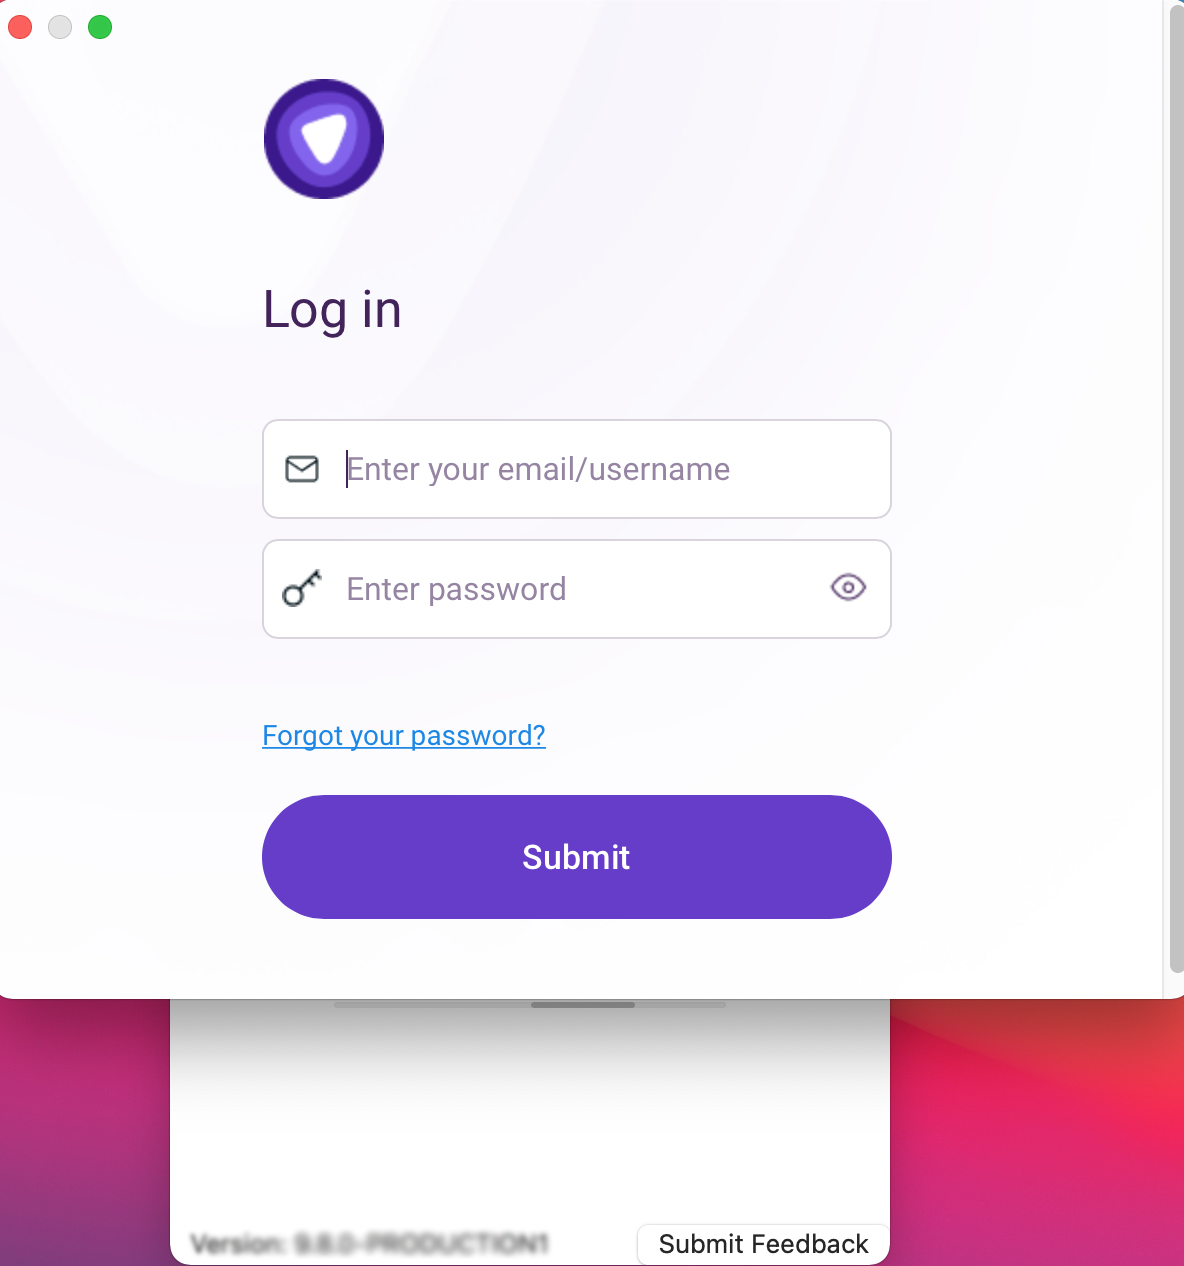
- Once you click Submit, the PureVPN app will automatically pop-up and you will be logged in to the app.
Note: If you have multiple subscriptions against one email, you will be given an option to choose the account you want to log in to.
- Click on your desired PureVPN username, then click Select Account.
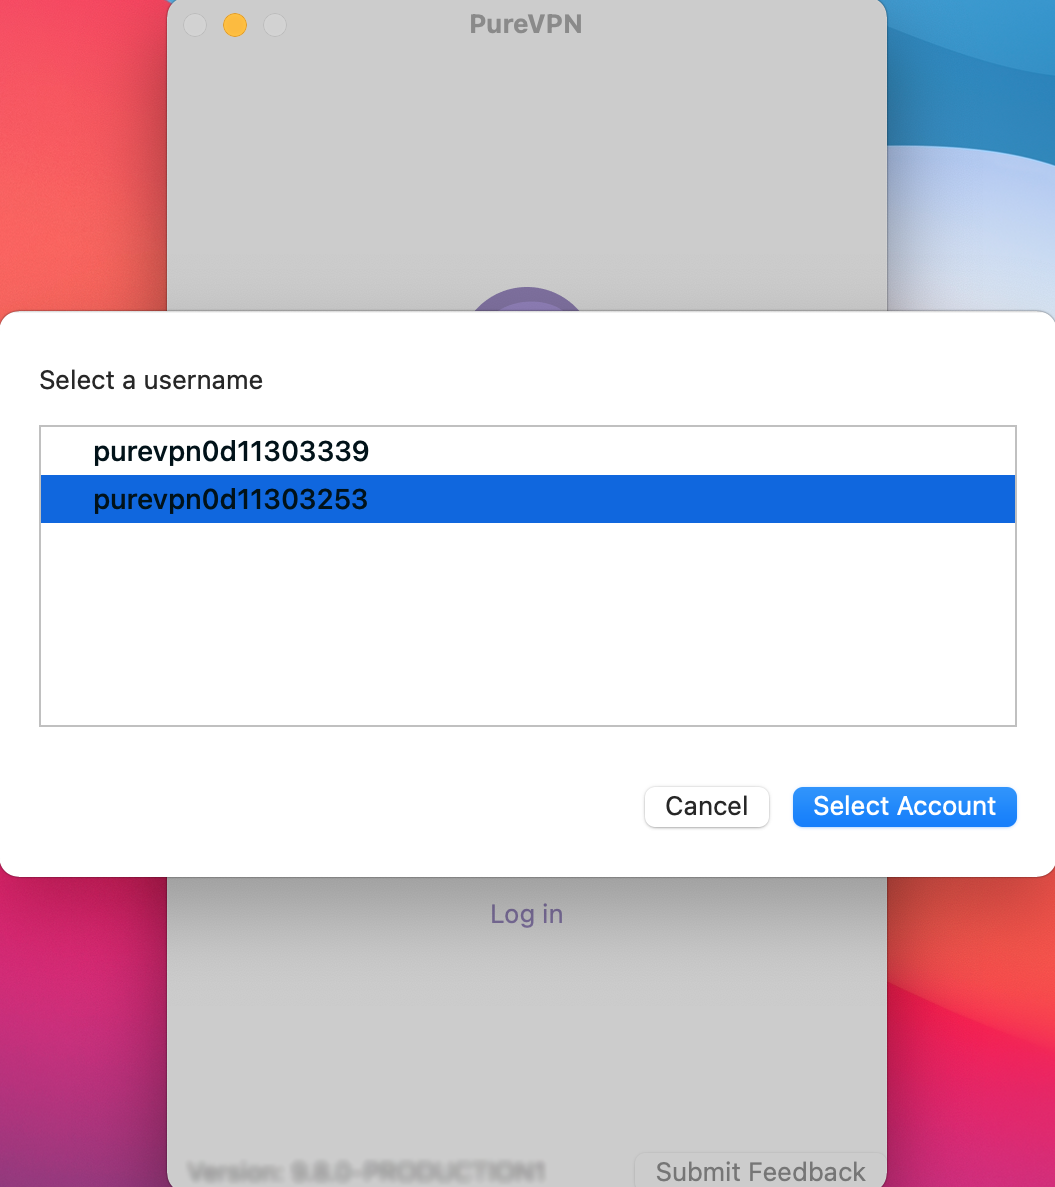
- Choose a purpose that best suits your VPN needs, and click Continue.

- You are now logged into the PureVPN App.

Logout from PureVPN app
If you wish to log out from the PureVPN application, follow these simplified steps.
- Click the Profile from the left panel of the PureVPN app.

- In the profile section you will be able to see the Logout option. Click Logout to proceed.

- You have successfully logged out from PureVPN application.

Check subscription details on PureVPN app
Discover how to check your subscription details on the PureVPN Mac app with our helpful guide. Find step-by-step instructions on accessing and reviewing your subscription information within the app. Stay informed about your PureVPN subscription details directly from your Mac, ensuring a seamless and hassle-free VPN experience.
- Click the Profile from the left panel of the PureVPN app.

- In the profile section you will be able to see the Subscription Details.
- Following are the details that will be visible in the Profile section.
- VPN Username:
- Email:
- Plan Type:
- Account Type:
- Subscription Type:
- Subscription Status:
- Multi-login limit:
- Billing Cycle:
- Expiry On:
- Addon:

