Possible Cause of VPN Error 720:
Some of the Windows users get “Error 720 A Connection to the Remote Computer Could not be Established” while connecting to VPN. It happens due to corrupted Wan mini ports.
How to Solve VPN Error 720 on Windows 10, 8, 8.1 and 7.
Solution 1:
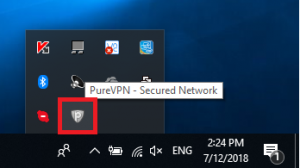
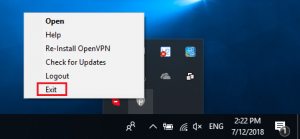
Exit PureVPN application completely.
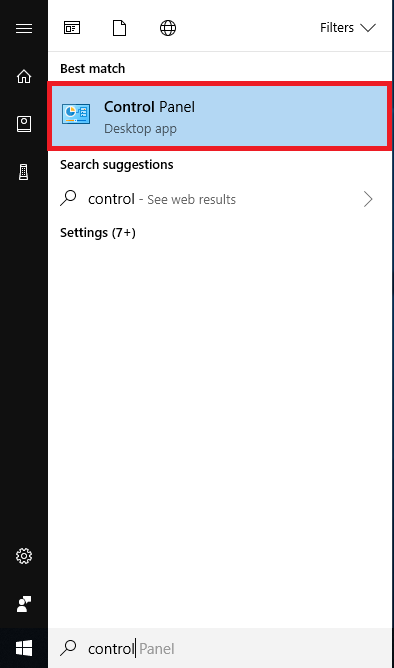
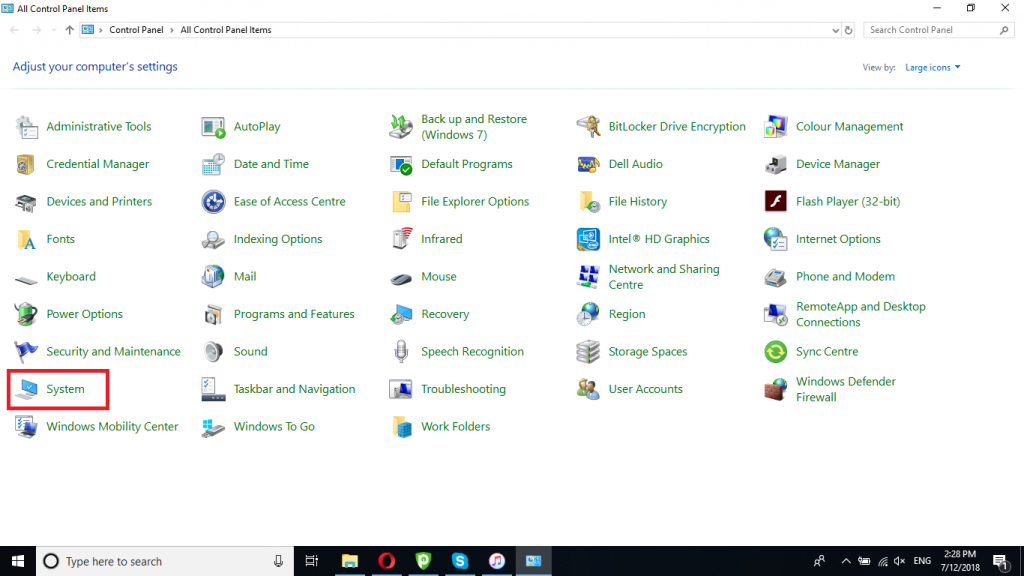
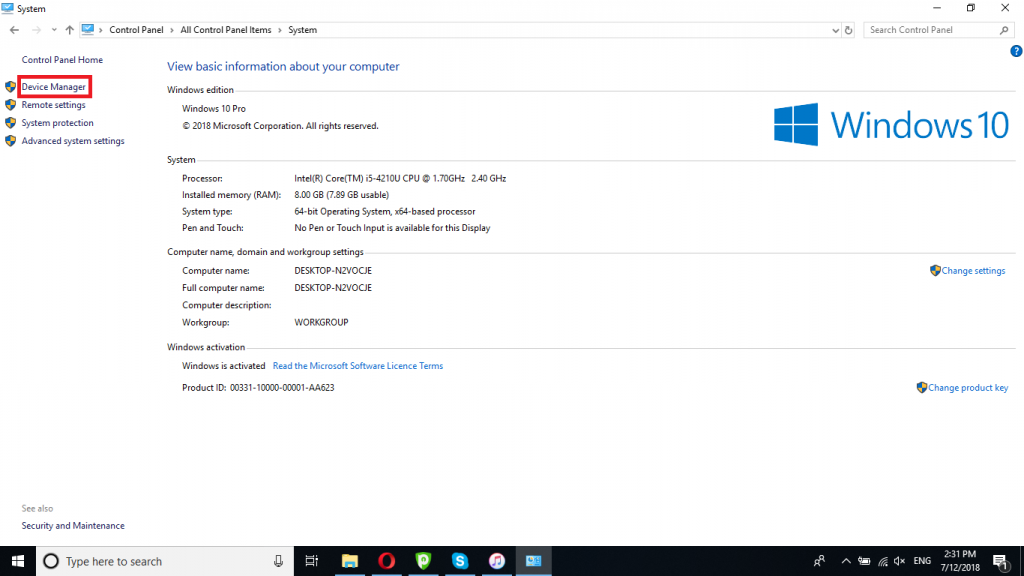
Go to >Control Panel > System >Device Manager.
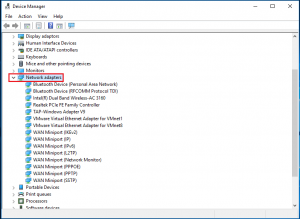
Open Network adapters.
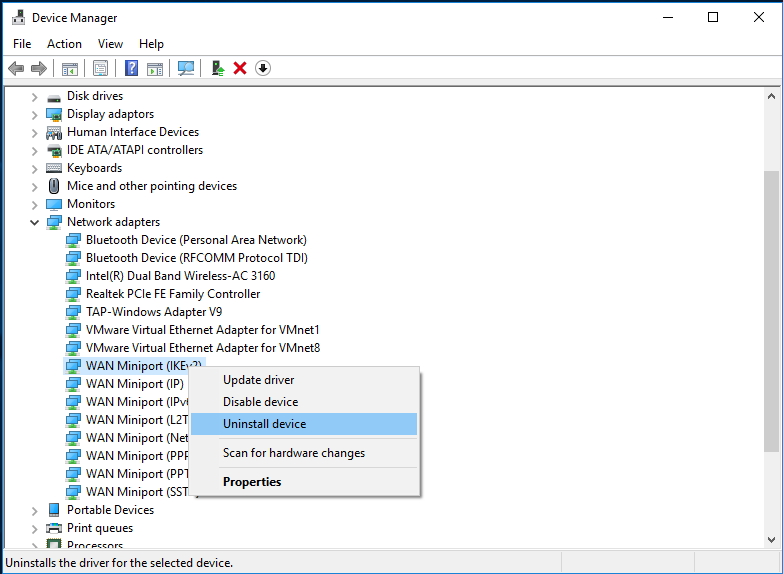
Uninstall all WAN miniports, VPN client adapter.
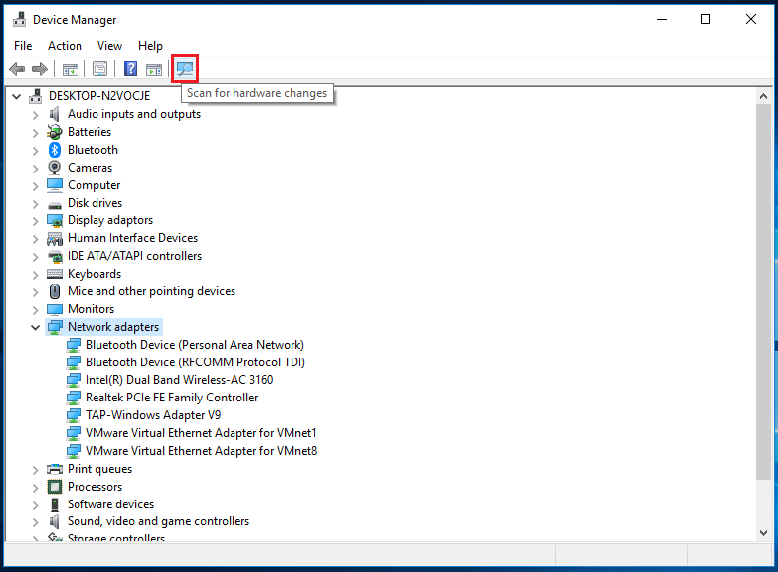
Once done, from top click scan of hardware changes. It will populate with new WAN miniport adapters.
Open the application as run as administrator.
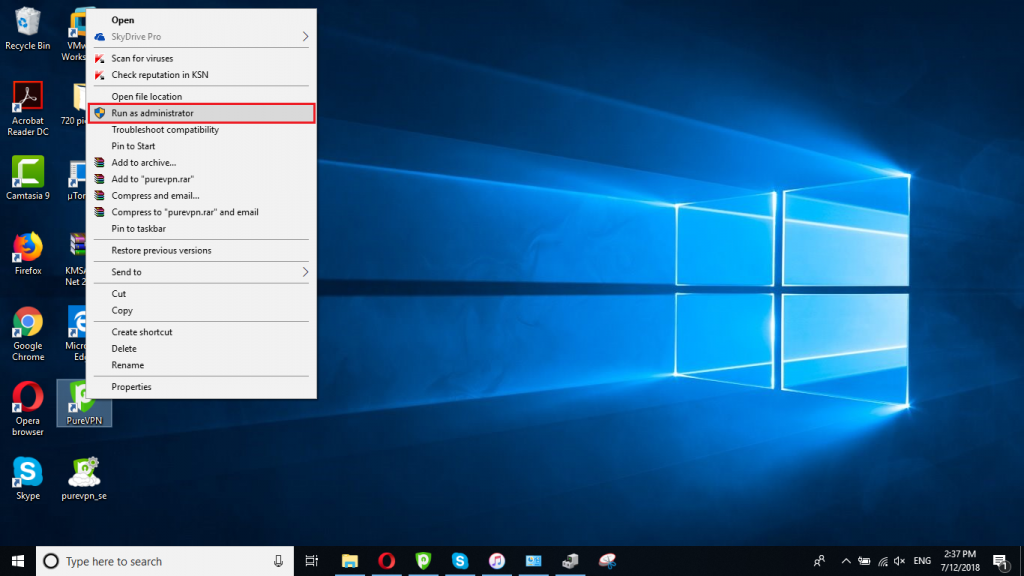
You will now be able to connect with RAS protocols (PPTP/L2TP/SSTP/Ikev2)
Solution 2: Resetting TCP IP Protocol
It can be fixed by uninstalling/reinstalling mini ports or resetting TCP IP Protocol.
Run Command prompt as Administrator and type the following command then hit enter.
Netsh int ip reset resetlog.txt
Reboot your system and connect VPN again.
If the problem persists then move on to uninstalling/reinstalling mini ports.
Solution 3: Resetting Network
- Go to control panel then to add remove programs and then to windows components uncheck networking.
- Reboot your computer.
- Do the same as above this time check networking.
- Go to run and type cmd, press enter.
Type the following command netsh int ip reset reset.log and hit Enter
Now type the following command ipconfig/ flushdns and hit Enter
Solution 4: uninstalling/ reinstalling mini ports
First, create a restore point:
To create a restore point on Windows 7:
- Open System by clicking the Start button, right-clicking Computer, and then clicking Properties.
- In the left pane, click System Protection. If you're prompted for an administrator password or confirmation, type the password or provide confirmation.
- Click the System Protection tab, and then click Create.
- In the System Protection dialog box, type a description, and then click Create.
http://windows.microsoft.com/en-GB/windows7/create-a-restore-point
To create a restore point on Windows 8:
- Press Windows key + F, type Create restore in the search box.
- Click on the settings tile.
- From the System Protection tab, click on Create? and follow the process to create Restore Point.
Next step: Uninstall the non-working miniports
When doing this, make a note of the miniports that you are removing, you’ll need to know this later when reinstalling.
Removing the Problematic WAN Miniport Driver
- Press the start button then right-click My Computer > Properties. (Windows 8 users, right-click on the Bottom left side of the screen and select Device Manager)
- From properties go to Device Manager; if you are using an older version of Windows you will need to click on the hardware tab to get to Device Manager.
- On the Device Manager toolbar click on View and then click on Show hidden devices from the menu list.
So, to remove each non-working miniport, do the following:
- Right-click on the non-working miniport, choose Update Driver.
- Choose Browse my computer.
- In the next window, choose Let me pick driver from a list.
- Uncheck Show compatible hardware. From the Manufacturer list, choose Microsoft, and from the Network Adapter list, choose MAC Bridge Miniport. (It can be any device the user is allowed to uninstall.)
- Back in the device manager, delete the device that just turned into the MAC Bridge Miniport device.
- Once done removing the bad miniports, reboot.
Reinstall the miniports
You’ll need to do a few extra steps, as the miniport drivers aren't meant to be installed by users and are not visible. To avoid editing .inf files (which in a lot of cases are protected and not easily editable), we’ll do it the long way.
Download devcon.exe and extract it on your C: drive root
Go to Command prompt, go to the directory C:devconi386 for 32 bit and C:devconia64 for 64bit
For each Miniport that you have previously Uninstalled, execute the command outlined below. DO NOT run all of them or run the command twice, as that will create a second version of the existing miniport, which can cause problems again.
If running the command reports “driver install” failure, don’t pay much attention to it, it usually does. The only problem is when it complains about the inf file missing, or a missing class (in which case you most likely made a typo in the last part of the command).
Just copy the command and past it into the command prompt hit enter.
IKEv2:
devcon.exe install c:\Windows\inf\netavpna.inf MS_AgileVpnMiniport
IP:
devcon.exe install c:\Windows\inf\netrasa.inf MS_NdisWanIp
IPv6:
devcon.exe install c:\Windows\inf\netrasa.inf MS_NdisWanIpv6
Network Monitor:
devcon.exe install c:\Windows\inf\netrasa.inf MS_NdisWanBh
L2TP:
devcon.exe install c:\Windows\inf\netrasa.inf MS_L2tpMiniport
PPPoE:
devcon.exe install c:\Windows\inf\netrasa.inf MS_PppoeMiniport
PPTP:
devcon.exe install c:\Windows\inf\netrasa.inf MS_PptpMiniport
SSTP:
devcon.exe install c:\Windows\inf\netsstpa.inf MS_SstpMiniport
Once done, reboot. Again
This should resolve your issue.