Curious about what PureDome application has to offer?
Learn how to install PureDome on your Windows device right now! You’ll find tutorials here that will walk you through setting up every feature of PureDome so you can start enjoying its great features.
Download
We’re thrilled to see you here! To begin with, click 👉 here to download the PureDome application.
Once the download is complete, locate the installation file on your device. It’s most likely that you will find it in the Downloads folder of your device.
DeleteInstall
Want a simple way to install the PureDome app on your Windows, you can use our easy-to-use tutorial here. The guide will walk you through the entire installation process from start to finish.
Double-click to run the PureDome app installer.
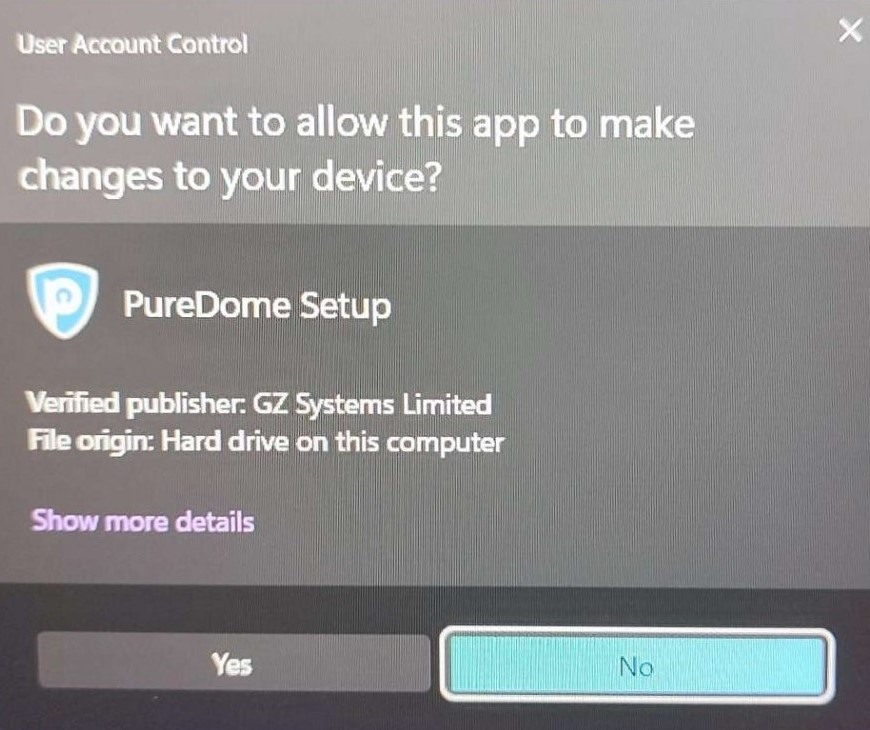
The computer will ask if ‘you want to allow this app to make changes to your device?’. Click Yes.
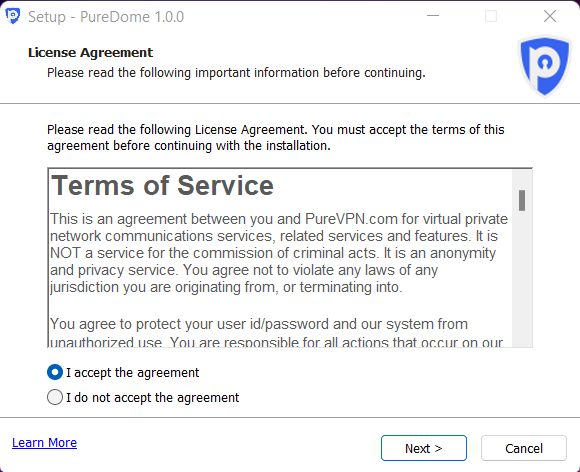
PureDome is ready to install, click I agree to continue
When the installation is complete, you may proceed to launch the application.
Login
Once the application is installed, you may proceed to launch the application and login to it.
Wondering how to do it? Follow the instructions below 👇
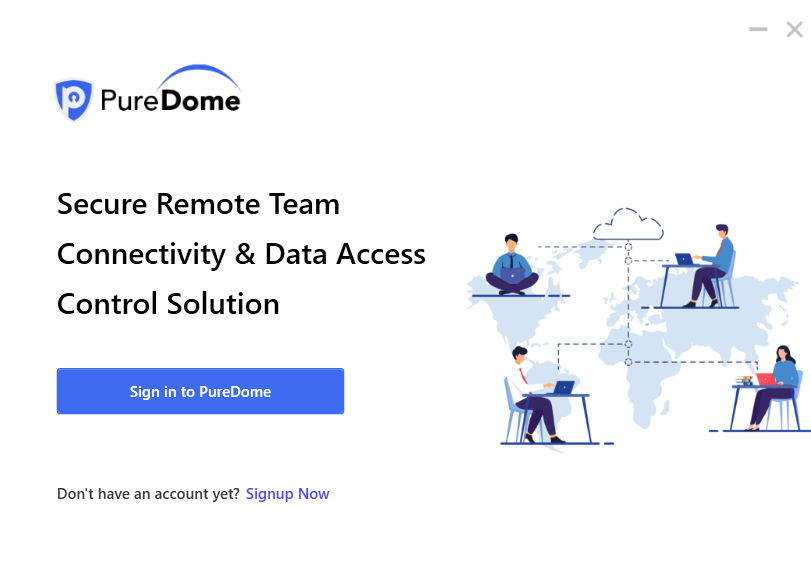
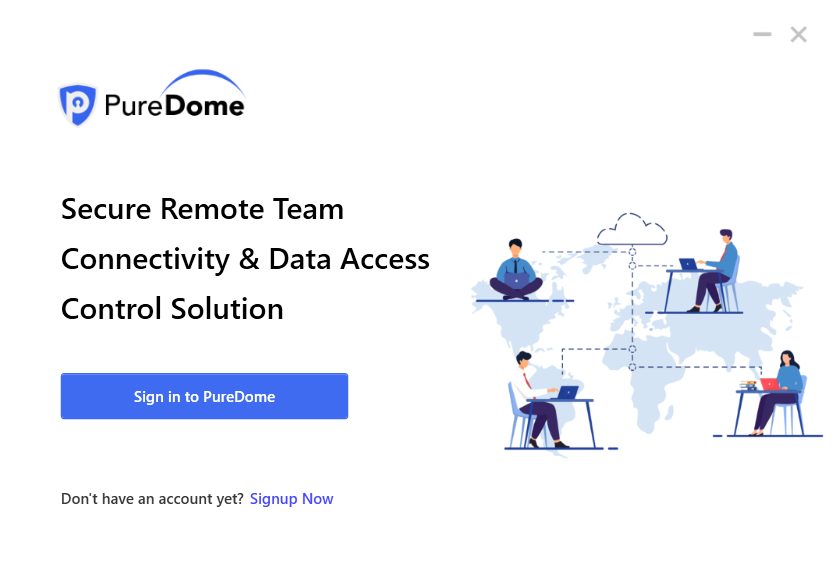
Click Sign in to PureDome
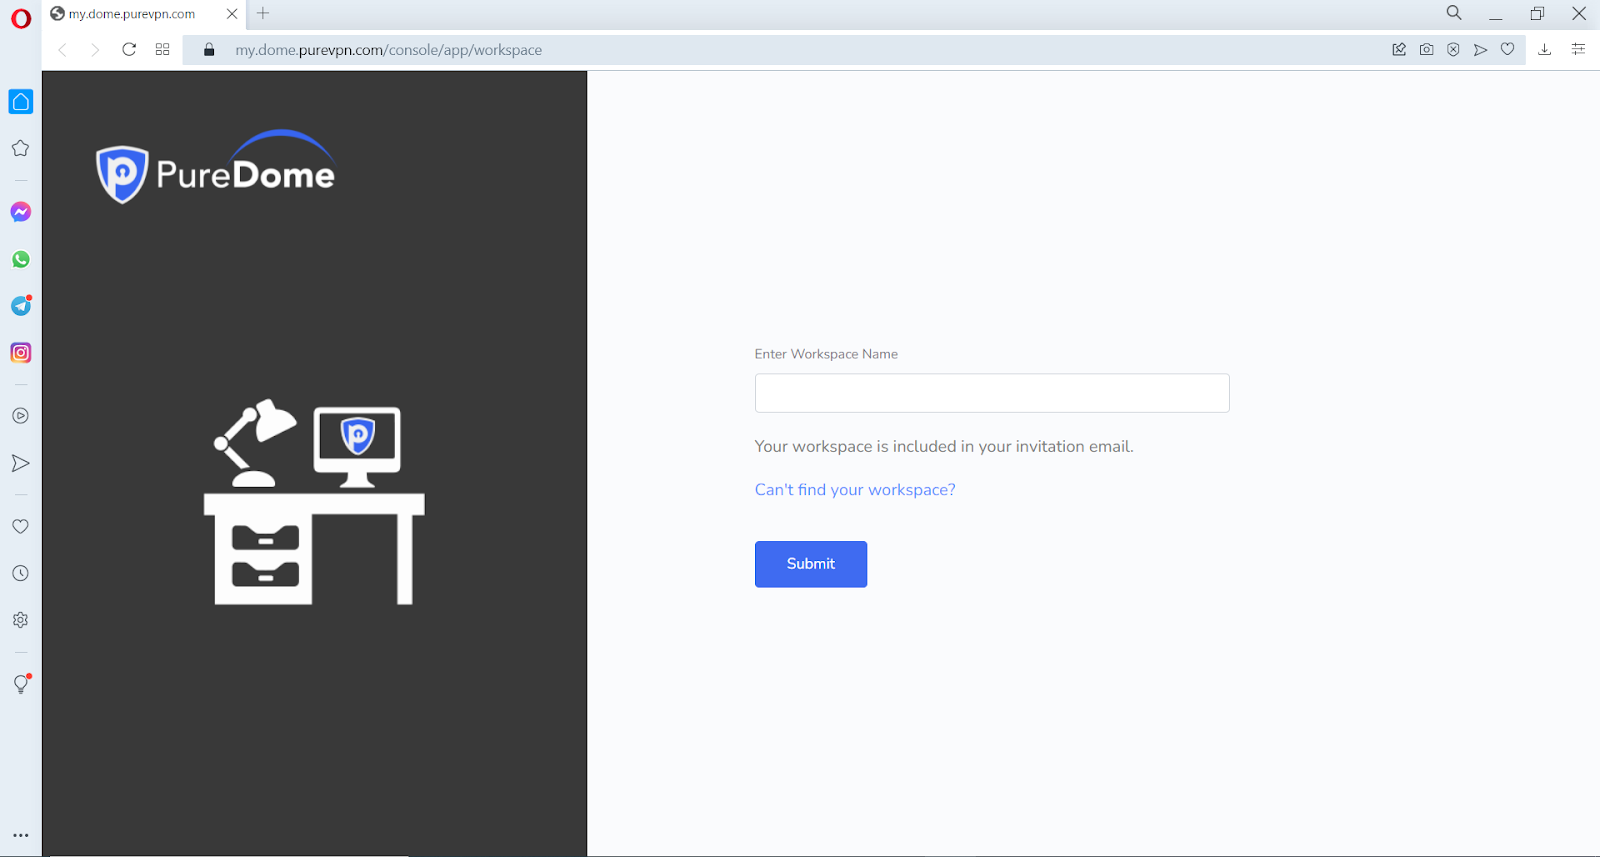
Once you do that, you will be asked to enter your workspace name in the pop-up window.
After typing in your workspace name you may proceed to click Submit.
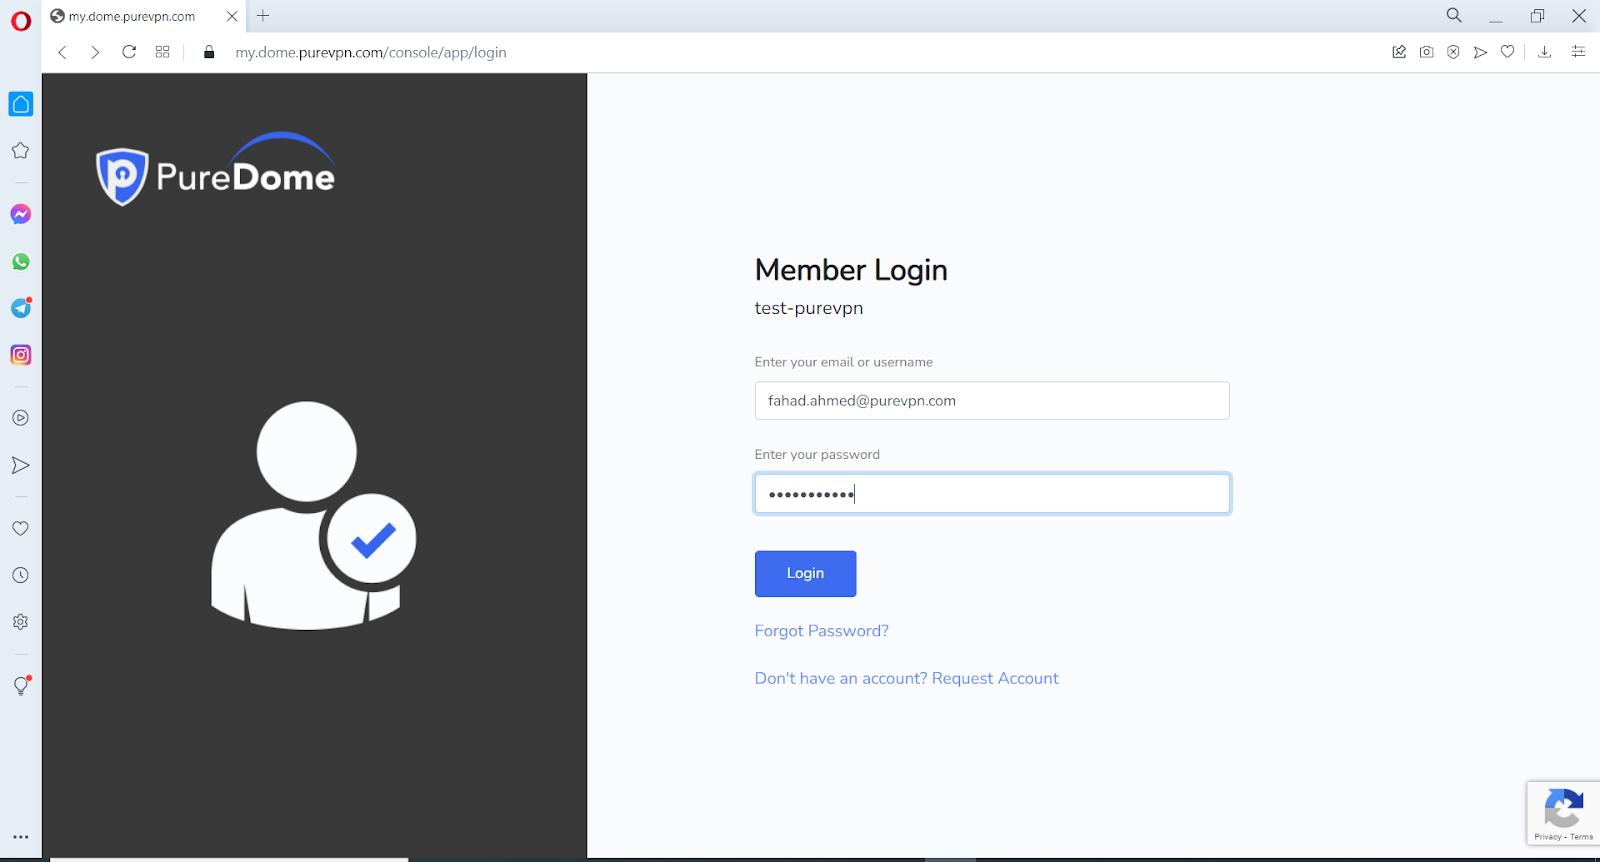
Next, you will be asked to enter your PureDome email and password.
After typing in your credentials click Login.
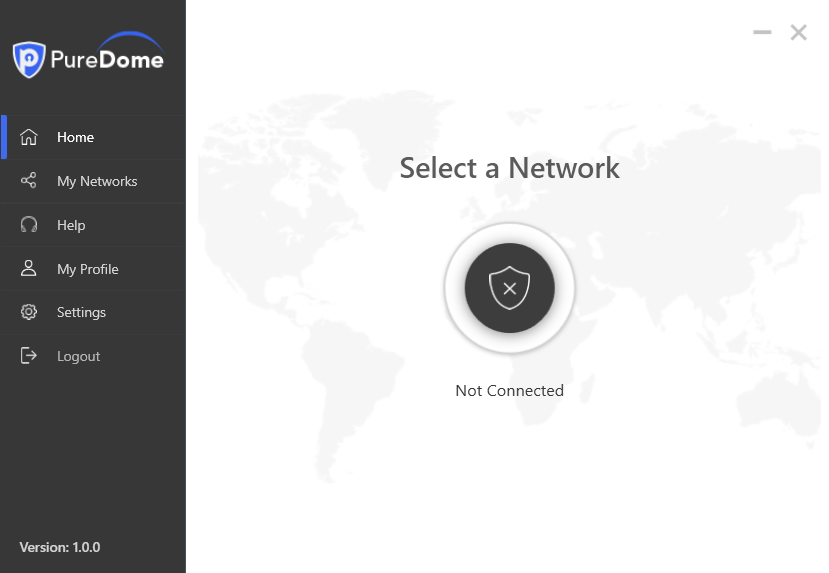
You are successfully logged in to the PureDome
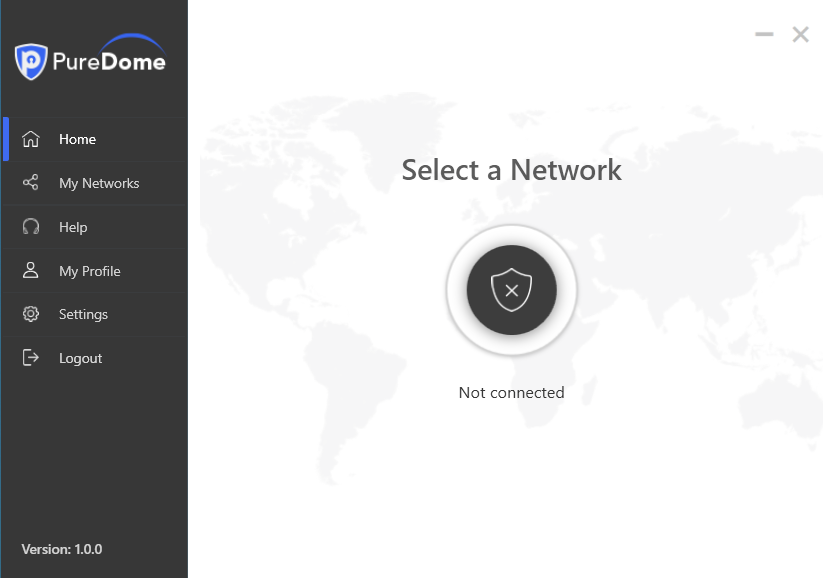
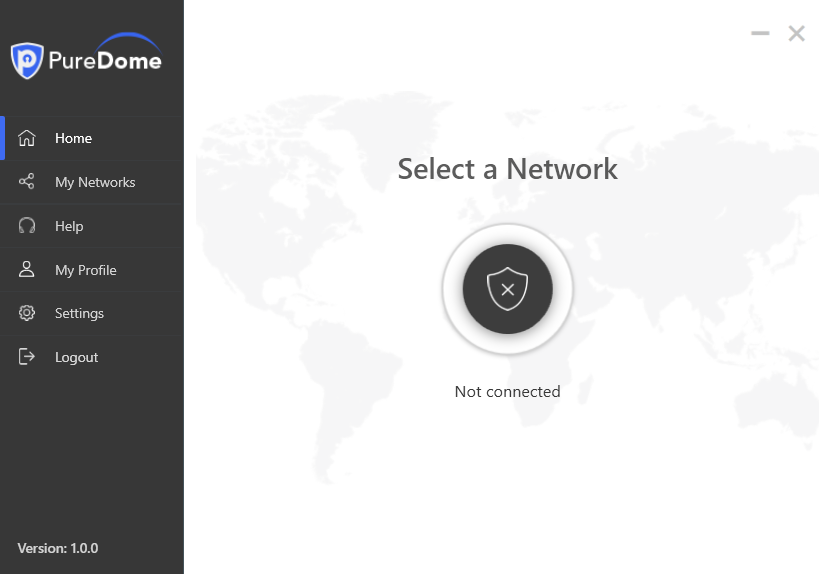
Connect Via Shared Workspace
So you'd like to connect to a specific location? No worries, PureDome has over 6,500+ Fastest VPN Servers in 78+ and you can connect to your chosen one.
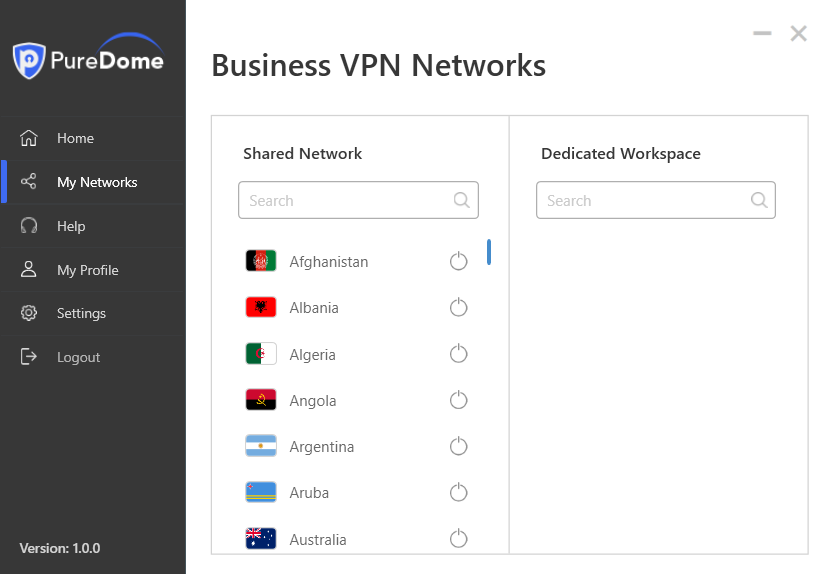
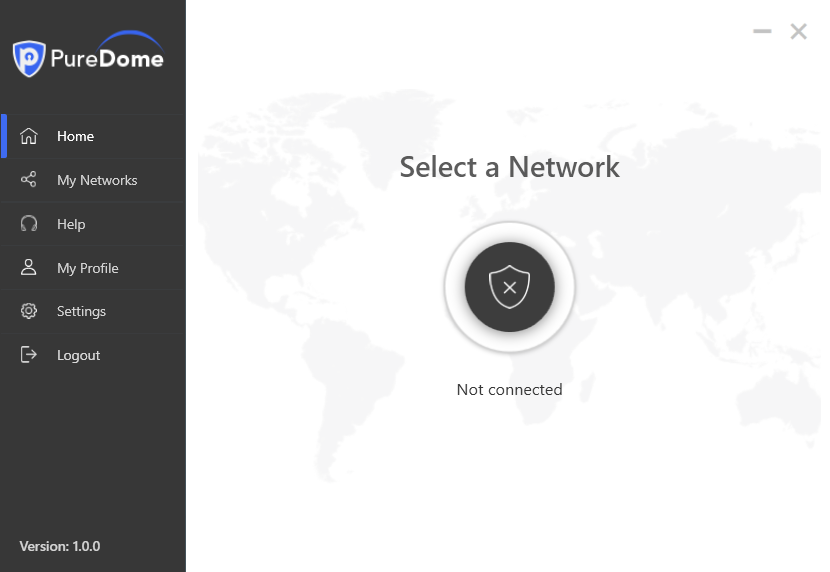
Click the My Network option at the left panel of the PureDome app

Choose your desired location from the list of countries.

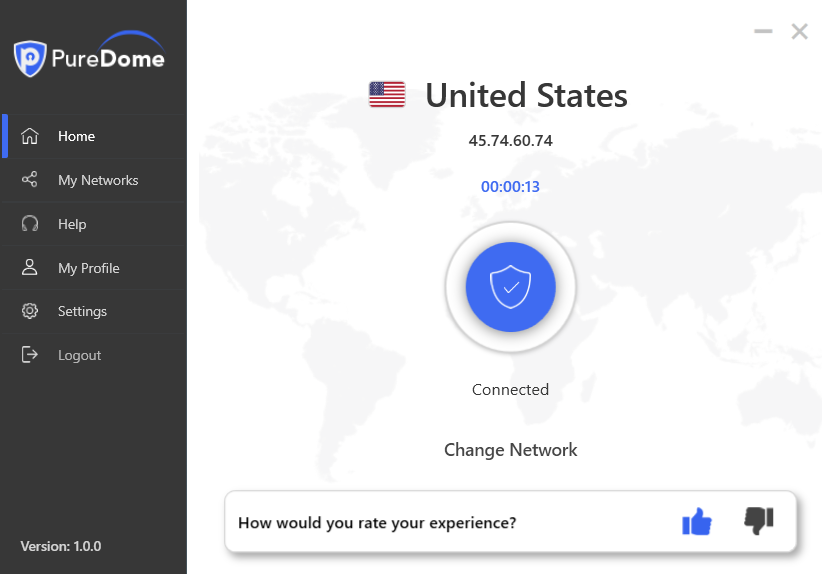
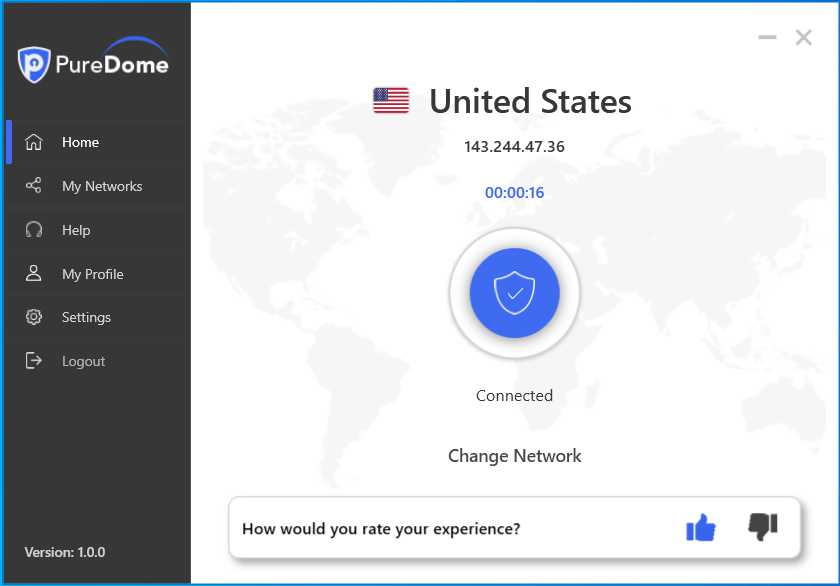
Hooray! You are now connected to your chosen country.

Connect Via Dedicated IP
Click the My Network option at the left panel of the PureDome app

Choose your Dedicated IP location from the list of countries.
Hooray! You are now connected to your dedicated IP.
Switch Protocol
VPN protocol type affects the performance and stability of your connection. Be sure to select the correct protocol when connecting to a VPN server. PureDome recommends the automatic protocol as it will pick up the most appropriate connection setting for you. But in case the Automatic protocol option does not work for you then you may proceed to switch between different protocols.
Wondering how to switch between protocols? Follow the instructions below 👇
Click the ⚙️ Settings icon from the left panel of the PureDome app
In the general settings tab, click Protocol tab.
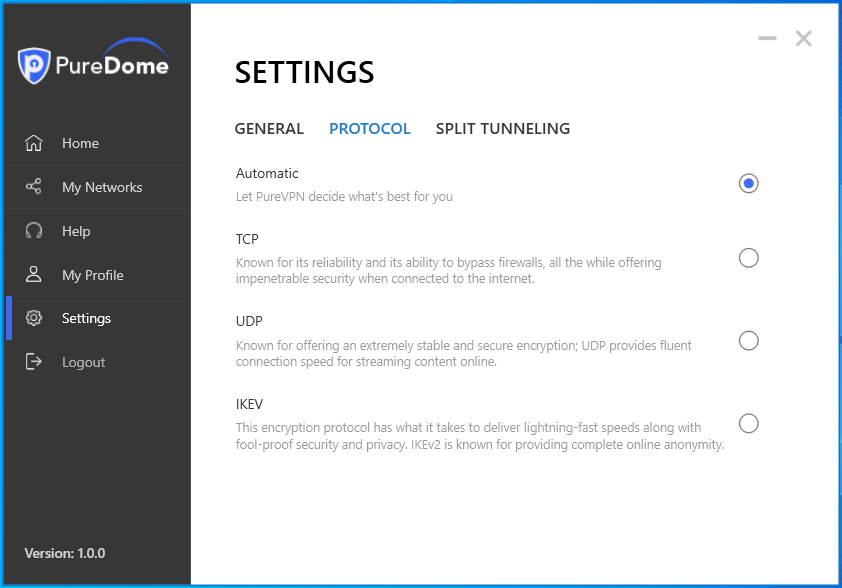
Disable automatic. Choose any protocol of your choice from the list.
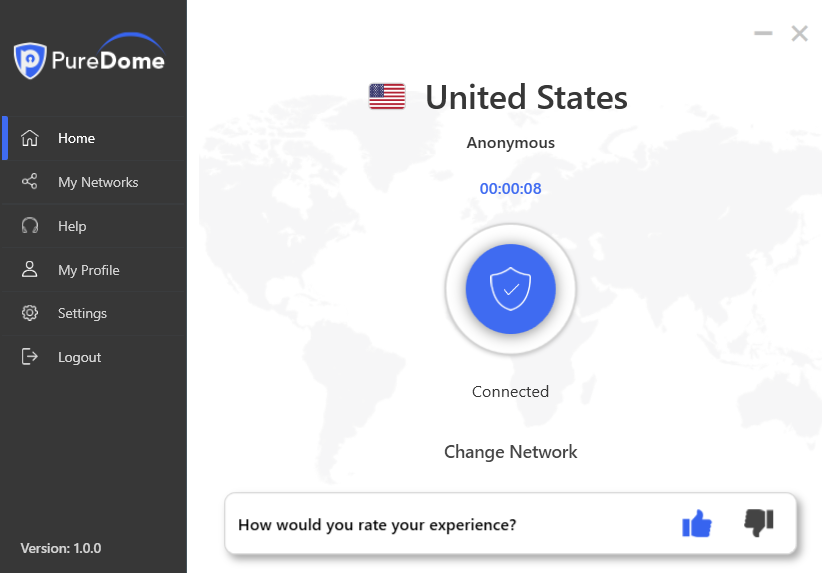
Rate Connection Experience
Your feedback is valuable to us. You can express your experience by rating us directly on the PurDome app.
How can you rate your VPN session? Follow the instructions below 👇
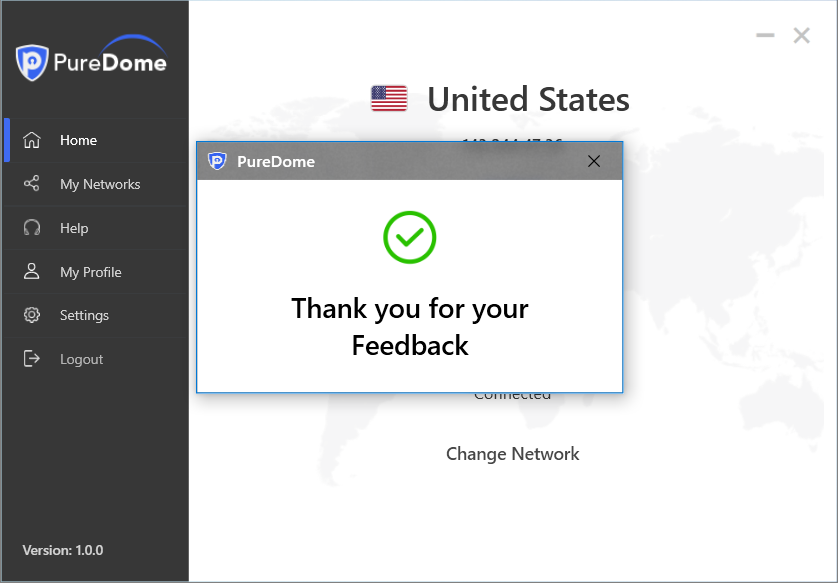
Upon Successful connection you will be able to see Thumbs up and Thumbs down icon on PureDome app dashboard.
Upon clicking the Thumbs up icon you will get the following message
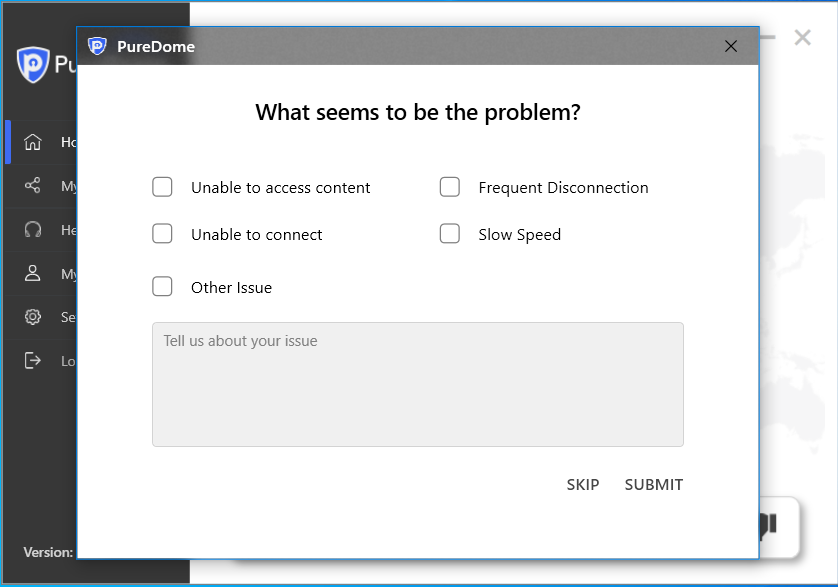
When you give a thumbs down, you’ll be asked to choose a category and leave comments. As soon as you fill it, a support ticket will open
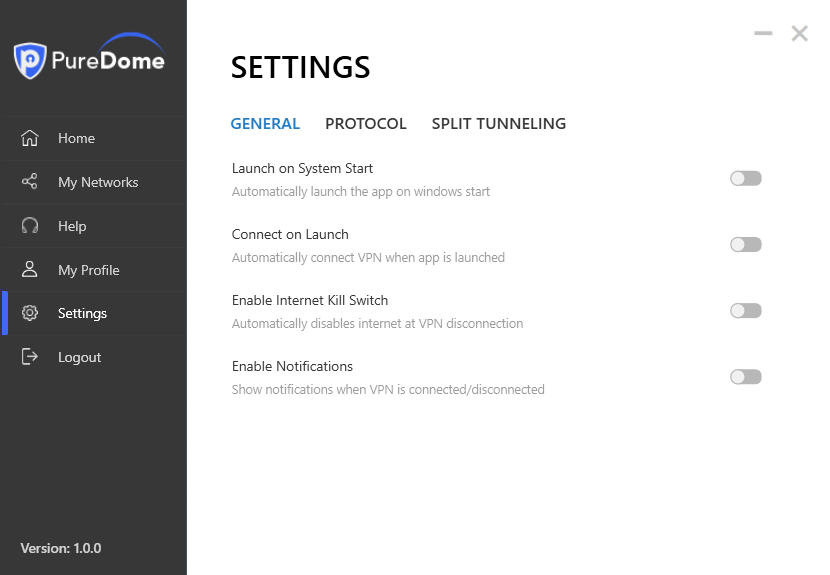
Manage PureDome General Settings
PureDome app is customizable and you can fine-tune it to fit your personal preferences.
In this section, you can do the following:
Launch on System Start
Connect on Launch
Enable Internet Kill Switch
Enable Notification
1. Launch on System Start
Looking for a way to automatically launch PureDome app upon system start-up. Here is a guide for you to follow:
Click the ⚙️ Settings from the left panel of the PureDome app
In the general settings tab, You will be able to see the Launch on system start option.

Toggle launch on system start to turn it On.
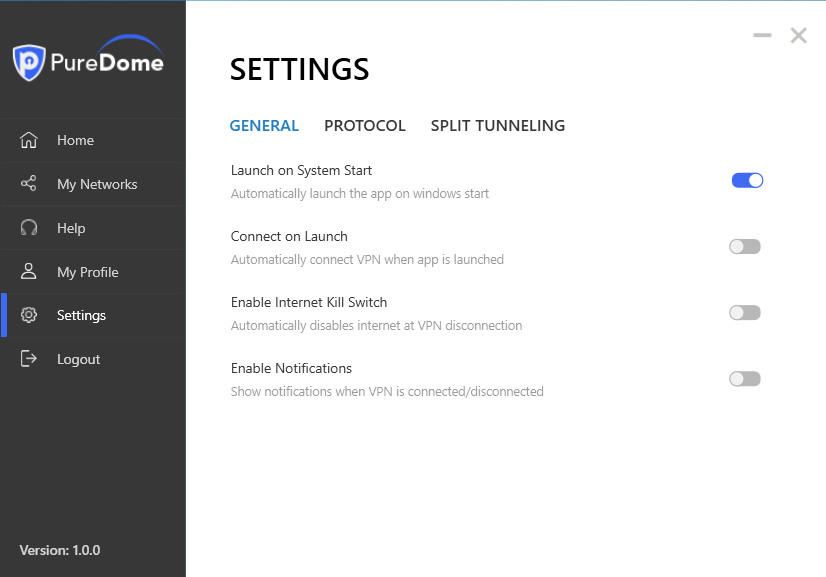
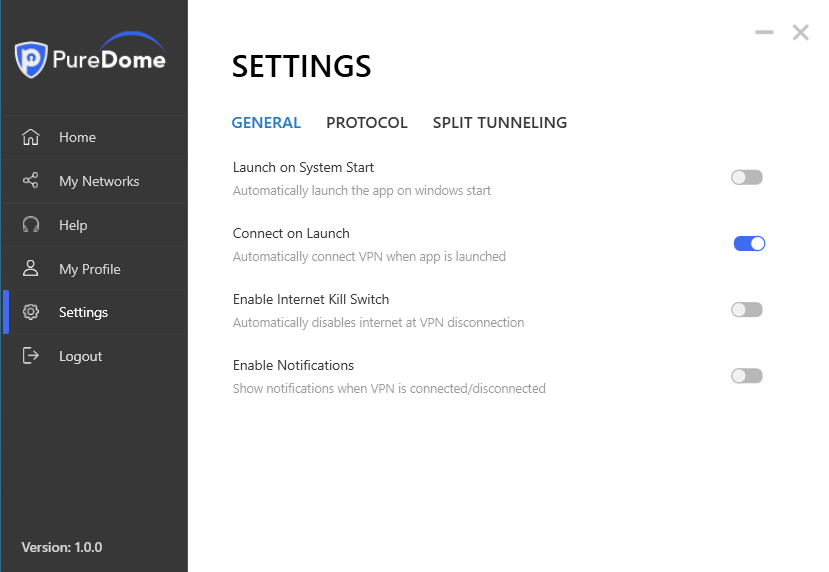
2. Connect on Launch
With this feature, you now have the security on the go whenever you wish to use public WiFi spots or in general a network that you don’t trust. Here’s how you can proceed.
Wondering how to switch between protocols? Follow the instructions below 👇
Click the ⚙️ Settings from the left panel of the PureDome app

In the general settings tab, You will be able to see the connect on launch option.

Toggle connect on launch to turn it On.
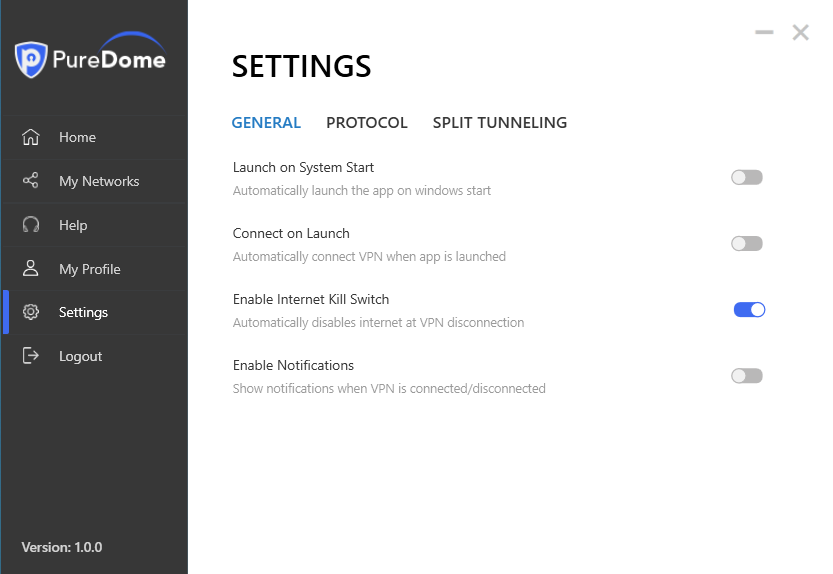
3. Enable Internet Kill Switch
Click the ⚙️ Settings from the left panel of the PureDome app

In the general settings tab, You will be able to see the Enable Internet Kill Switch option.

Toggle Enable Internet Kill Switch to turn it On.
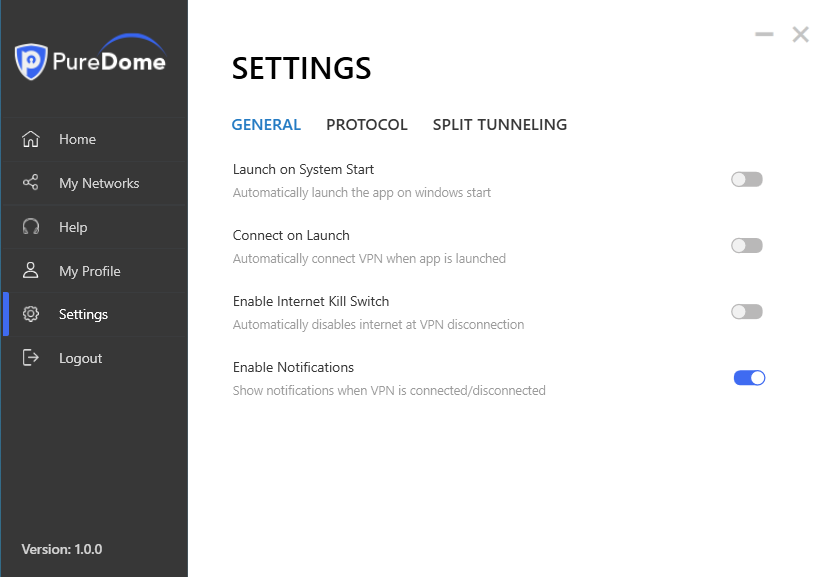
4. Enable Notification
Don’t miss the VPN connection status notification from PureDome. Enable notifications to get updated about the PureDome connection status. To know how to turn on Show VPN connection notifications, follow the instructions below 👇
Click the ⚙️ Settings from the left panel of the PureDome app

In the general settings tab, You will be able to see the connect on enable notification

Toggle enable notification to turn it On.
Delete
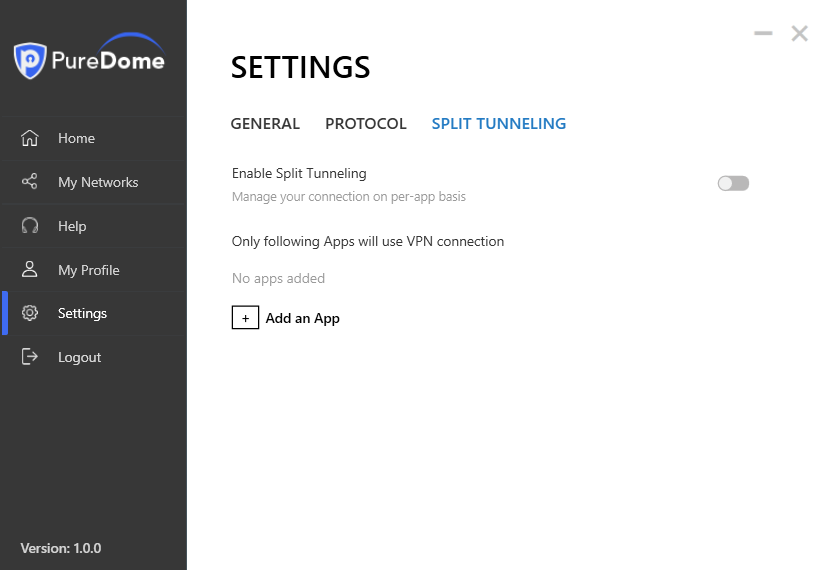
Activate Split Tunneling
How to activate split tunneling? Follow the instructions below
Click the ⚙️ Settings from the left panel of the PureDome app
Click Split Tunnelling tab
Toggle split tunnelling to turn it On
Split tunnelling is turned On now.
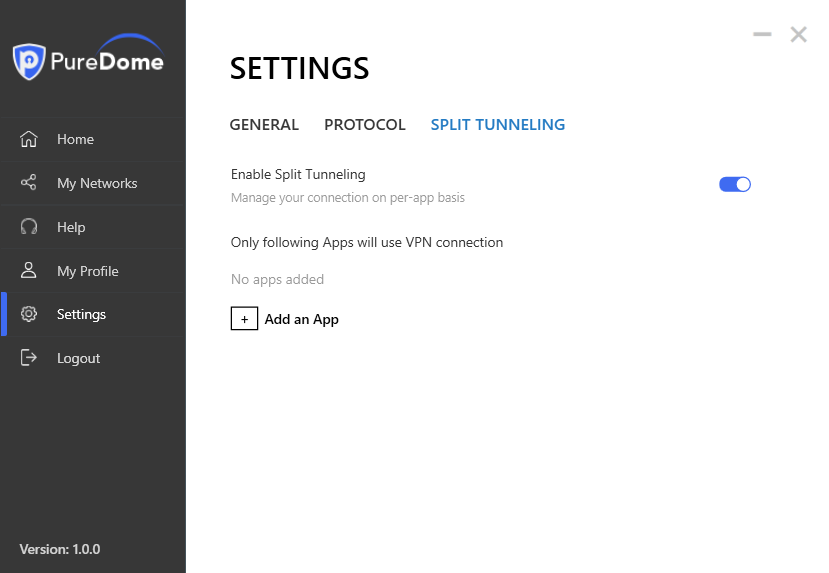
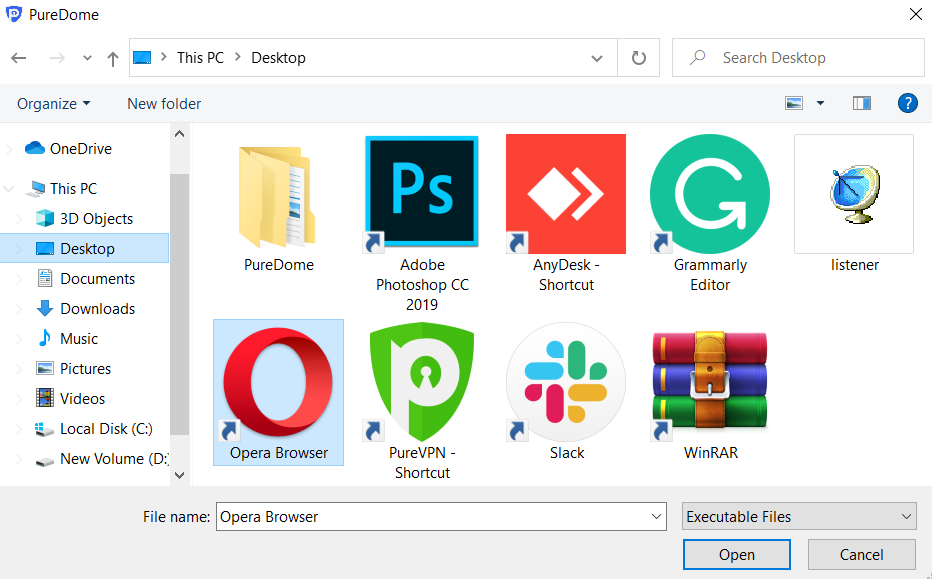
Click browse and add your desired program to enable it with split tunnelling. An application might have multiple processes running. To make sure all the data from that application is routed via VPN, please make sure to add all the processes in split tunnelling.
Manage Support Section
In this section, you have the access to do the following:
Faqs
Create a Support Ticket
Join Live Chat
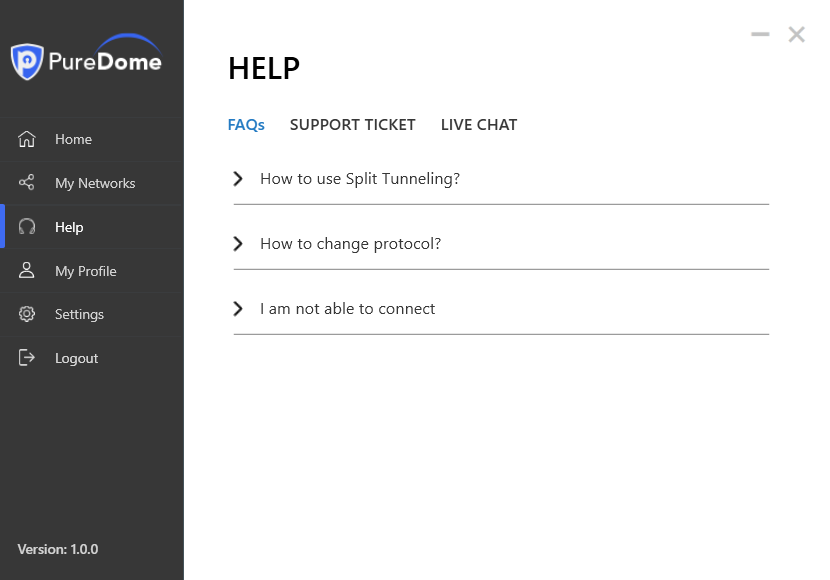
1. FAQs
Get to know more about PureDome by checking out the FAQ’s section in the PureDome application.
How do you do it? Follow the instructions below 👇
Click the Help from the left panel of the PureDome app

In the help section you will be able to see FAQ
2. Support Ticket
Click the Help from the left panel of the PureDome app

In the help section you will be able to see Support ticket. Click Support Ticket tab

Type in your query and click Submit Ticket.
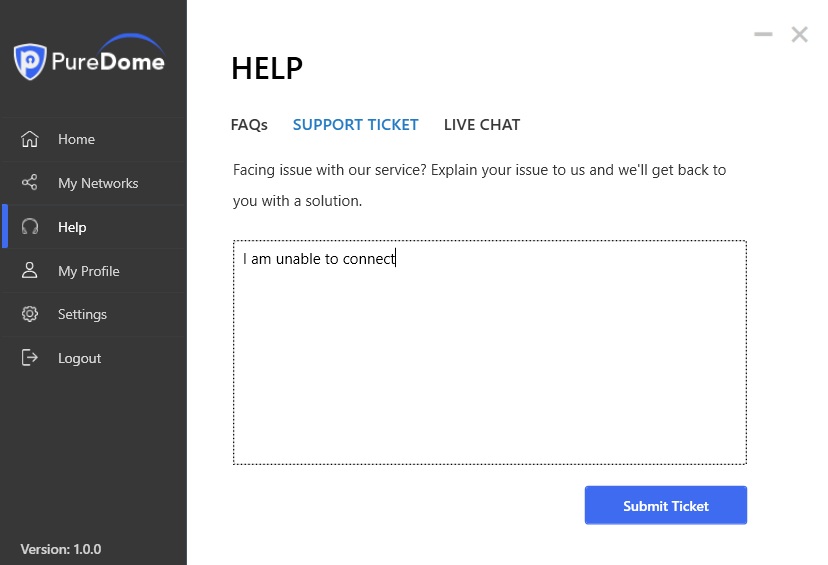
Once done click submit ticket and your request will be forwarded to the support team and they will get back to you as soon as possible.
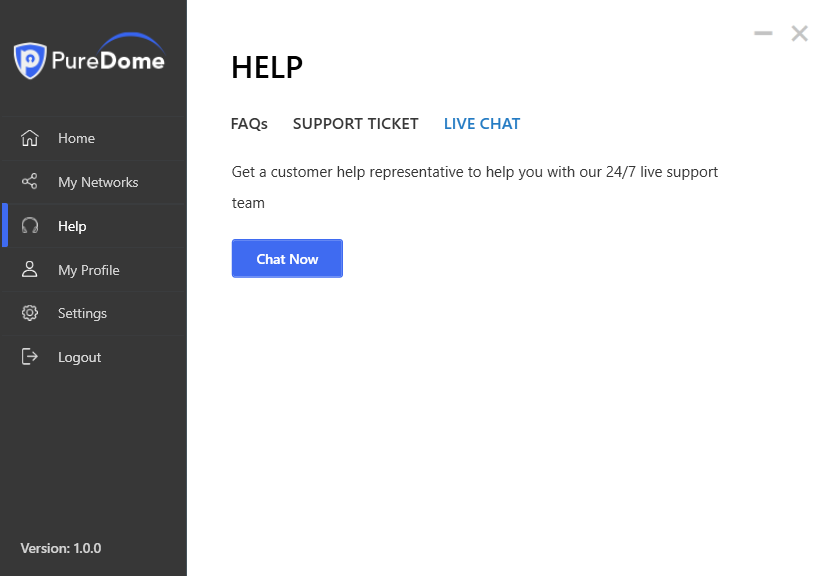
3. Live Chat
Click the Help from the left panel of the PureDome app

In the help section you will be able to see live chat. Click Live Chat tab

Click the Chat now button to start a conversation. your chat will begin on your default browser
Logout
Click the Logout option from the left panel of the PureDome app
Click Proceed to confirm

You have successfully logged out from PureDome application
Delete