To take advantage of PureVPN across all your devices via your D-Link router, follow this guide. We used the D-Link DIR 842 (Firmware Version L 2.x) for this tutorial. There are many models of D-Link routers, and while not all of them can be covered here, this should give you a general idea of the setup process. Here's what you need to do to set up a VPN on your D-Link router:
Find your VPN credentials for manual configuration
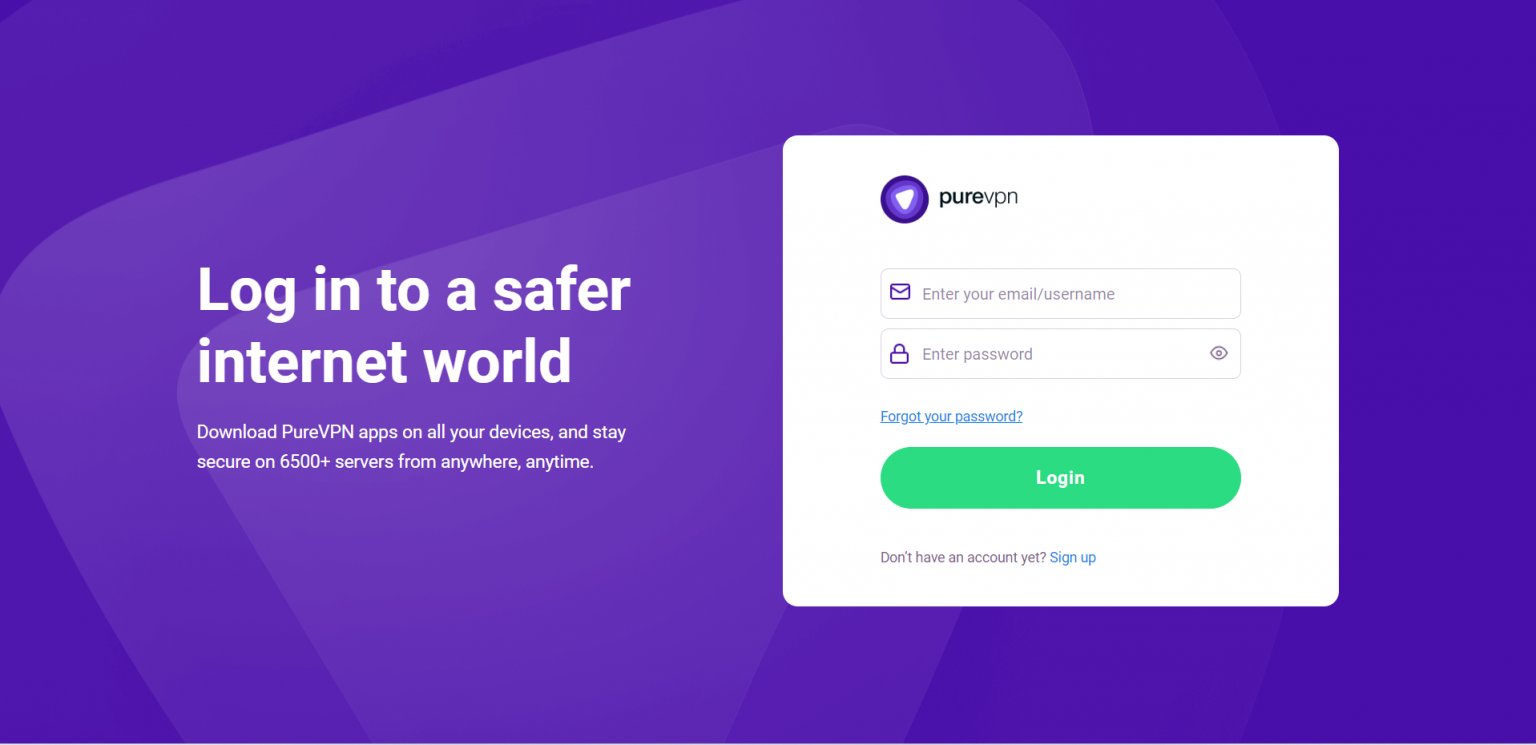
To find your VPN credentials log into the PureVPN Member Area. Click 👉 here to visit Member Area.
- Login to the Member Area using your PureVPN registered email address and password.
- On Subscription tab scroll down to be able to view your VPN credentials.

- You will be able to see and copy your VPN credentials.
- Note down your PureVPN username and click the Eye icon to make your password visible and use it in the manual configuration.

How to download DD-WRT firmware on D-Link router
- To download the DD-WRT firmware files according to your D-link router, please visit 👉 this link to download your router files for DD-WRT firmware.
How to install DD-WRT firmware
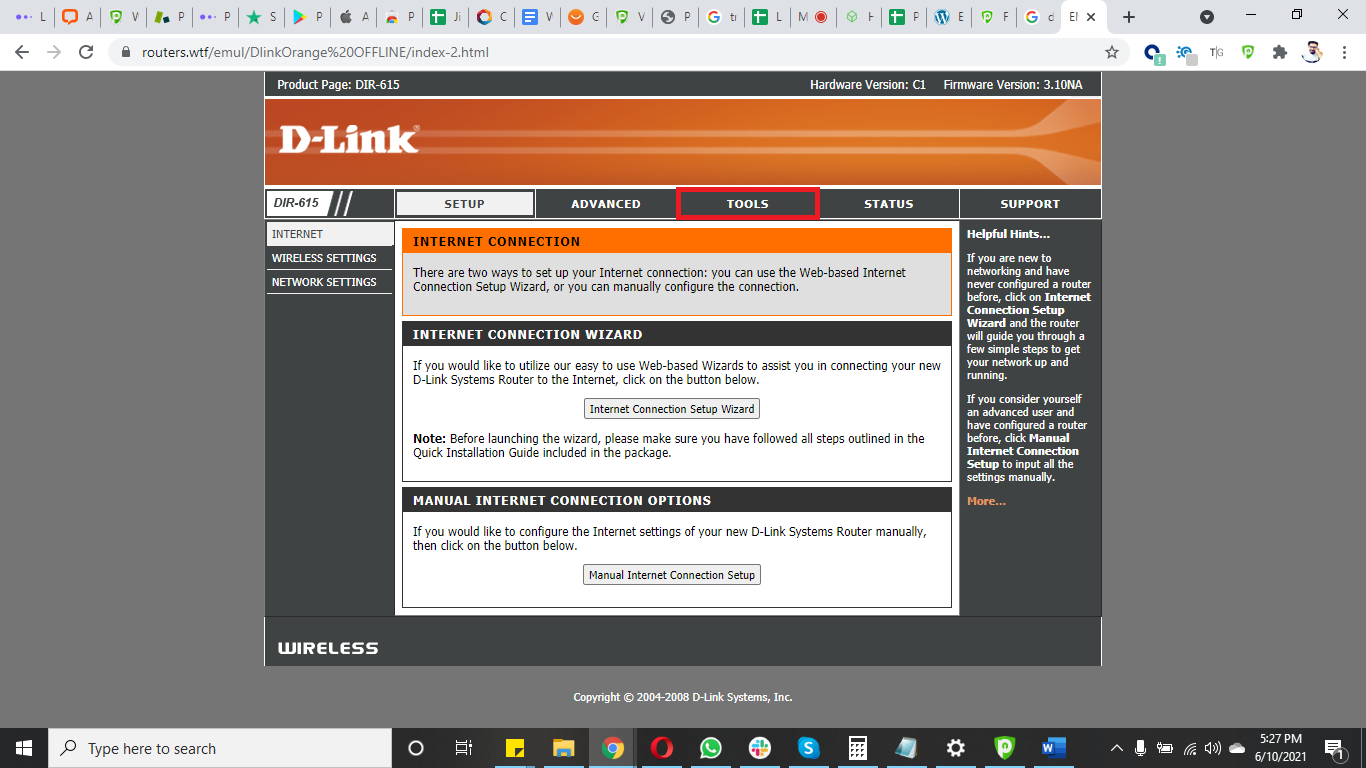
- Login to your D-link router and click Tools.
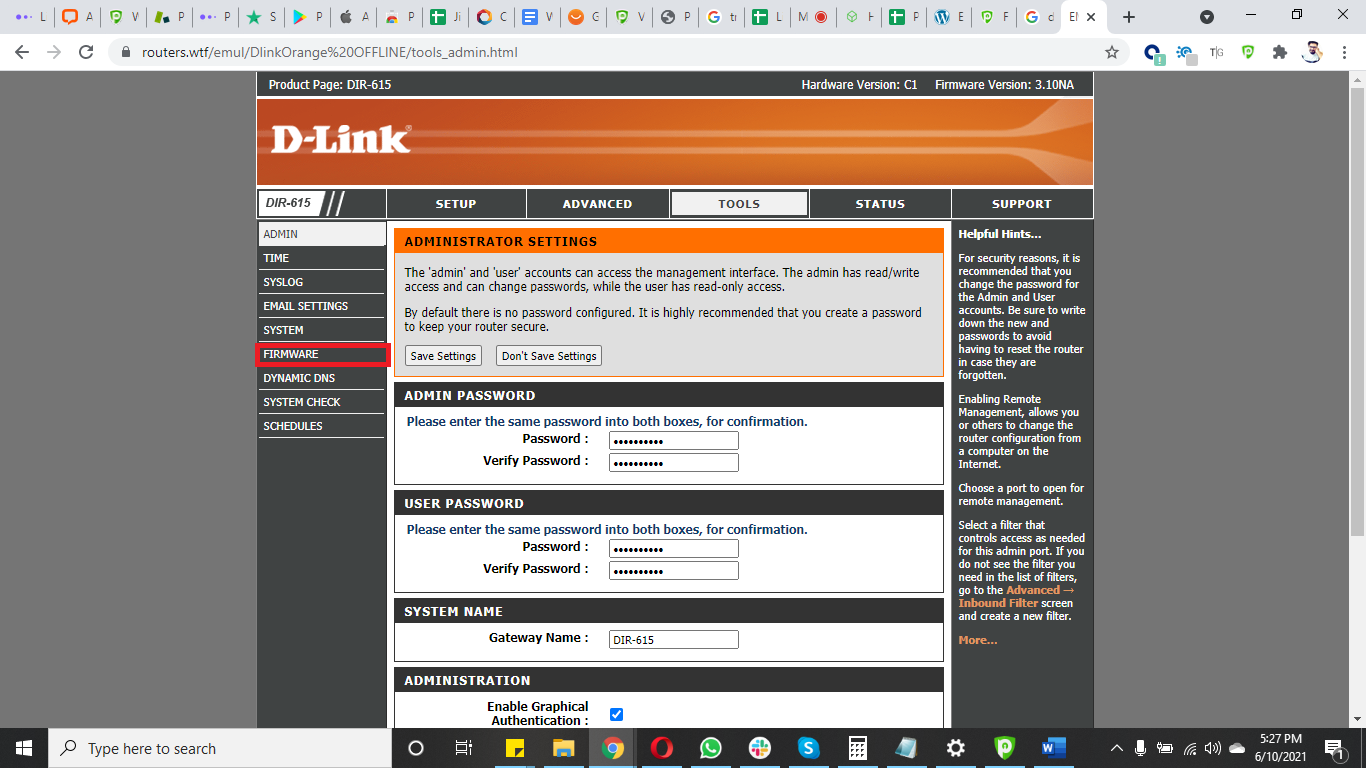
- Click Firmware from the left.
- Click Browse and select the downloaded DD-WRT firmware file.
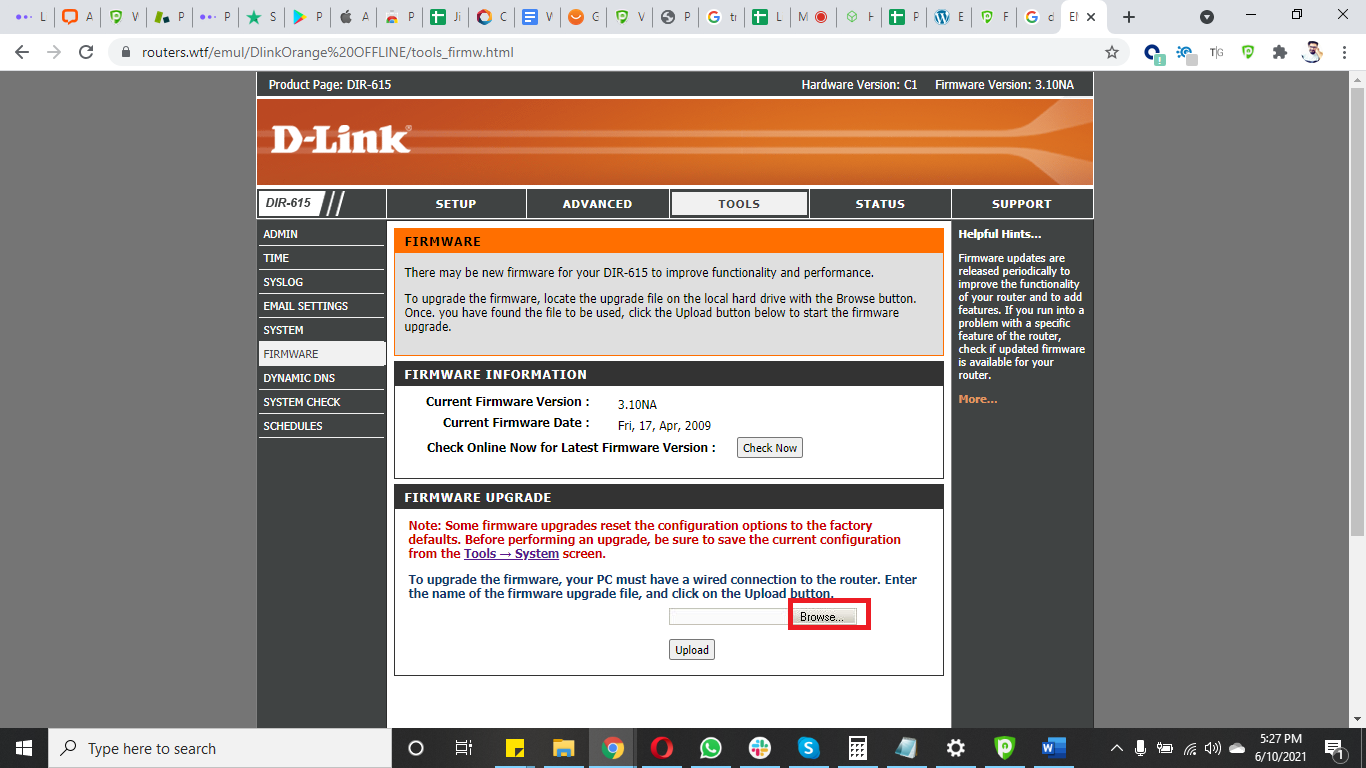
- Click Upload.

Congratulations! Firmware upgraded to DD-WRT.
How to set up OpenVPN on DD-WRT firmware
First, you need to👉 download all OpenVPN files. Once downloaded, extract the files.
- Open your DDWRT Control Panel and select Services then go to VPN tab and Enable OpenVPN Client.
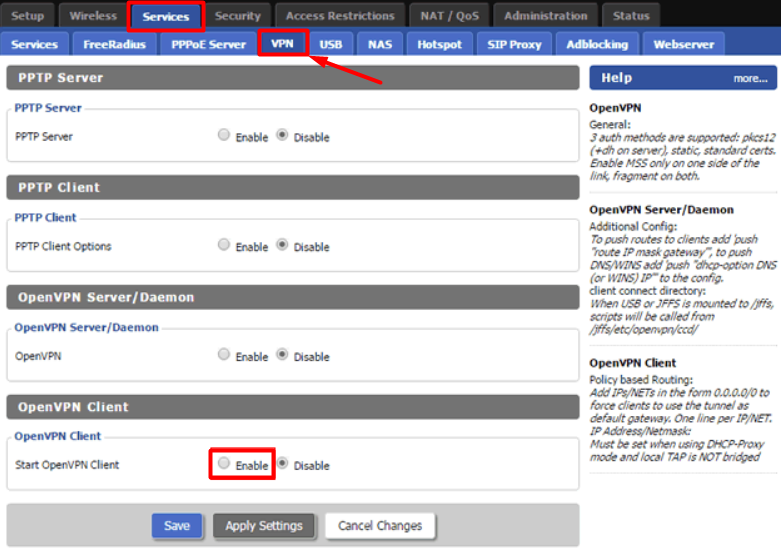
Now configure your OpenVPN client as shown below:
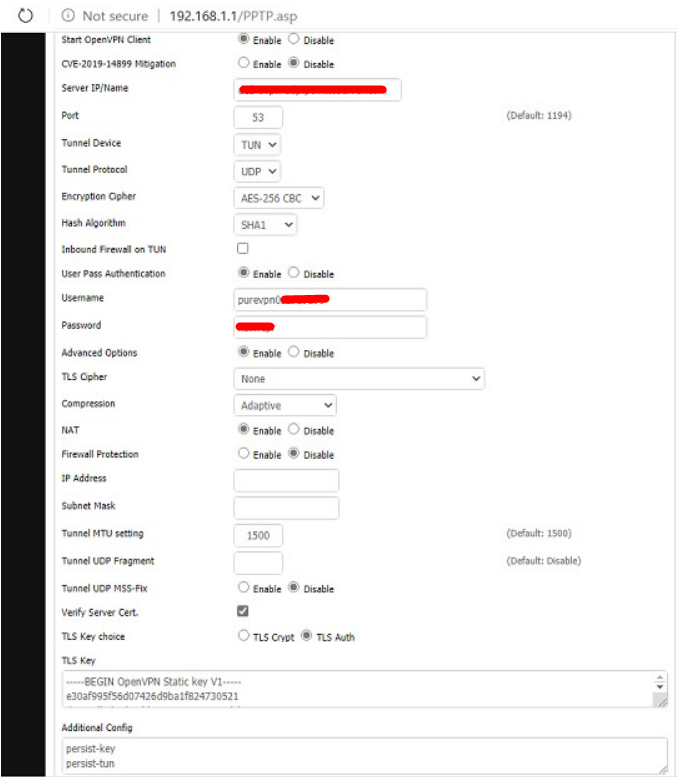
- OpenVPN Client: Enable
- CVE Mitigation: Disable
- Server IP/Name: Enter your desired location’s TCP/UDP server address here. Server list can be accessed from👉 here
- Port: 80 (For TCP)/ 53 (For UDP)
- Tunnel Device: TUN
- Tunnel Protocol: TCP/UDP
- Encryption Cipher: AES-256-CBC
- Hash Algorithm: SHA-1
- Inbound Firewall on TUN: Uncheck
- User Pass Authentication: Checked
- Username and Password: Enter your PureVPN credentials. Here is how you can 👉find your VPN credentials.
- Advanced Options: Enabled
- TLS Cipher: None
- Compression: Adaptive
- NAT: Enable
- Firewall Protection: Disable
- Tunnel UDP MSS-Fix: Disable
- Verify Server Cert.: Checked
- TLS Key Choice: TLS Auth
- TLS Key: Copy and paste all the content from the key file you have downloaded with the OpenVPN configuration files.
- Additional Config:
- persist-key
- persist-tun
- CA Cert: Copy and paste all the content from the crt file you have downloaded with the OpenVPN configuration files.
- Click Save and then Apply Settings button.
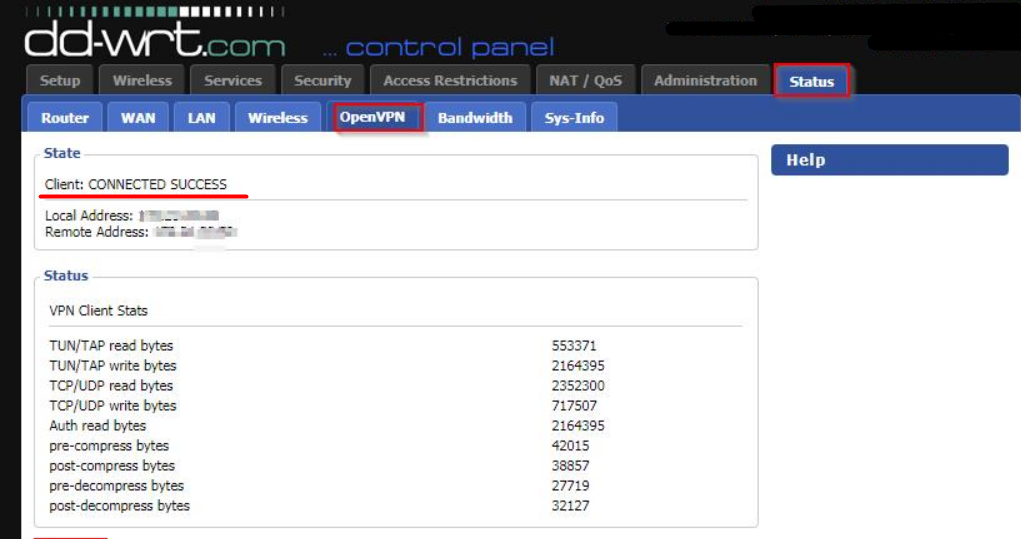
- Now navigate to the Status tab then OpenVPN to check the connection Status.