
In this article, you will learn how to set up a manual VPN connection on your Windows device.
Find your VPN credentials for manual configuration
- In order to create a manual VPN configuration, you will need to obtain a VPN username and password from the PureDome console page.
- The option to access VPN Agent credentials is now located in the profile section of the PureDome console. Members of the team, including administrators, can now easily see, copy, and generate their own passwords for setting up the VPN manually.
- To access, simply log into the PureDome console at: app.puredome.com, click on Profile in the upper right corner, scroll down, and there you’ll find the VPN Username (purevpn0sxxx) along with a button to generate a new VPN Password under VPN Agent.
- Once you have your account details for manual configuration, you can follow the steps given below to manually configure the VPN on your Windows device.
Set up manual configuration on Windows 11
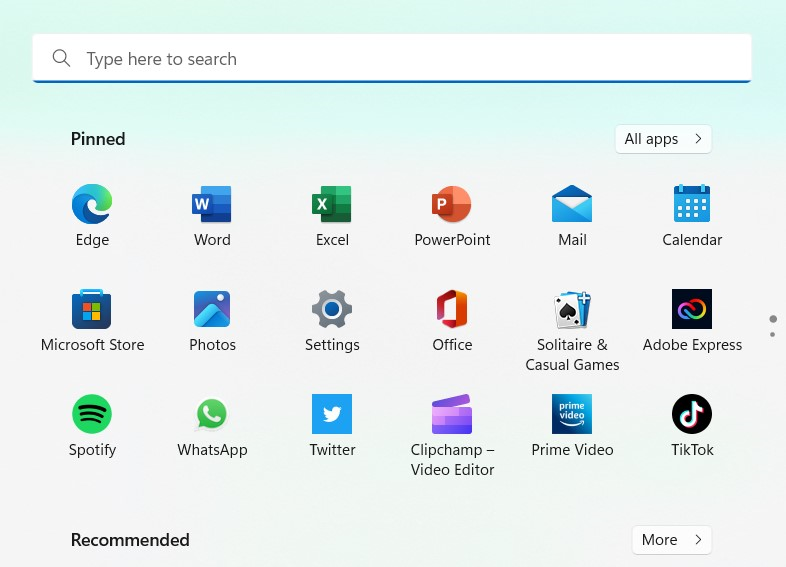
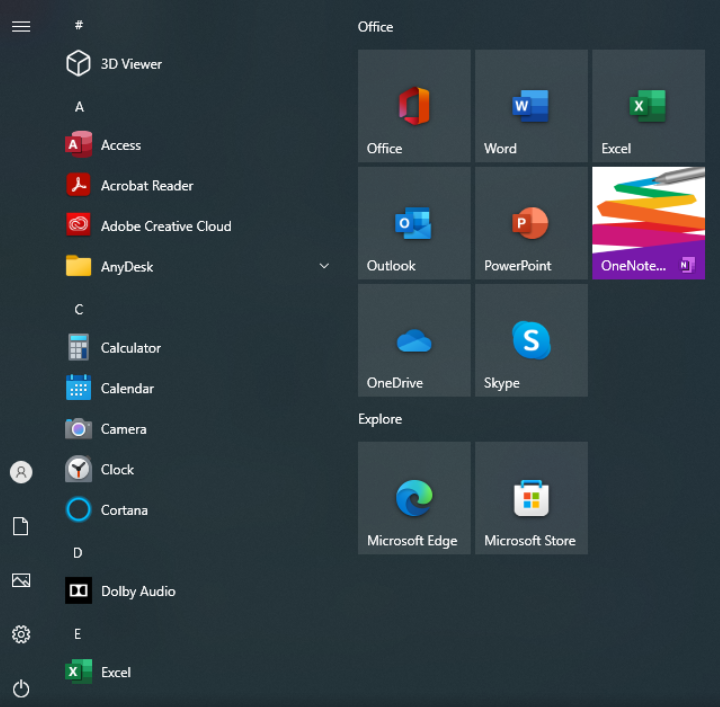
- Click Windows logo in the bottom of the screen and select Settings.
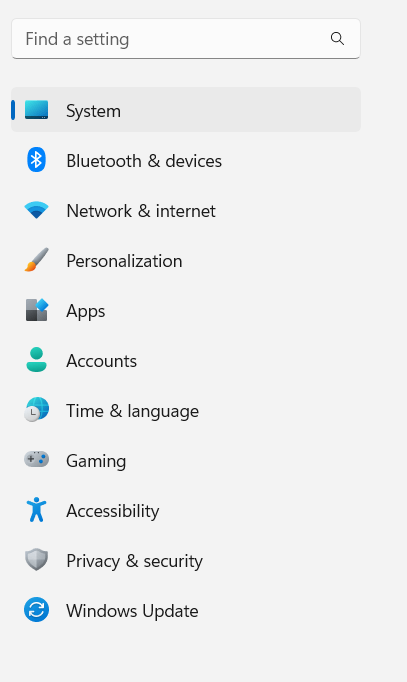
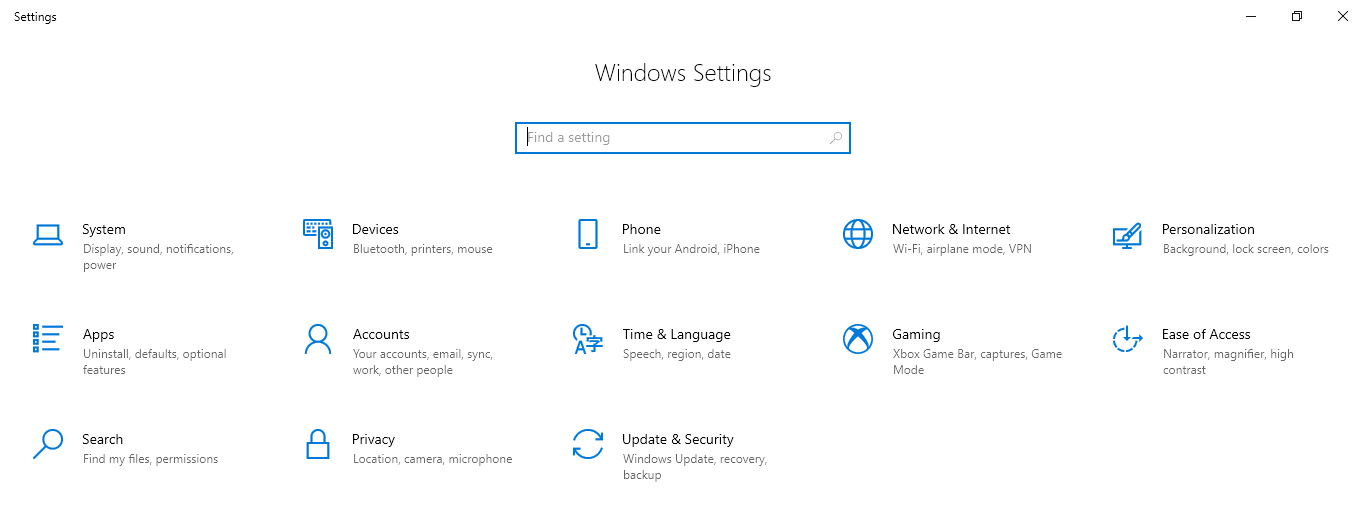
- Click Network & internet.
- Click VPN.
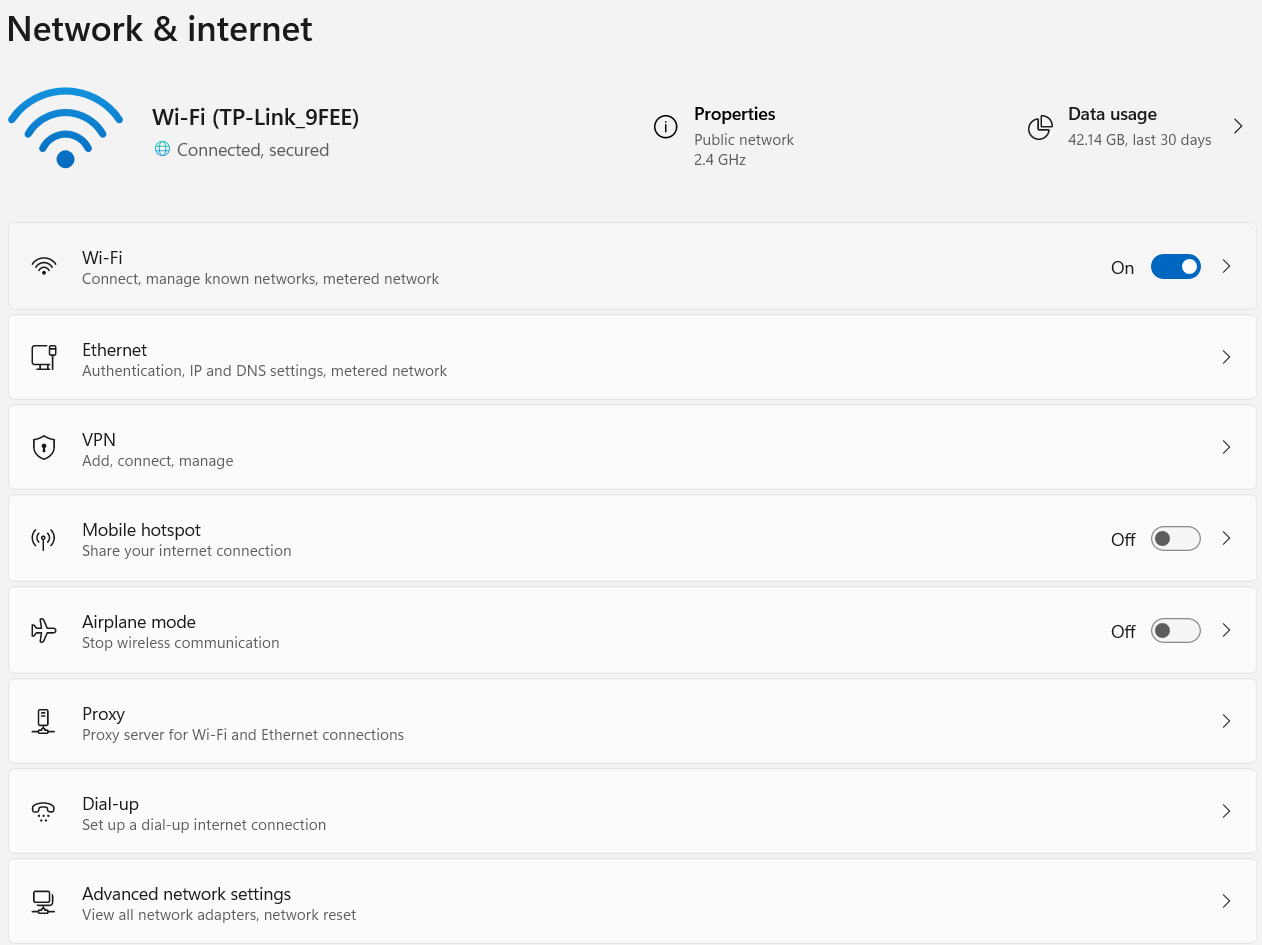
- Click Add VPN.

- A pop up window will appear.
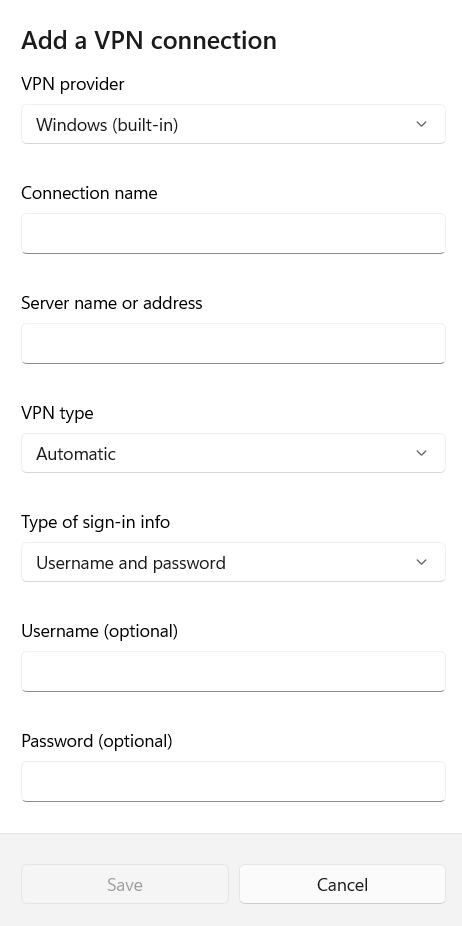
- Enter the following details:
- VPN provider: Windows (built-in)
- Connection name: Enter a name to identify the connection; for example, you can use the service name like PureDome manual connection.
-
Server name or address:
- For shared IP VPN users: You can see the list of manual server addresses from this link.
Note: Only limited server locations are supported on SSTP, PPTP and L2TP protocols.
- For dedicated IP/ gateway users: Please contact the administrator of your PureDome account who can log into the console at: app.puredome.com and provide you with the server name for your dedicated IP/ gateway account.
Note: Gateway is only supported on IKEv2, IPSec and OpenVPN protocol.
-
VPN type: Use the VPN type drop-down menu and select the protocol required to connect to the particular VPN server. For this tutorial, we used IKEv2. Supported protocols are:
- IKEv2
- Secure Socket Tunneling Protocol (SSTP)
- L2TP/IPsec with pre-shared key
- Please use 12345678 as Pre-shared key
- Point to Point Tunneling Protocol (PPTP)
- Type of sign-in info: Username and password.
- Username (optional): Instructions to fetch the username and password for manual connection provided above.
- Password (optional): Instructions to fetch the username and password for manual connection provided above.
- After entering your details, click the Save button. You will see your newly created manual VPN profile.

- Click the Connect button in order to get connected. The status of the manual VPN profile will change from Not connected to Connected indicating the start of your secure and anonymous browsing experience. To disconnect, click the Disconnect button.

Set up manual configuration on Windows 10
- Click Windows logo in the bottom left-corner of the screen and select Settings.
- Click Network & Internet.
- Click VPN.
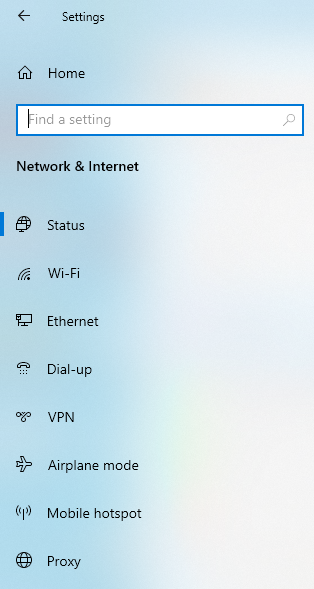
- Click Add a VPN connection.

- A pop up window will appear.
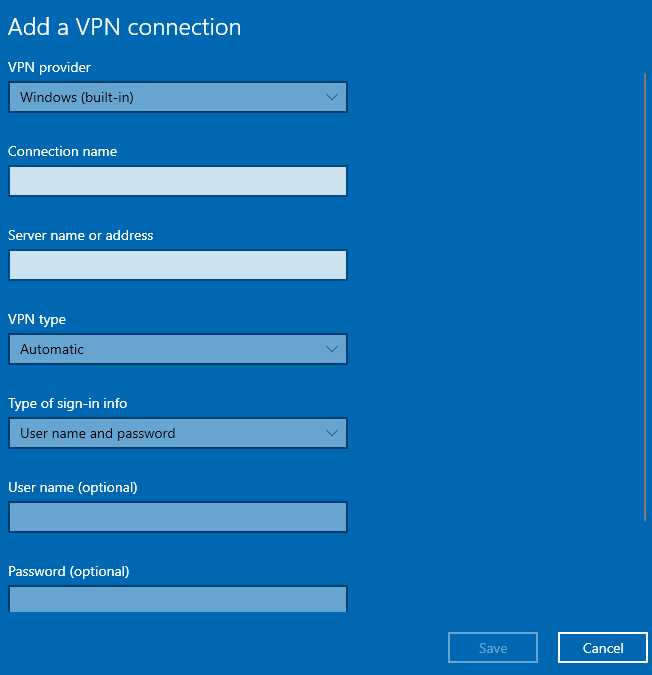
- Enter the following details:
- VPN provider: Windows (built-in)
- Connection name: Enter a name to identify the connection; for example, you can use the service name like PureDome manual connection.
-
Server name or address:
- For shared IP VPN users: You can see the list of manual server addresses from this link.
Note: Only limited server locations are supported on SSTP, PPTP and L2TP protocols.
- For dedicated IP/ gateway users: Please contact the administrator of your PureDome account who can log into the console at: app.puredome.com and provide you with the server name for your dedicated IP/ gateway account.
Note: Gateway is only supported on IKEv2, IPsec and OpenVPN protocol.
-
VPN type: Use the VPN type drop-down menu and select the protocol required to connect to the particular VPN server. For this tutorial, we used IKEv2. Supported protocols are:
- IKEv2
- Secure Socket Tunneling Protocol (SSTP)
- L2TP/ IPsec with pre-shared key
- Please use 12345678 as Pre-shared key
- Point to Point Tunneling Protocol (PPTP)
- Type of sign-in info: Username and password.
- Username (optional): Instructions to fetch the username and password for manual connection provided above.
- Password (optional): Instructions to fetch the username and password for manual connection provided above.
- After entering your details, click the Save button. You will see your newly created manual VPN profile.
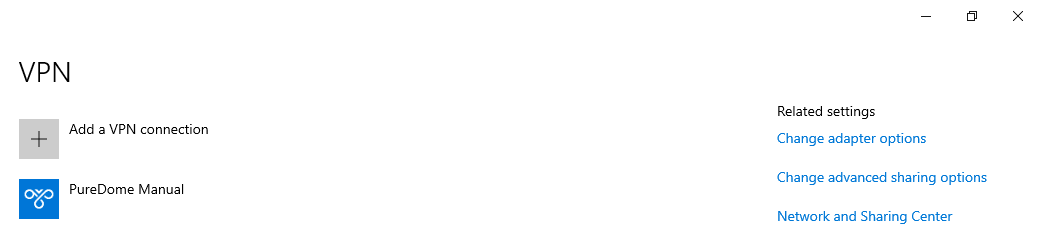
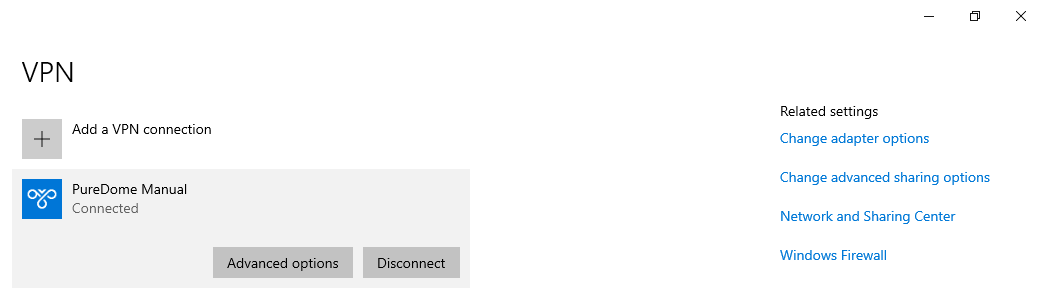
- Click the Connect button in order to get connected. The status of the manual VPN profile will change to Connected indicating the start of your secure and anonymous browsing experience. To disconnect, click the Disconnect button.
Set up OpenVPN on Windows (7, 8, 10 and 11)
The OpenVPN GUI is a free graphical frontend for running the OpenVPN protocol on Windows 7, Windows 8, Windows 10 and Windows 11.
Note: The following steps have been tested on Windows 10 and should work on other versions of Windows as well.
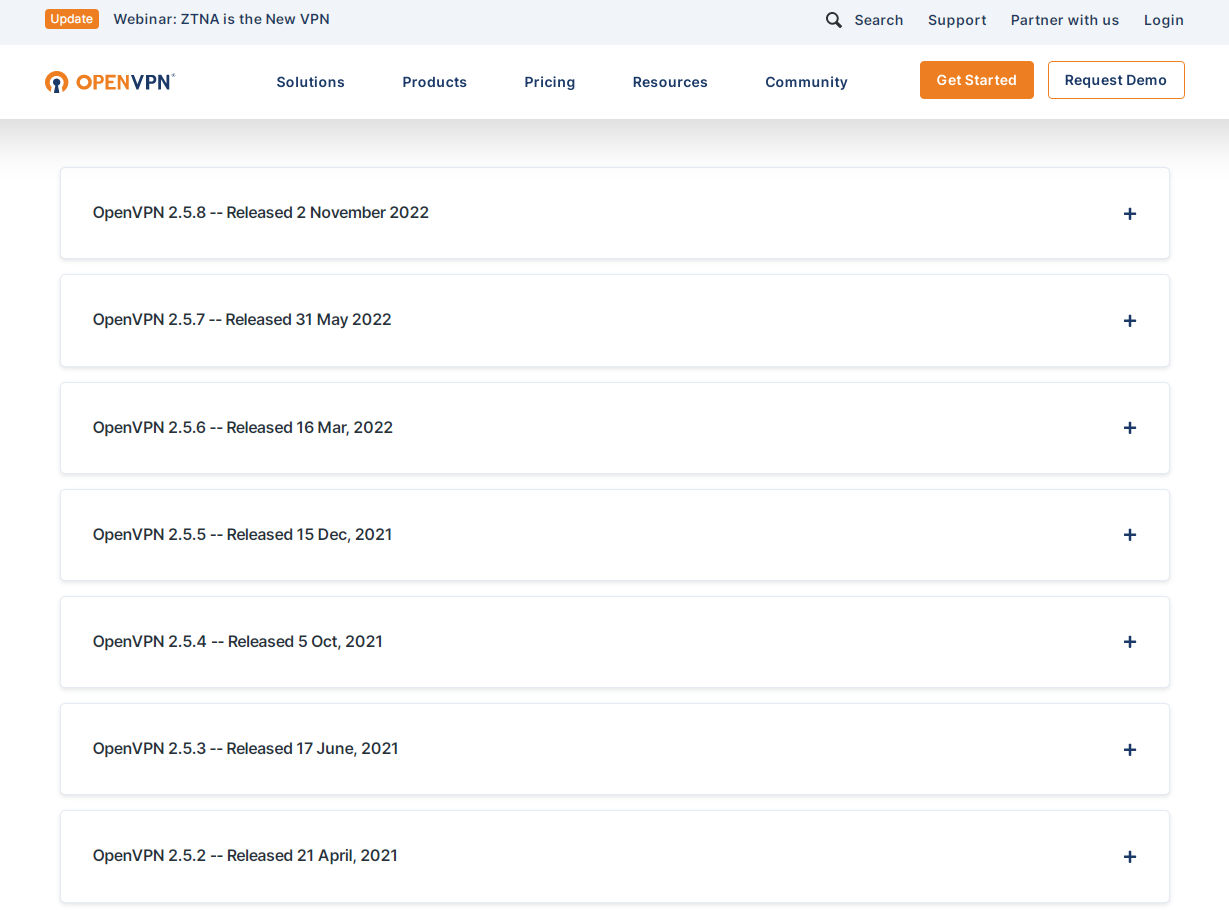
- Download the OpenVPN GUI that is appropriate to your Windows operating system. You can find the OpenVPN files you'll need to extract onto your desktop by clicking here.
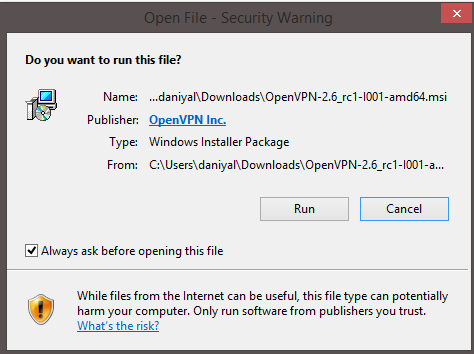
- Open the OpenVPN GUI installer .exe file. When prompted to allow the OpenVPN installer to make changes to your device, click Run.
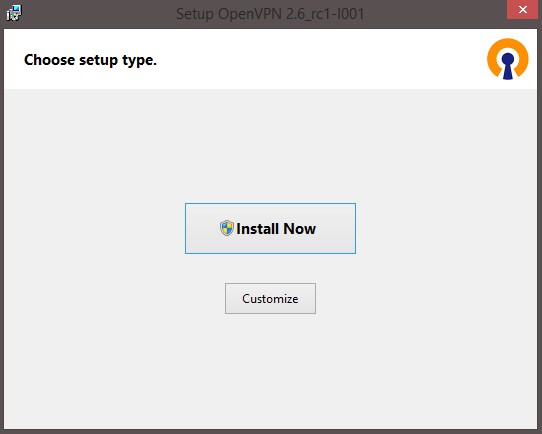
- Click Install Now to start the installation.
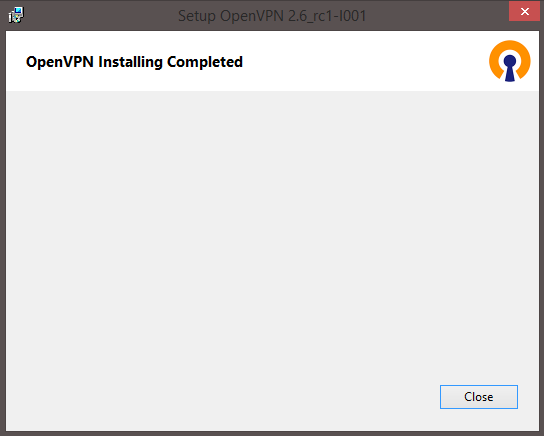
- After OpenVPN has been installed on your computer, click Close.
- On your desktop, right-click the OpenVPN GUI shortcut, click Import and then click Import file.

- Locate the folder on your computer where you downloaded and extracted the OpenVPN files. Then, select the OpenVPN file you want to upload into the OpenVPN GUI.

- Right-click the OpenVPN GUI shortcut, and then click on Connect.

- Enter your PureDome credentials and then click OK.

- When the OpenVPN GUI app successfully connects to a VPN server, you will see a successful connection message indicating the start of your secure and anonymous browsing experience.

Note: In order to connect with your dedicated IP/ gateway account through OpenVPN, please contact the administrator of your PureDome account. They will be able to log into the console at app.puredome.com and provide you with the server name for your dedicated IP/ gateway account.
Once you have the server name, open any OpenVPN file via text editor such as notepad and replace the server address in the file with the server address for your dedicated IP/ gateway account. Save the file and upload it into OpenVPN GUI to make a connection.
If you have any questions or are experiencing any issues, please don't hesitate to contact our 24/7 customer support team via live chat or email at support@puredome.com. We're always happy to help!