Configuring a PureVPN tunnel on your router is a great way to ensure the safety and security of all the devices in your home. This method is especially beneficial if you have devices that don’t have VPN compatibility or you want to protect all the Wi-Fi-connected devices in your home.
In this tutorial, we will show you how to set up a VPN on a TP-Link R6000 VPN Router with Hardware version TL-R6000VPN v4.0 and Firmware version 4.0.3 but first let’s see what are our requirements and recommendations.
Find your VPN credentials for manual configuration
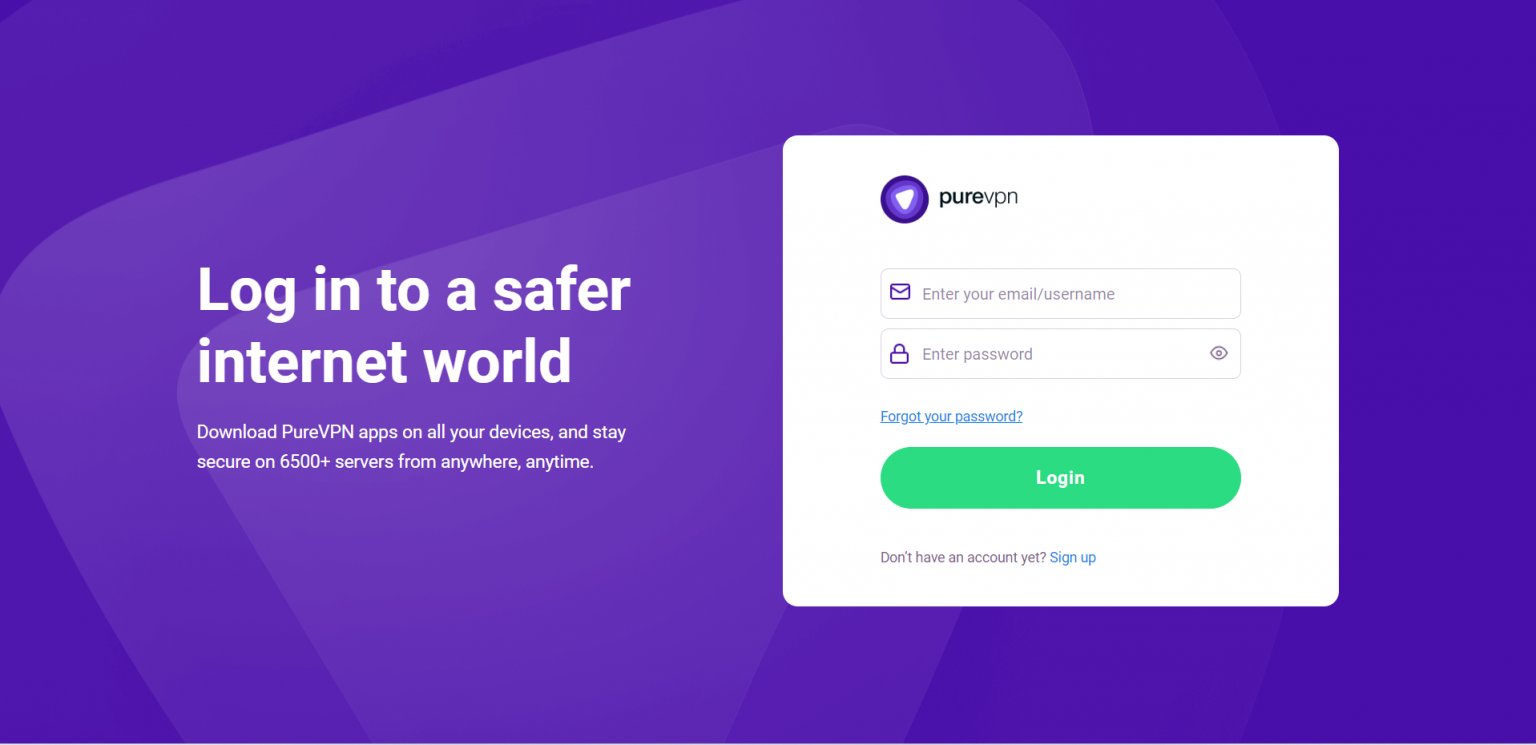
To find your VPN credentials log into the PureVPN Member Area. Click 👉 here to visit Member Area.
Login to the Member Area using your PureVPN registered email address and password.
On the Subscription tab scroll down to be able to view your VPN credentials.

- You will be able to see and copy your VPN credentials.
- Note down your PureVPN username and click the Eye icon to make your password visible and use it in the manual configuration.

How to install DD-WRT firmware on TP-Link
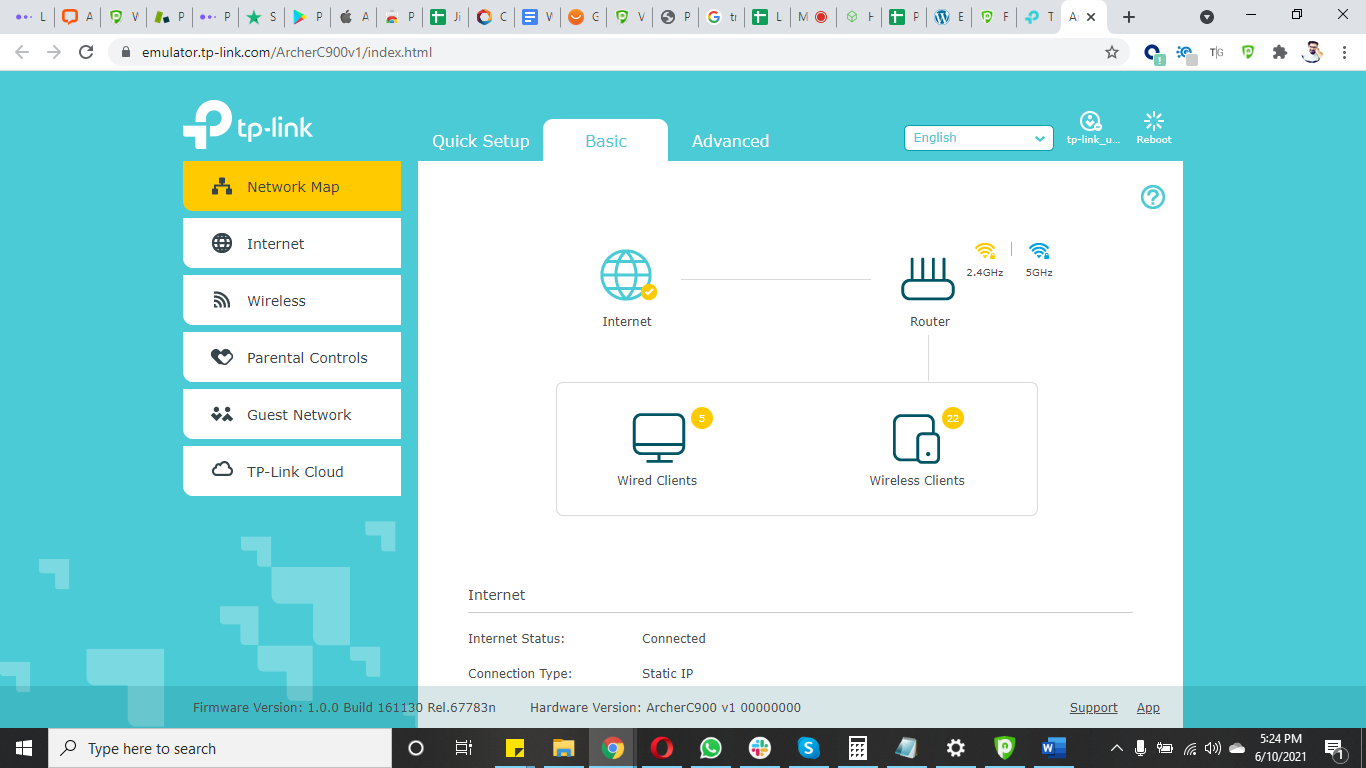
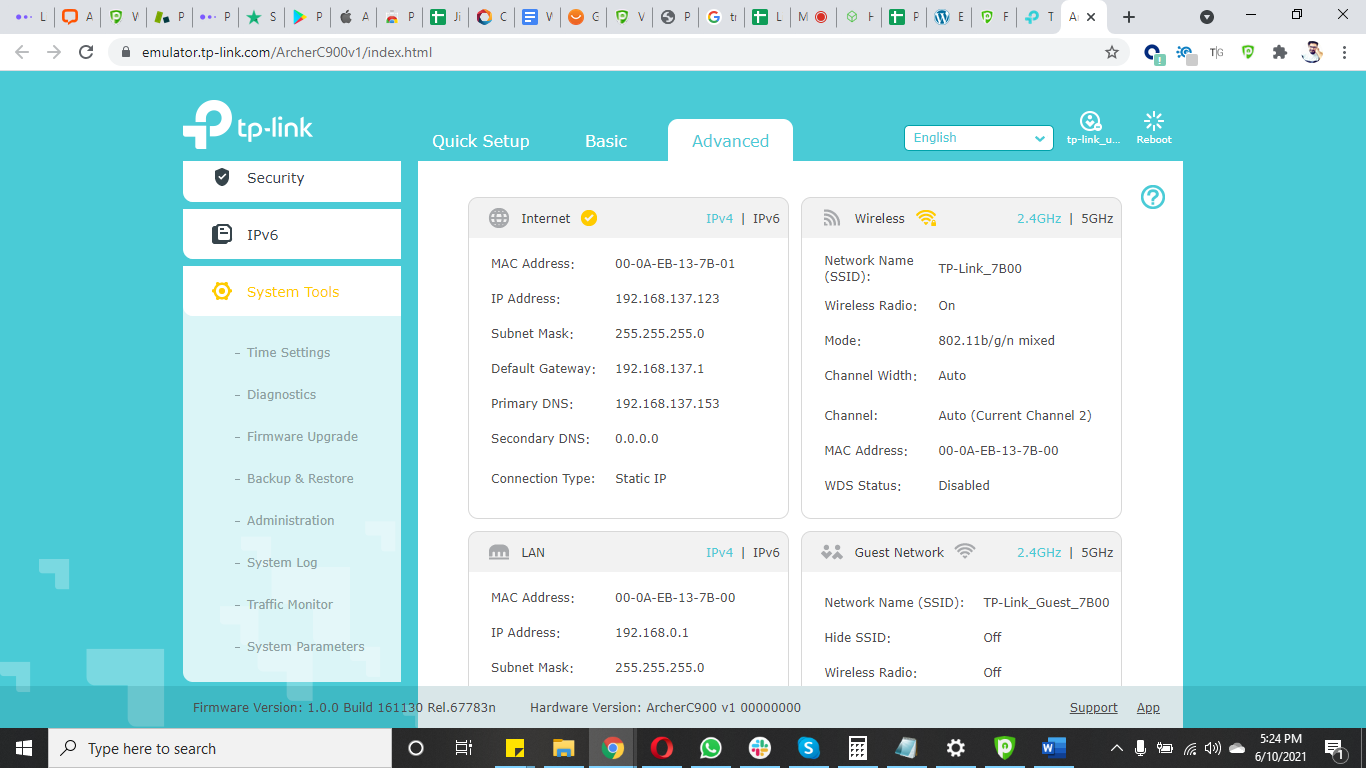
- Login to your TP-link router and click Configuration.
- Click Advanced.
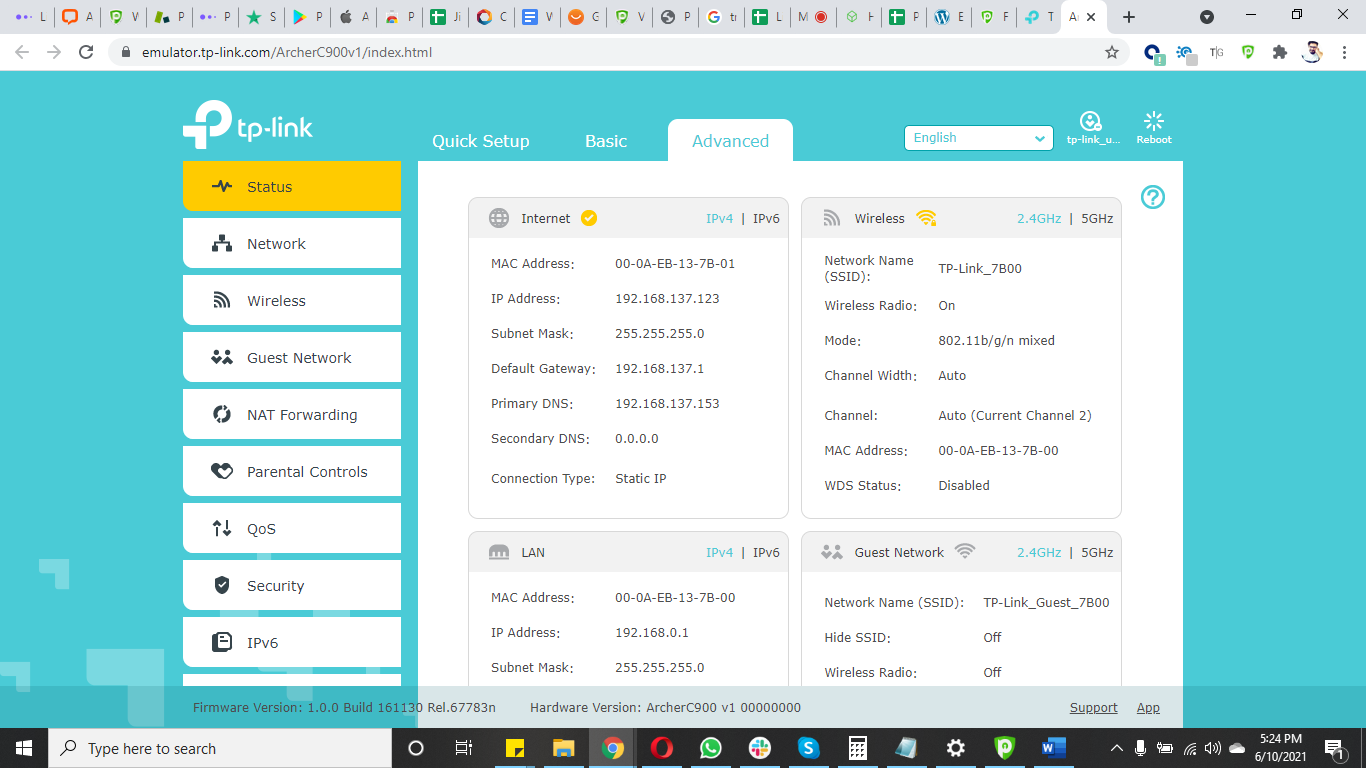
- Click System Tools.
- Click Firmware upgrade.
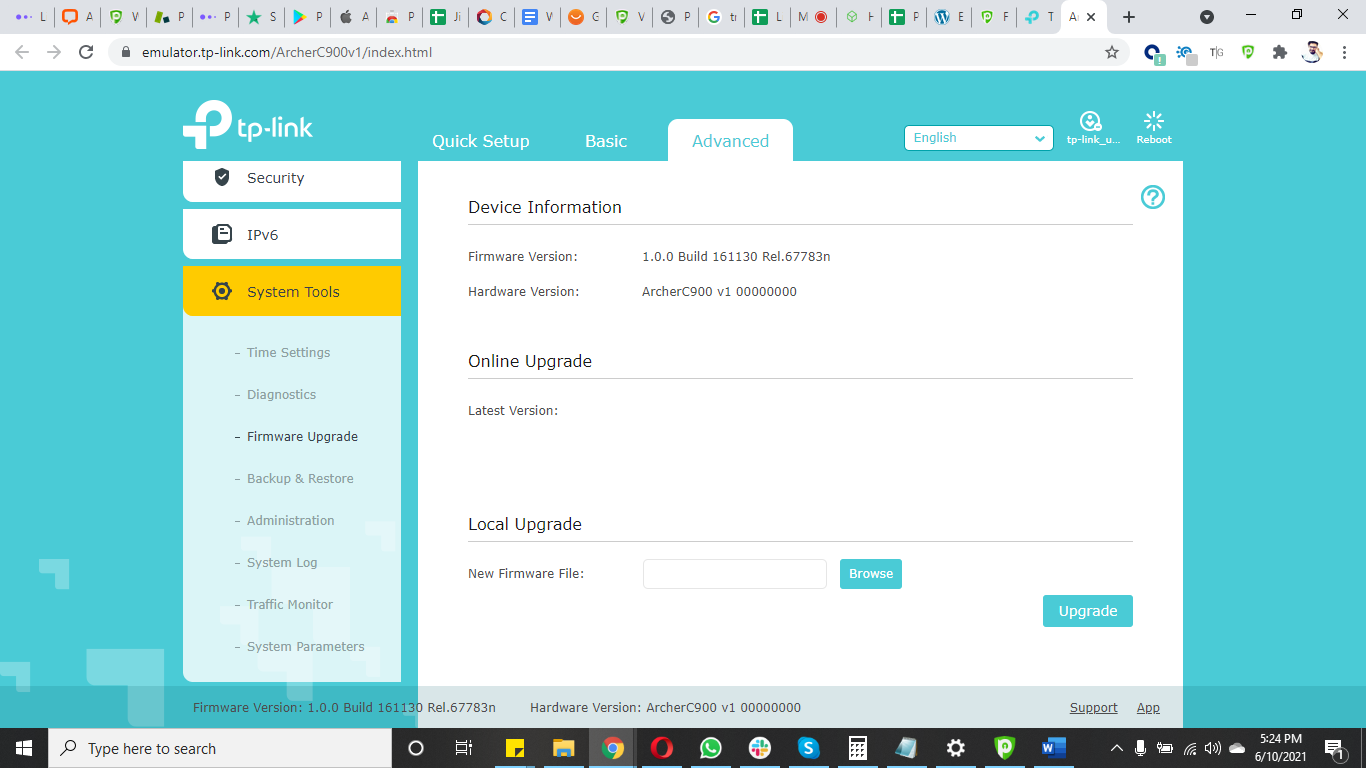
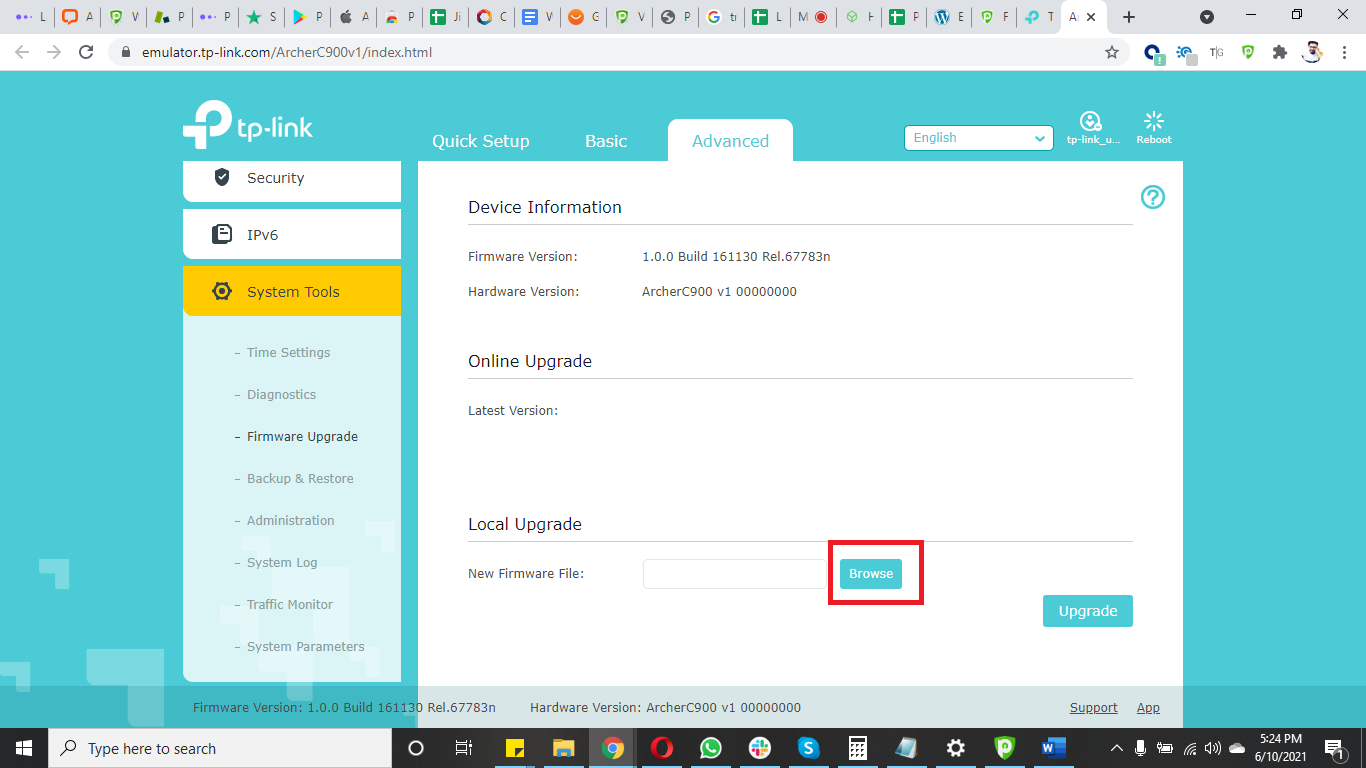
- Click Choose File and select the downloaded DD-WRT firmware file.
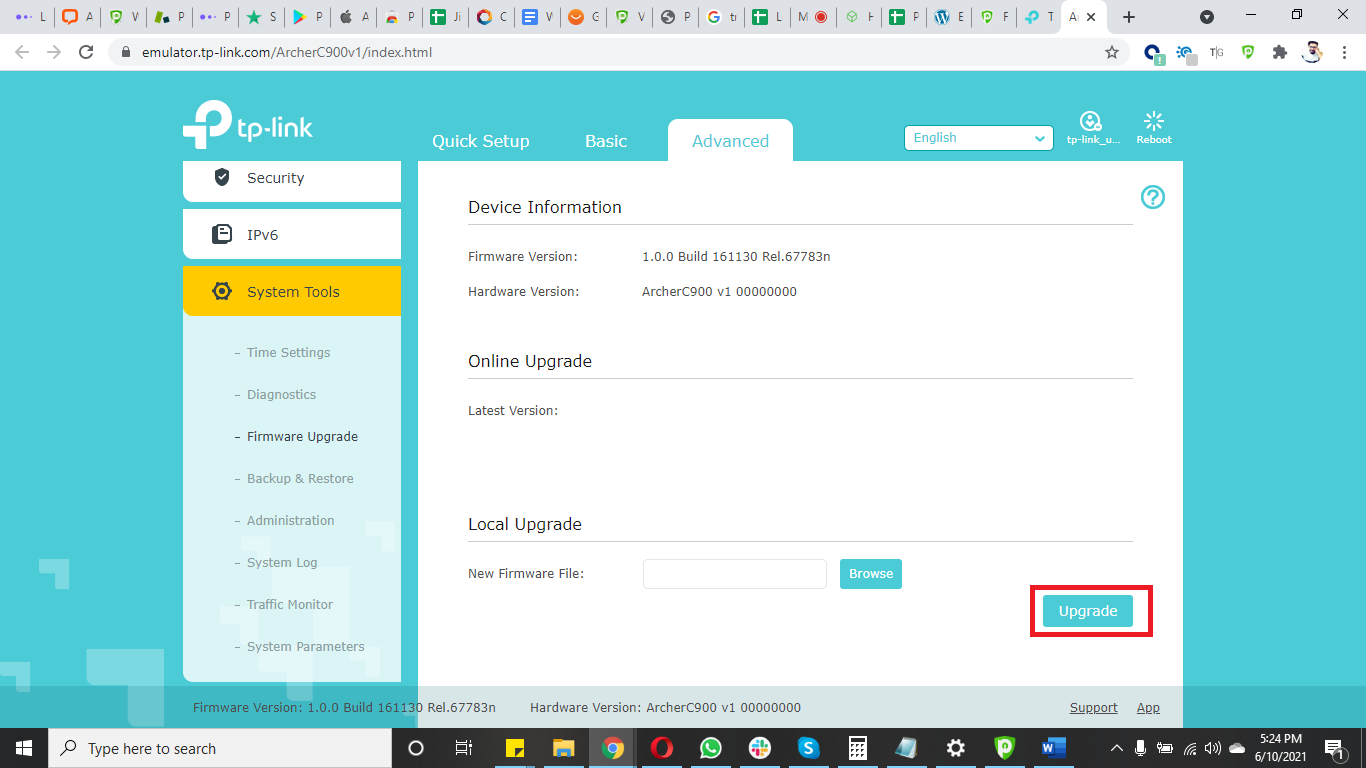
- Click Upgrade.
How to set up OpenVPN on TP-Link AX6600 Wi-Fi 6 Tri-Band Gaming router
- Access your router panel and click VPN Client on the Left panel.
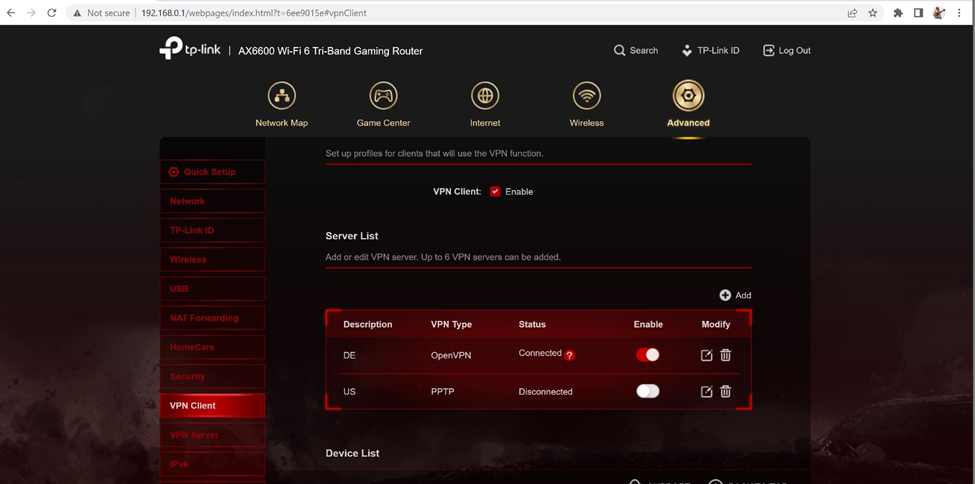
- From VPN Section, click VPN Client then click Add profile.
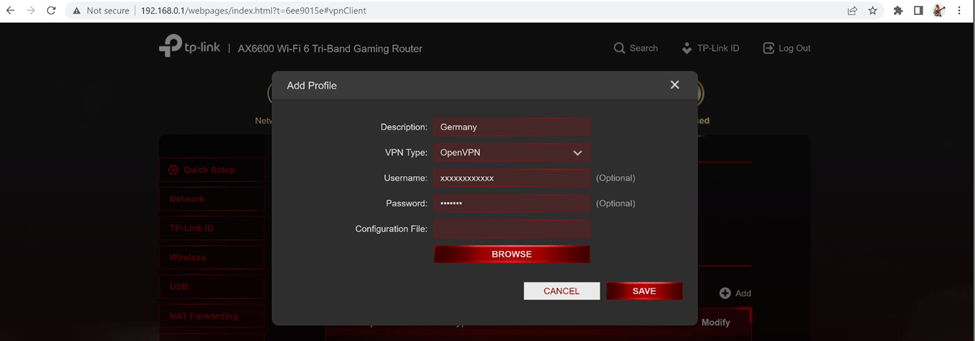
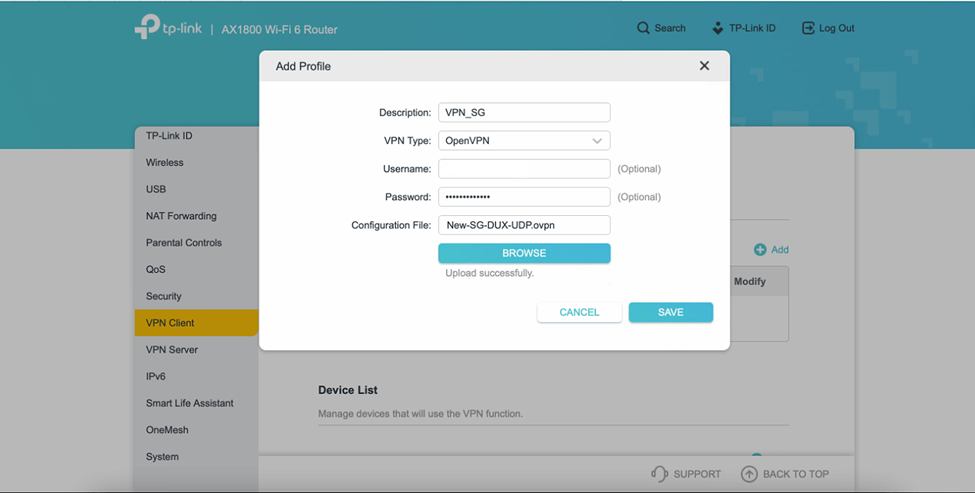
- Description: PureVPN, PureVPN US, PureVPN UK etc (Anything you like)
- VPN Type: OpenVPN
- Download the required OpenVPN files from here.
- Now click Browse.
- Username and Password: Enter your PureVPN credentials.
- Click Save
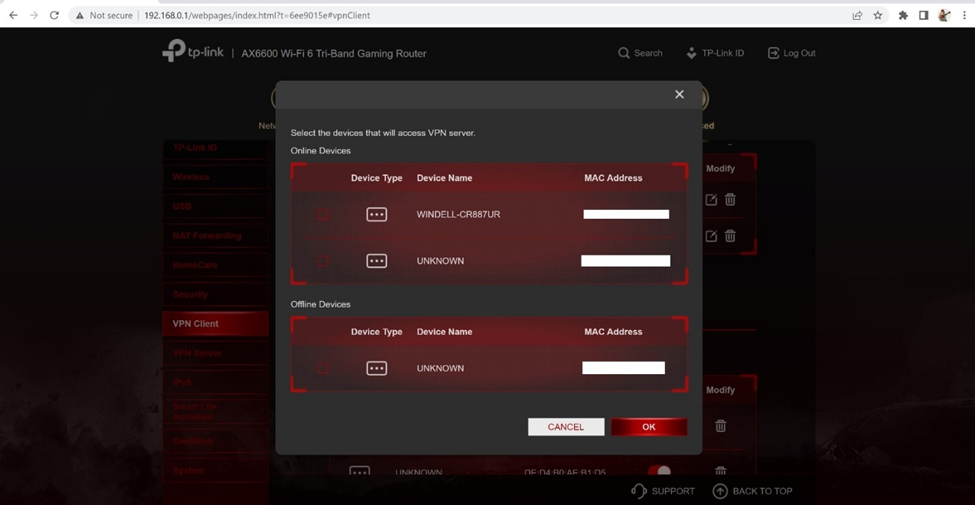
- ADD the Device by clicking on the ADD button.
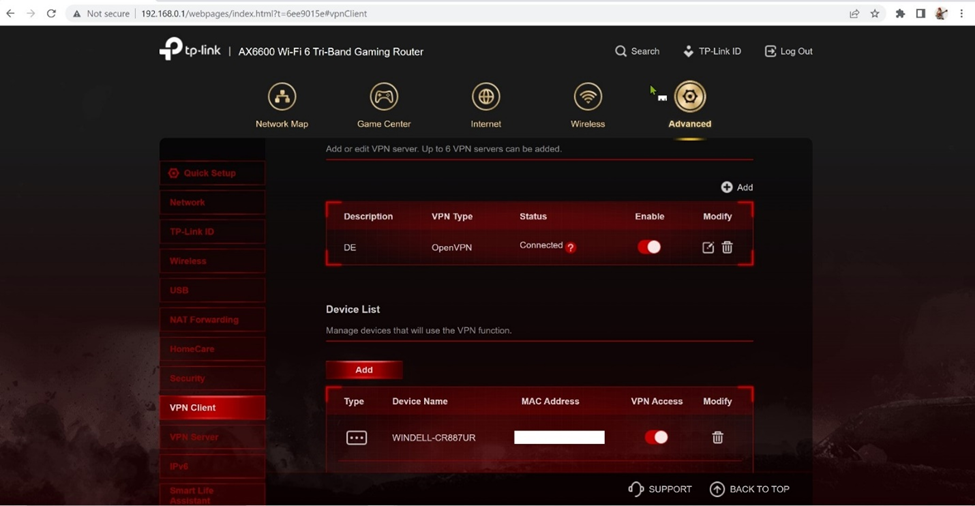
- Enable the profile you have created.
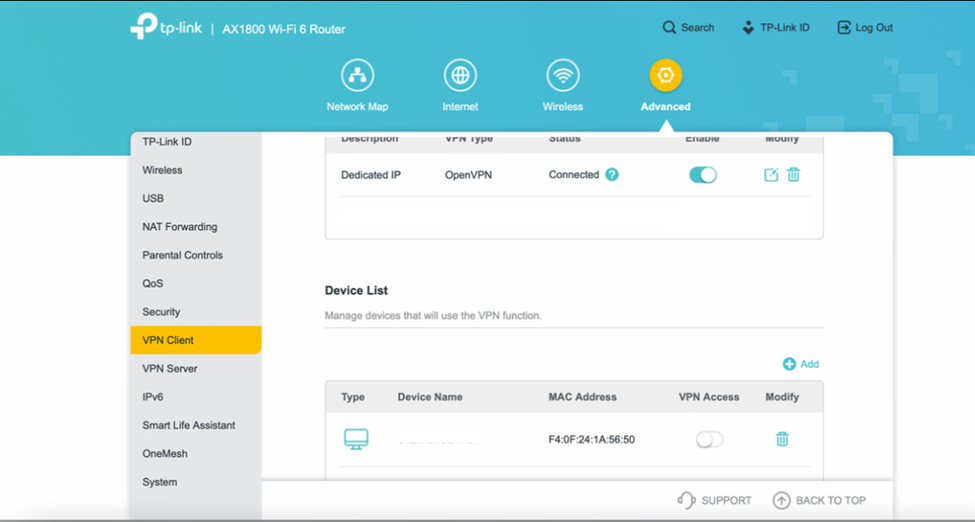
How to set up OpenVPN on TP-Link AX1800 WiFi 6 router
This article provides step-by-step guidance to set up PureVPN's OpenVPN configuration on a TP-Link AX 1800 Wi-Fi 6 VPN router.
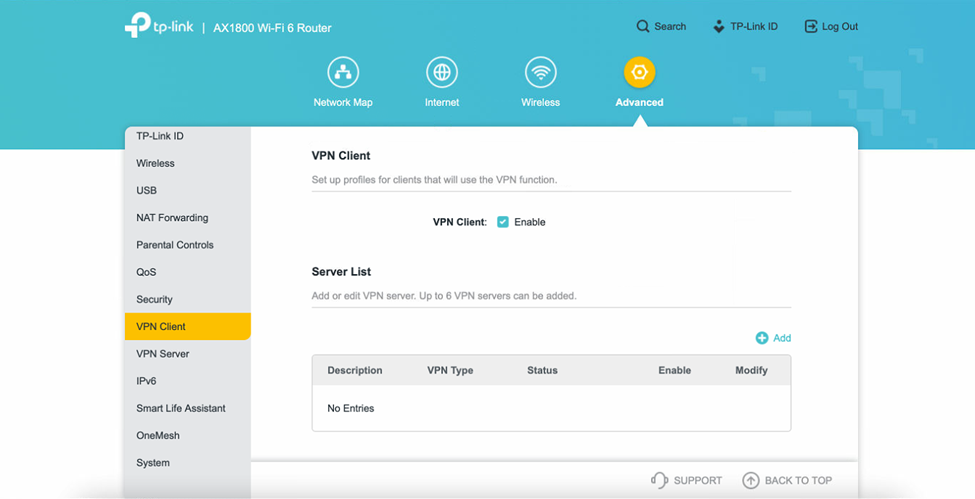
- Log in to the router control panel, under the Advanced section select the VPN Client tab. Make sure that VPN Client option is Enable. Then click + Add button to create a VPN profile.
- Now enter the profile details as follows:
- Click the toggle Enable button to activate the VPN profile.
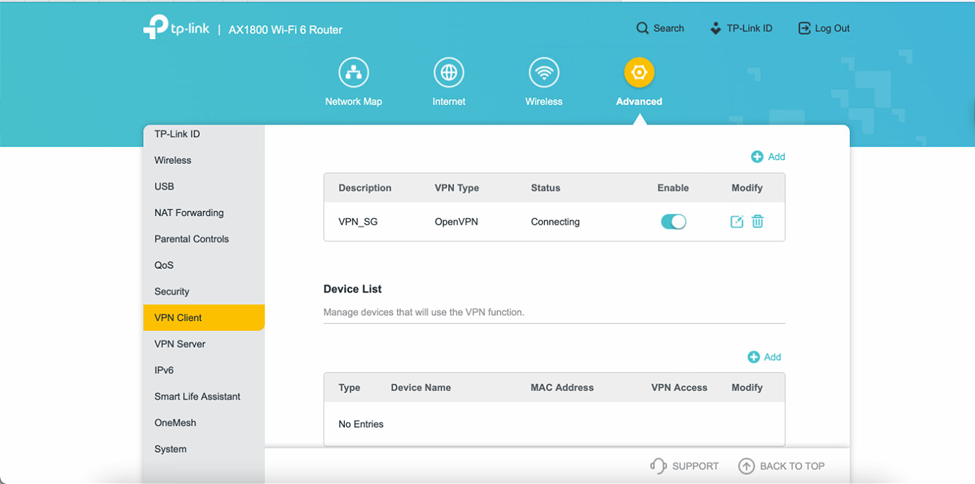
- PureVPN is connected on your tp-link router.