In this tutorial you will learn how to test Port Forwarding with PureVPN. We have used Windows 10 as a device in this article.
Enable/ Disable Port from Member Area
To begin with, you'll need to enable/disable the desired port from the PureVPN Member Area.
- Log in to your Member Area account with your email and password.
- Click Subscriptions.

- Click Configure.
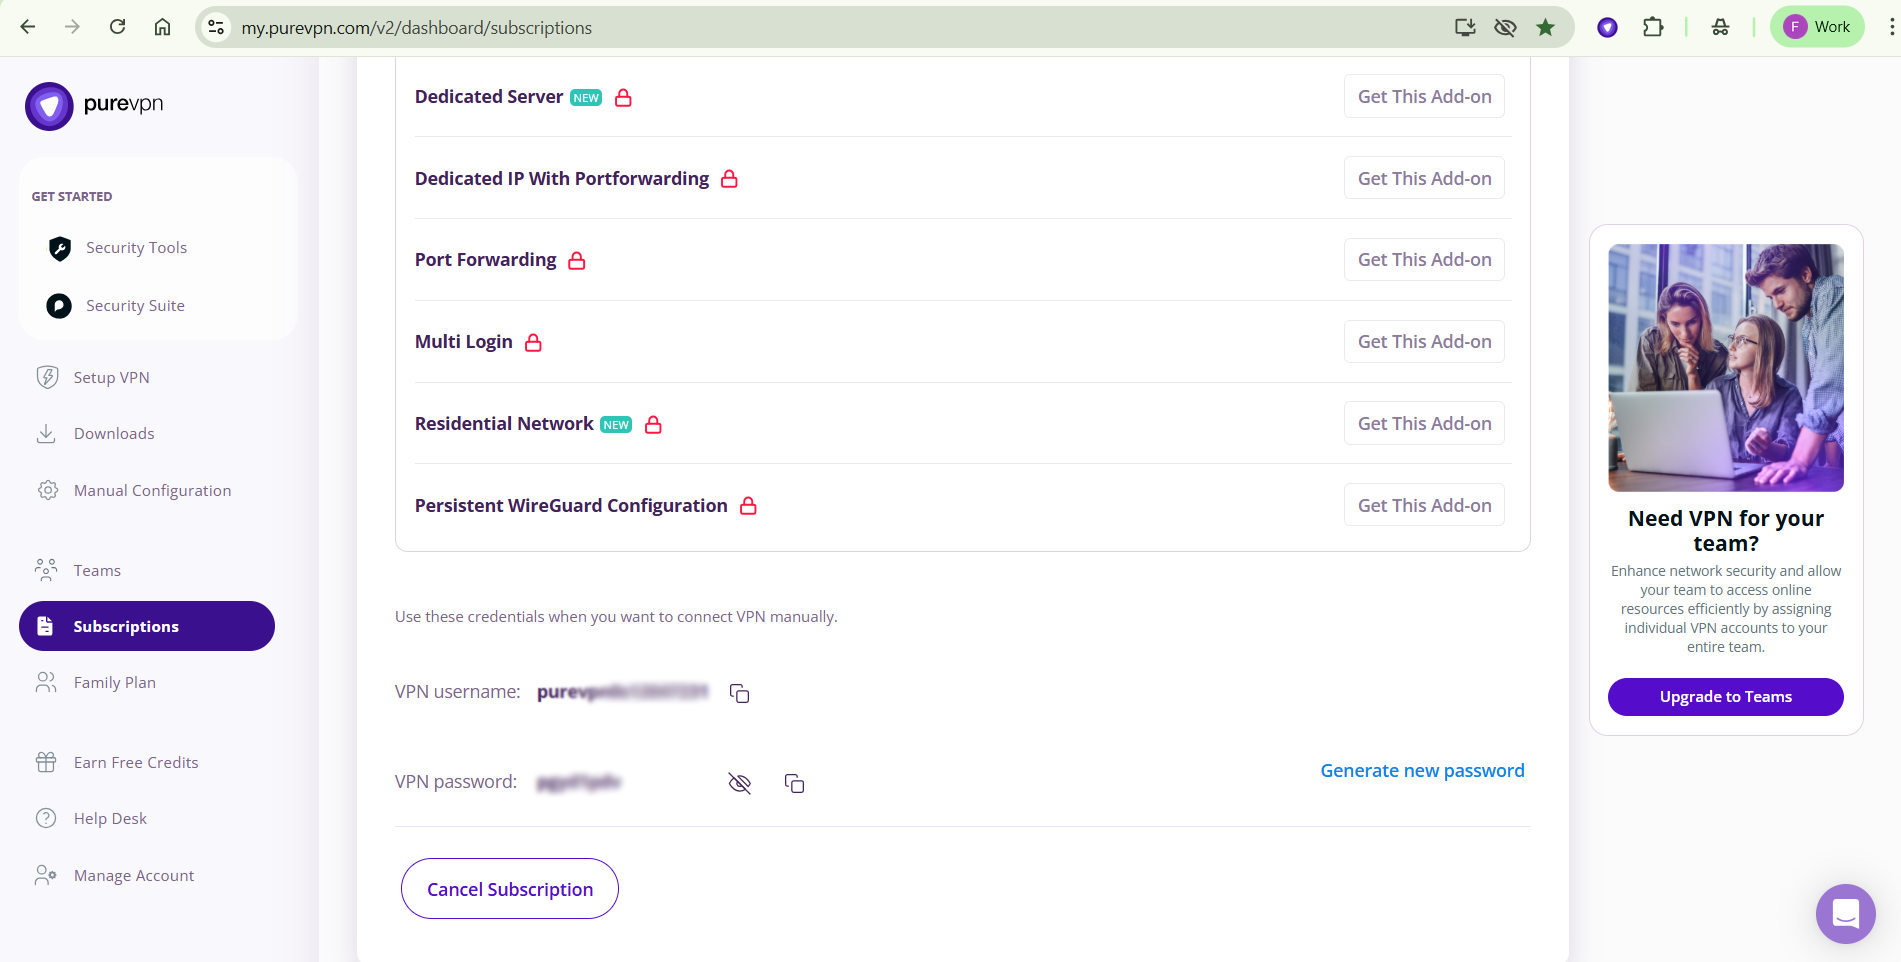
- Select your desired option and click on Apply Settings.
In order to have a better understanding of all options. You can refer to its details below.
- Enable all ports: When this option is selected under settings. It allows all ports to be opened and you can transfer any data to any desired port.
- Disable all ports: When this option is selected under settings. It allows all ports to be blocked and doesn’t allow any internet traffic to be passed from the VPN connection.
- Enable specific ports: When this option is selected under settings. It allows ports to be blocked but makes a few exceptions in which you can allow a specific port or multiple ports to be opened as per desire.

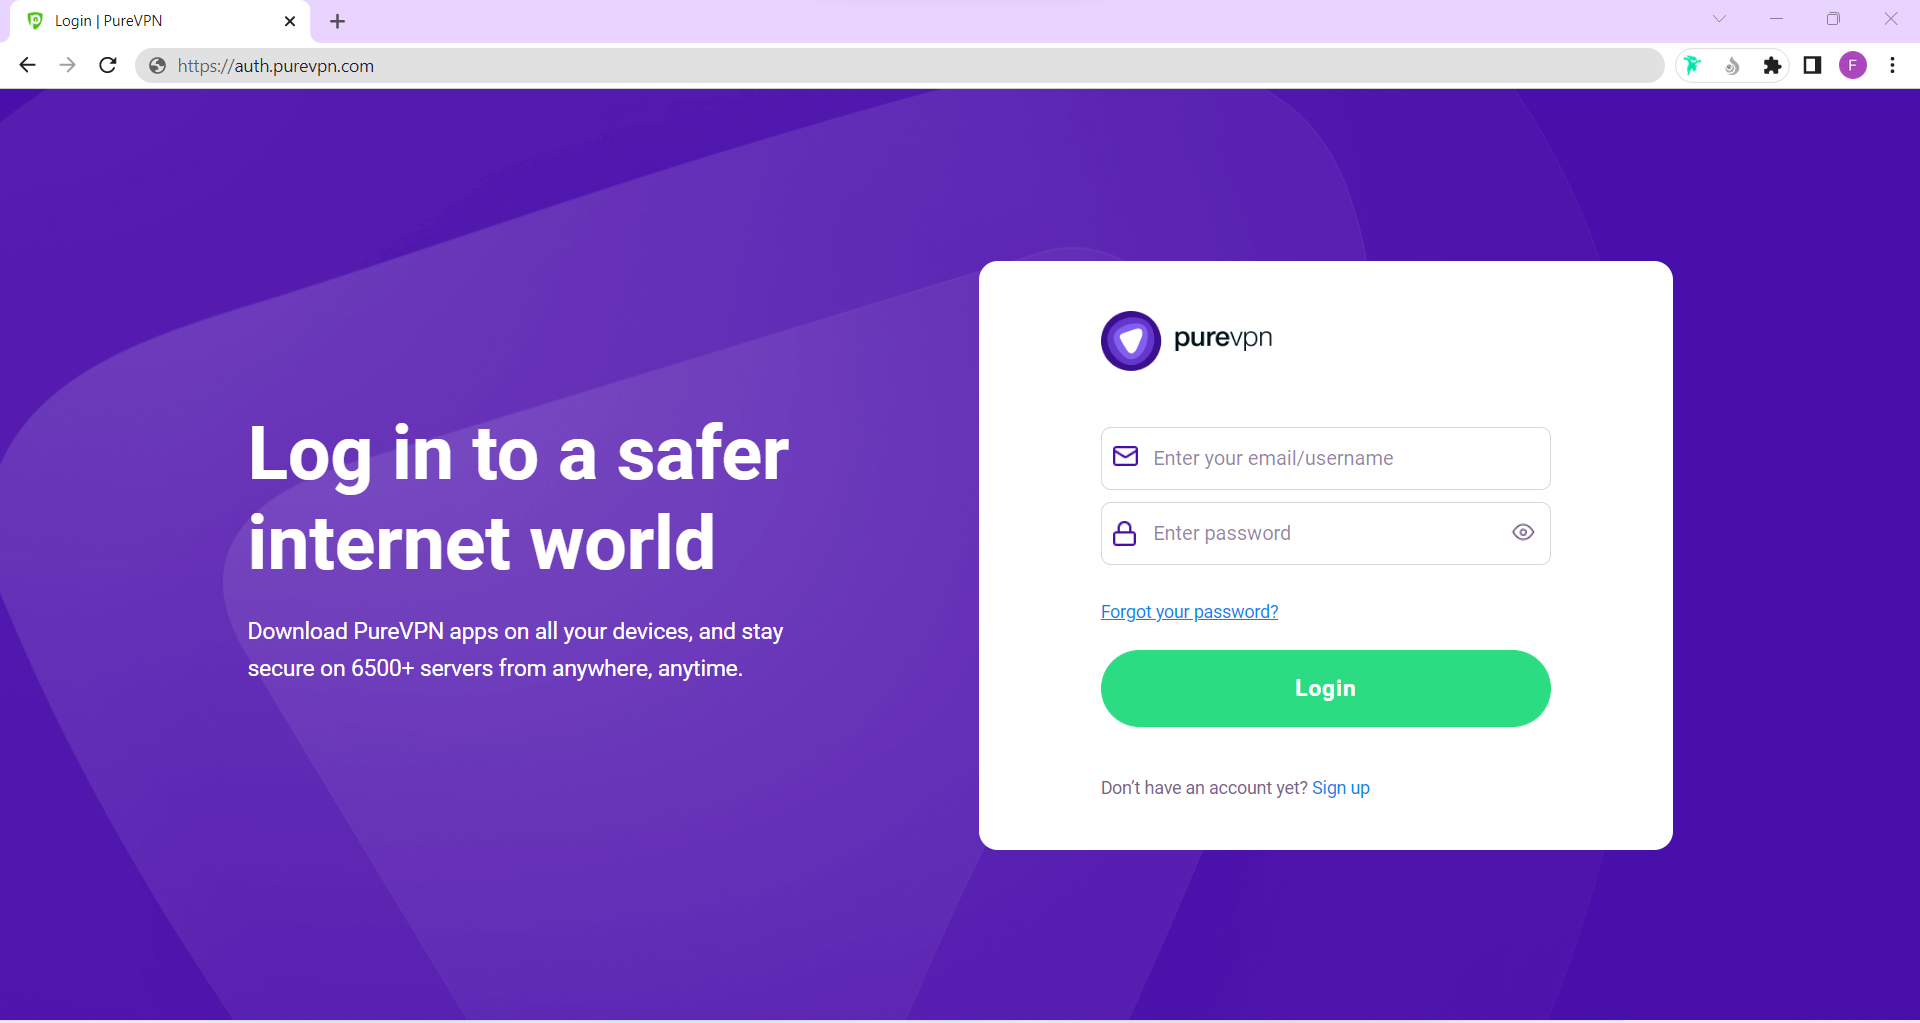
Establish VPN Connection
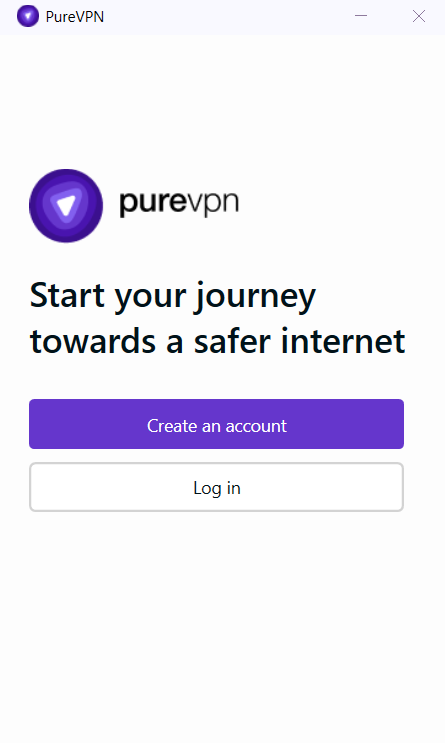
- Launch PureVPN app.
- Enter your PureVPN credentials and click login to your account.
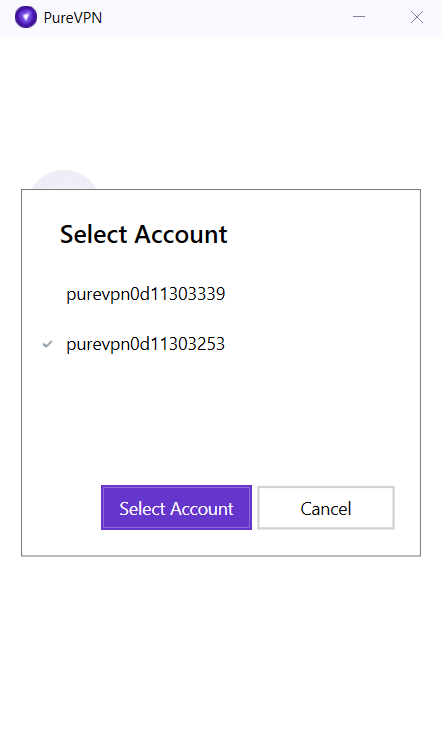
- If you have multiple subscriptions against one email, you will be given an option to choose the account you want to log in to. (please select 0d account as that’s your dedicated IP account)
- Click the location icon at the left panel of PureVPN App.

- You’ll see list of locations. Select your desired location to connect.

- You are now connected successfully.

Testing Port Forwarding
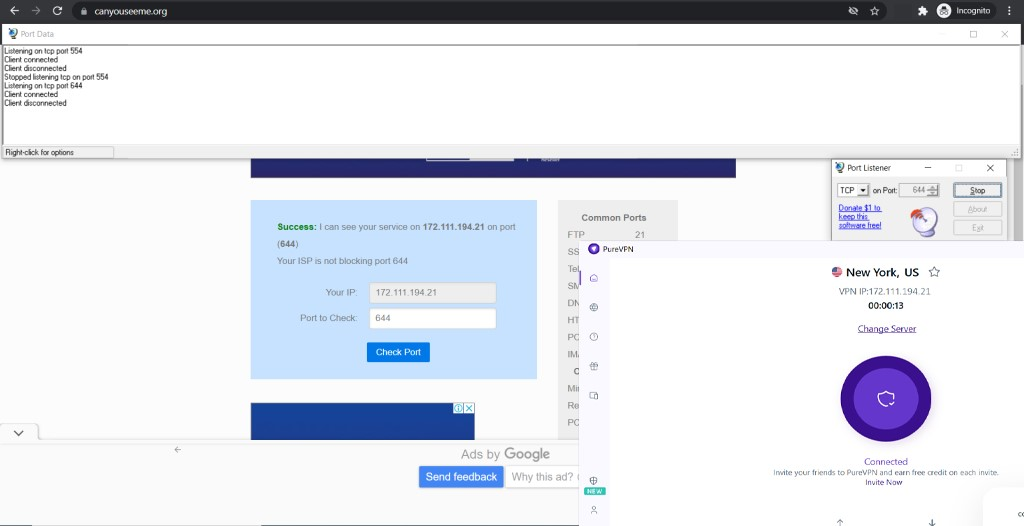
- Download the TCP listener from this link.
- Connect your VPN to any desired location. If you're already connected to VPN, kindly disconnect it and then connect it, so the port settings may apply.
- Enter the port no# on the TCP listener app and then press the Listen Button. Now, open any port testing website and check the status of the ports. You can also check the status from there.