Learn how to manually configure a VPN on Lubuntu with our step-by-step guide. Establish a secure and private connection on your Lubuntu system by following our instructions. Stay protected online with ease.
Find your VPN credentials for manual configuration
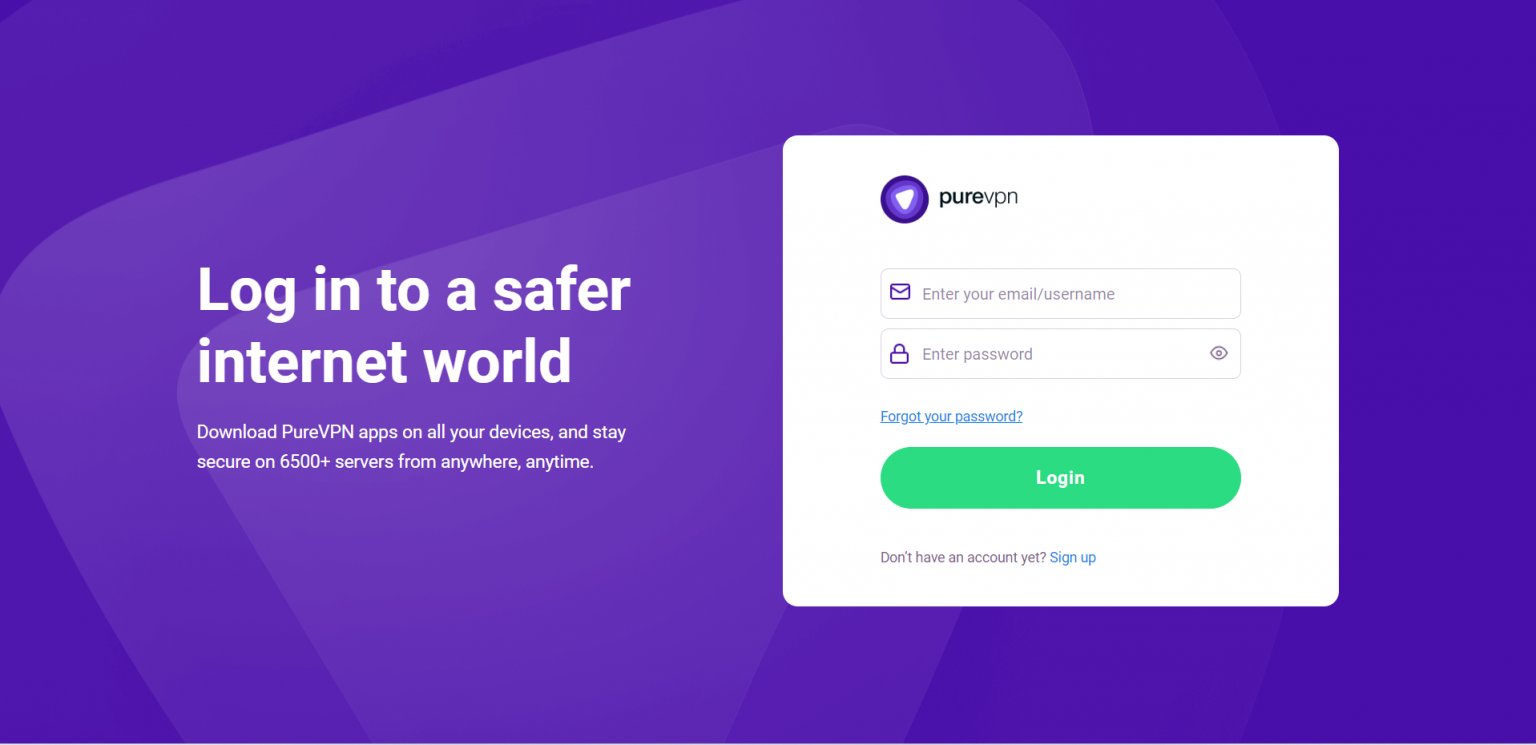
To find your VPN credentials log into the PureVPN Member Area. Click 👉 here to visit Member Area.
Login to the Member Area using your PureVPN registered email address and password.
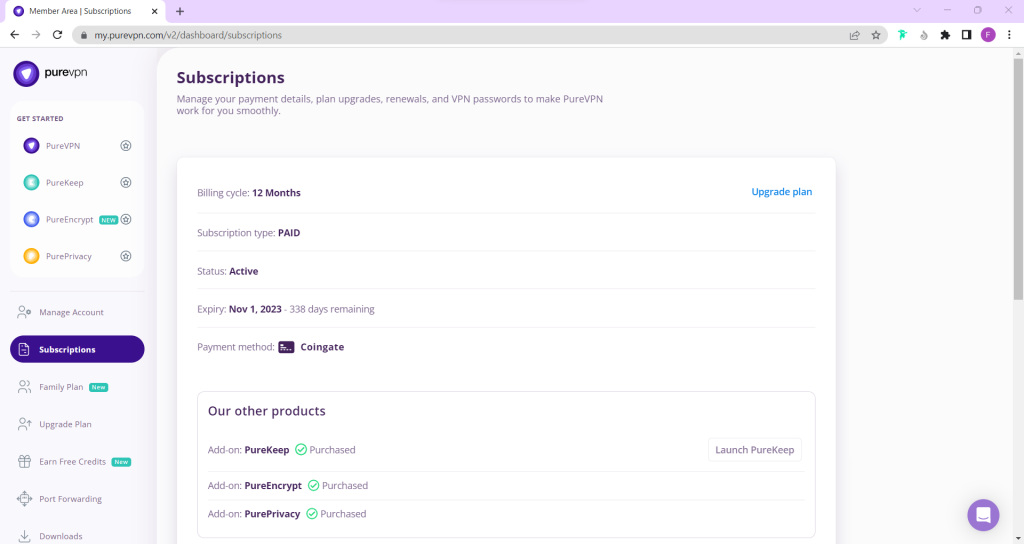
On Subscription tab scroll down to be able to view your VPN credentials.
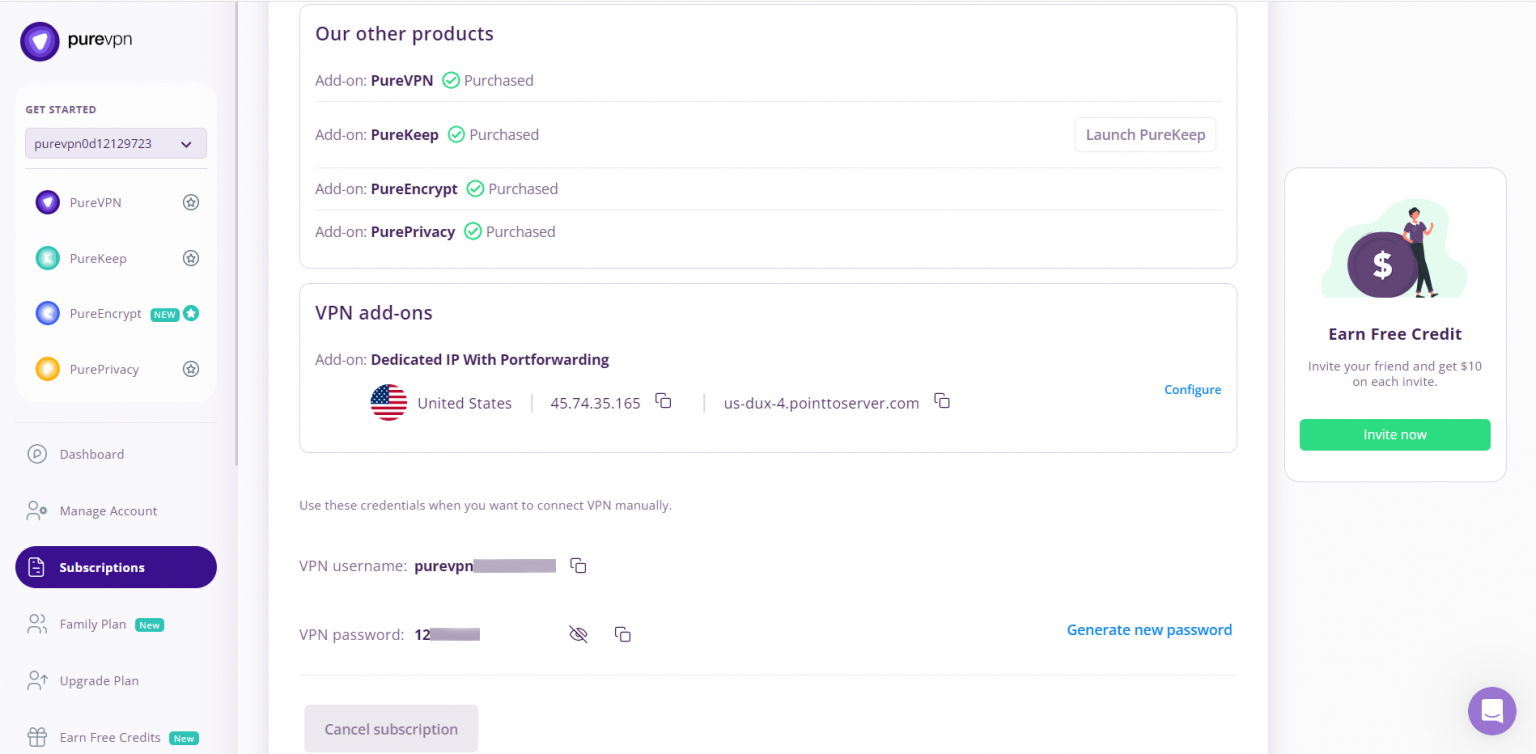
- You will be able to see and copy your VPN credentials.
- Note down your PureVPN username and click the Eye icon to make your password visible and use it in the manual configuration.
How to connect PPTP on Linux Lubuntu
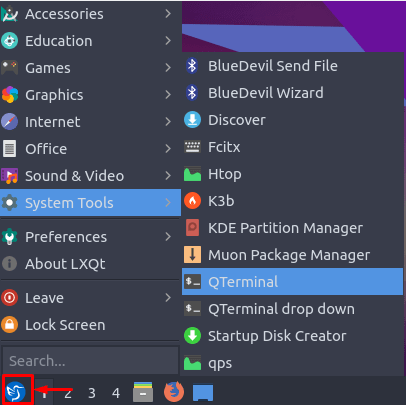
- Go to the Launcher then System Tools and open QTerminal.

- Install PPTP packages. For this, you’ll have to type the following commands one after another:
- sudo apt-get update
- sudo apt-get install network-manager-pptp-gnome
- apt-get install network-manager-pptp
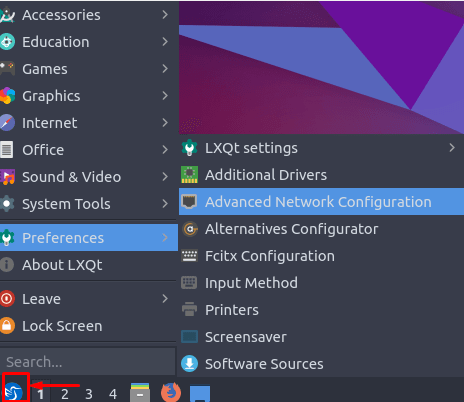
- Go to the Launcher again, then Preferences, and open Advanced Network Configuration option from there.
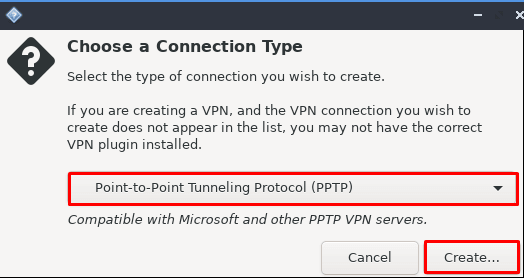
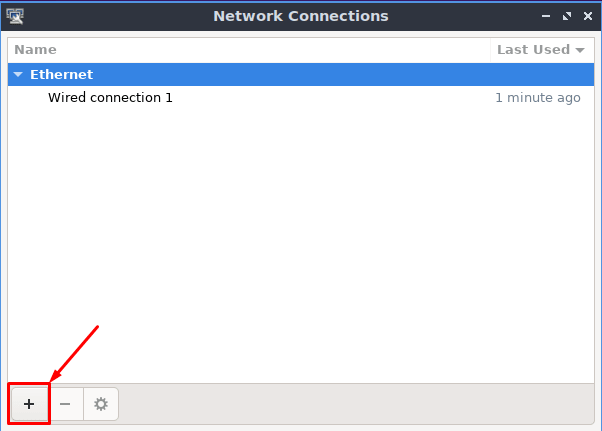
- Click the + icon to add a VPN connection and select Point-to-Point Tunneling Protocol (PPTP) from the drop-down list. Click the Create button once done.

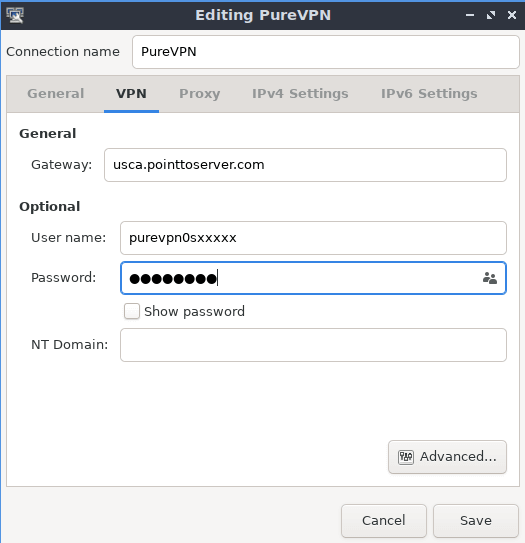
- Now enter the following info:
- Connection name: PureVPN
- Insert the desired server: These servers can be utilized for the PPTP protocol.
- Germany: de1.pointtoserver.com
- Netherlands: nl1.pointtoserver.com
- United Kingdom: ukl1.pointtoserver.com
- United States: ustx1.pointtoserver.com
- United States: uswdc1.pointtoserver.com
- Australia: au-sd1.pointtoserver.com
- Enter your VPN credentials. Here is how you can find your VPN credentials.
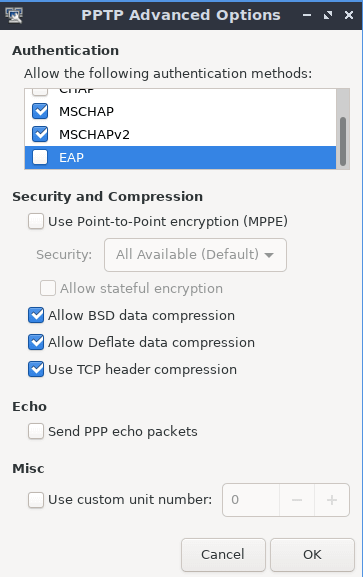
- Go to Advanced…
- Check the following boxes:
- MSCHAP.
- MSCHAPV2.
- Allow BSD data compression.
- Allow Deflate data compression.
- Use TCP header compression.
- Click OK.
- Click Save and close the Window.

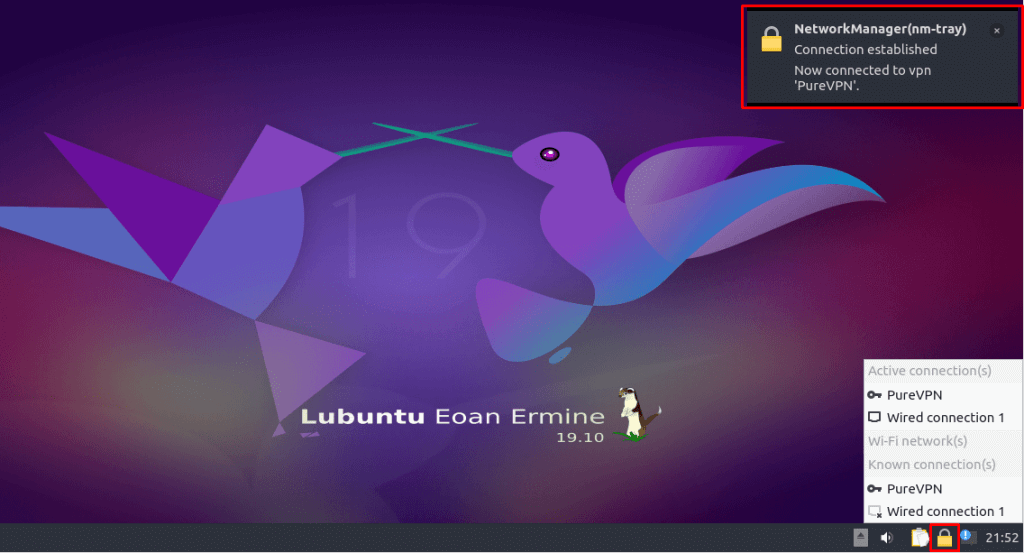
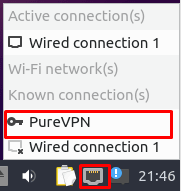
- Click the Wired Connections icon and choose the newly created connection to connect to PureVPN.

- You're all set!

How to connect SSTP on Linux Lubuntu
- Go to the Launcher then System Tools and open QTerminal.

- Install SSTP packages. For this you’ll have to type the following commands one after another:
- sudo add-apt-repository ppa:eivnaes/network-manager-sstp
- sudo apt-get update
- sudo apt-get install network-manager-sstp sstp-client
- Go to the Launcher again then Preferences and open Advanced Network Configuration.

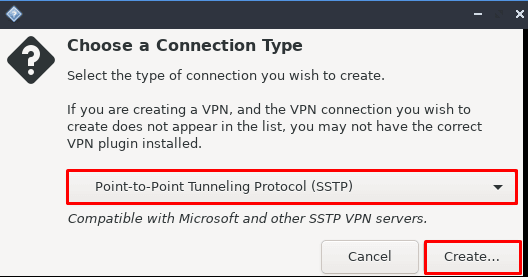
- Click the + icon to add a VPN connection and select Point to Point Tunneling Protocol (SSTP) from the drop-down list. Click the Create button once done.

- Now enter the following info:
- Connection name: PureVPN
- Insert desired server address in Gateway (Here we have used usca.pointtoserver.com)
- Enter your VPN credentials. Here is how you can find your VPN credentials.
- Check the Ignore certificate warnings box.
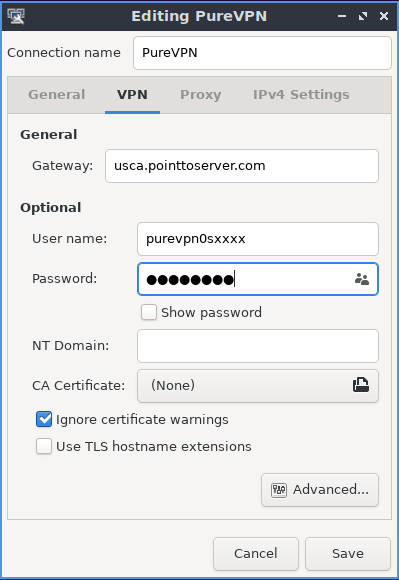
- Click Save and close the Window.
- Click the Wired Connections icon and choose the newly created connection to connect to PureVPN.

- You're all set!

How to connect L2TP on Linux Lubuntu
- Go to the Launcher, then System Tools and open QTerminal.

- Install L2TP packages. For this you’ll have to type the following commands one after another:
- sudo apt-get update
- sudo apt-get install xl2tpd
- sudo apt-get install network-manager-l2tp-gnome
- apt-get install network-manager-l2tp
- Go to the Launcher again, then Preferences and open Advanced Network Configuration.

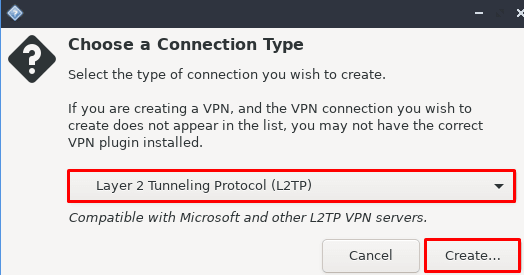
- Click the + icon to add a VPN connection and select Layer 2 Tunneling Protocol (SSTP) from the drop-down list. Click the Create button once done.

- Now enter the following info:
- Connection name: PureVPN
- Insert desired server address in Gateway (Here we have used usca.pointtoserver.com)
- Enter your VPN credentials. Here is how you can find your VPN credentials.
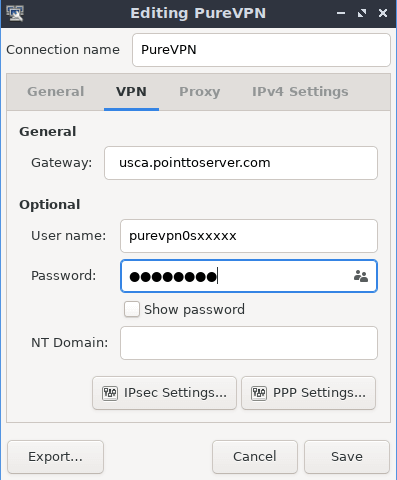
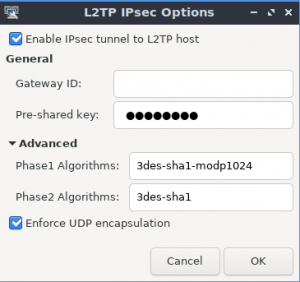
- Click the IPsec settings button.
- Check the Enable IPsec tunnel to the IPsec host box. Once done, type the following info:
- Pre-shared key: 12345678
- Phase 1 Algorithm = 3des-sha1-modp1024 and
- Phase 2 Algorithm = 3des-sha1
- Enforce UDP Encapsulation: Checked
- Click OK.
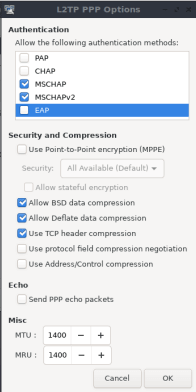
- Next go to PPP settings.
- Check the following boxes:
- MSCHAP.
- MSCHAPV2.
- Allow BSD data compression.
- Allow Deflate data compression.
- Use TCP header compression.
- Click OK.
- Click Save and close the window.

- Click the Wired Connections icon and choose the newly created connection to connect to PureVPN.
- You’re all set!


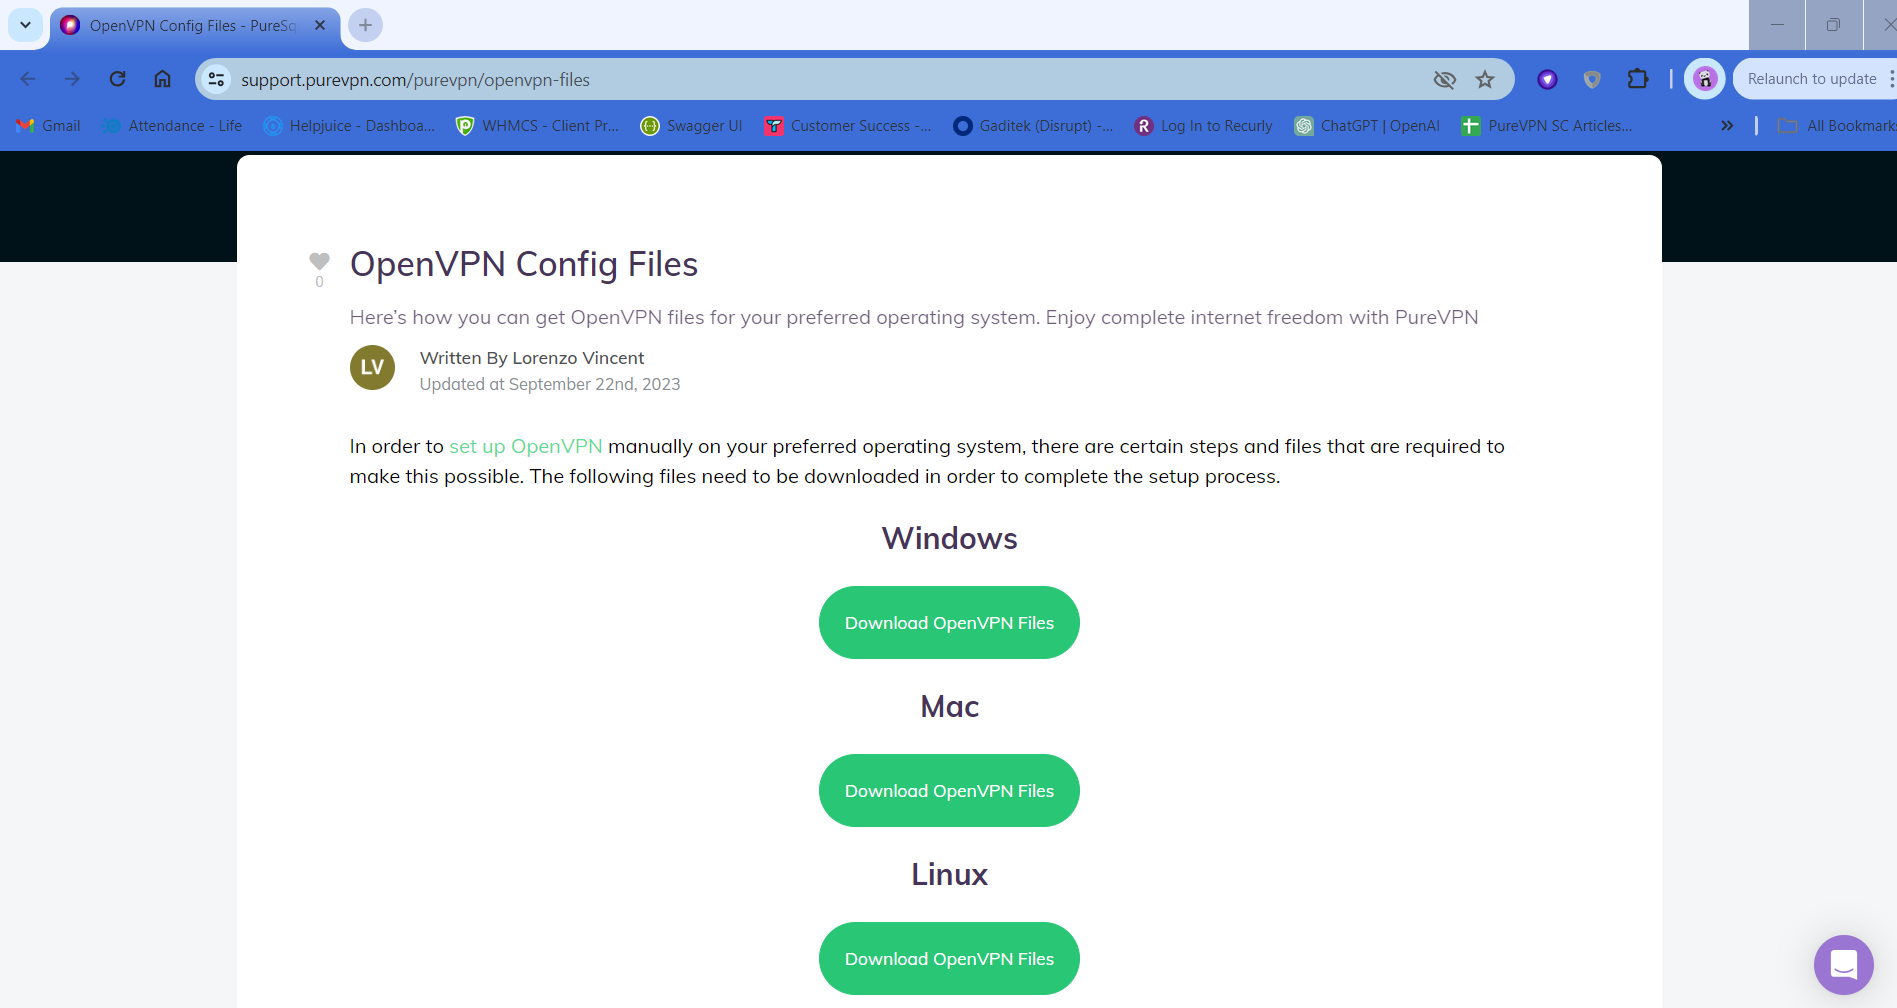
How to connect OpenVPN on Linux Lubuntu
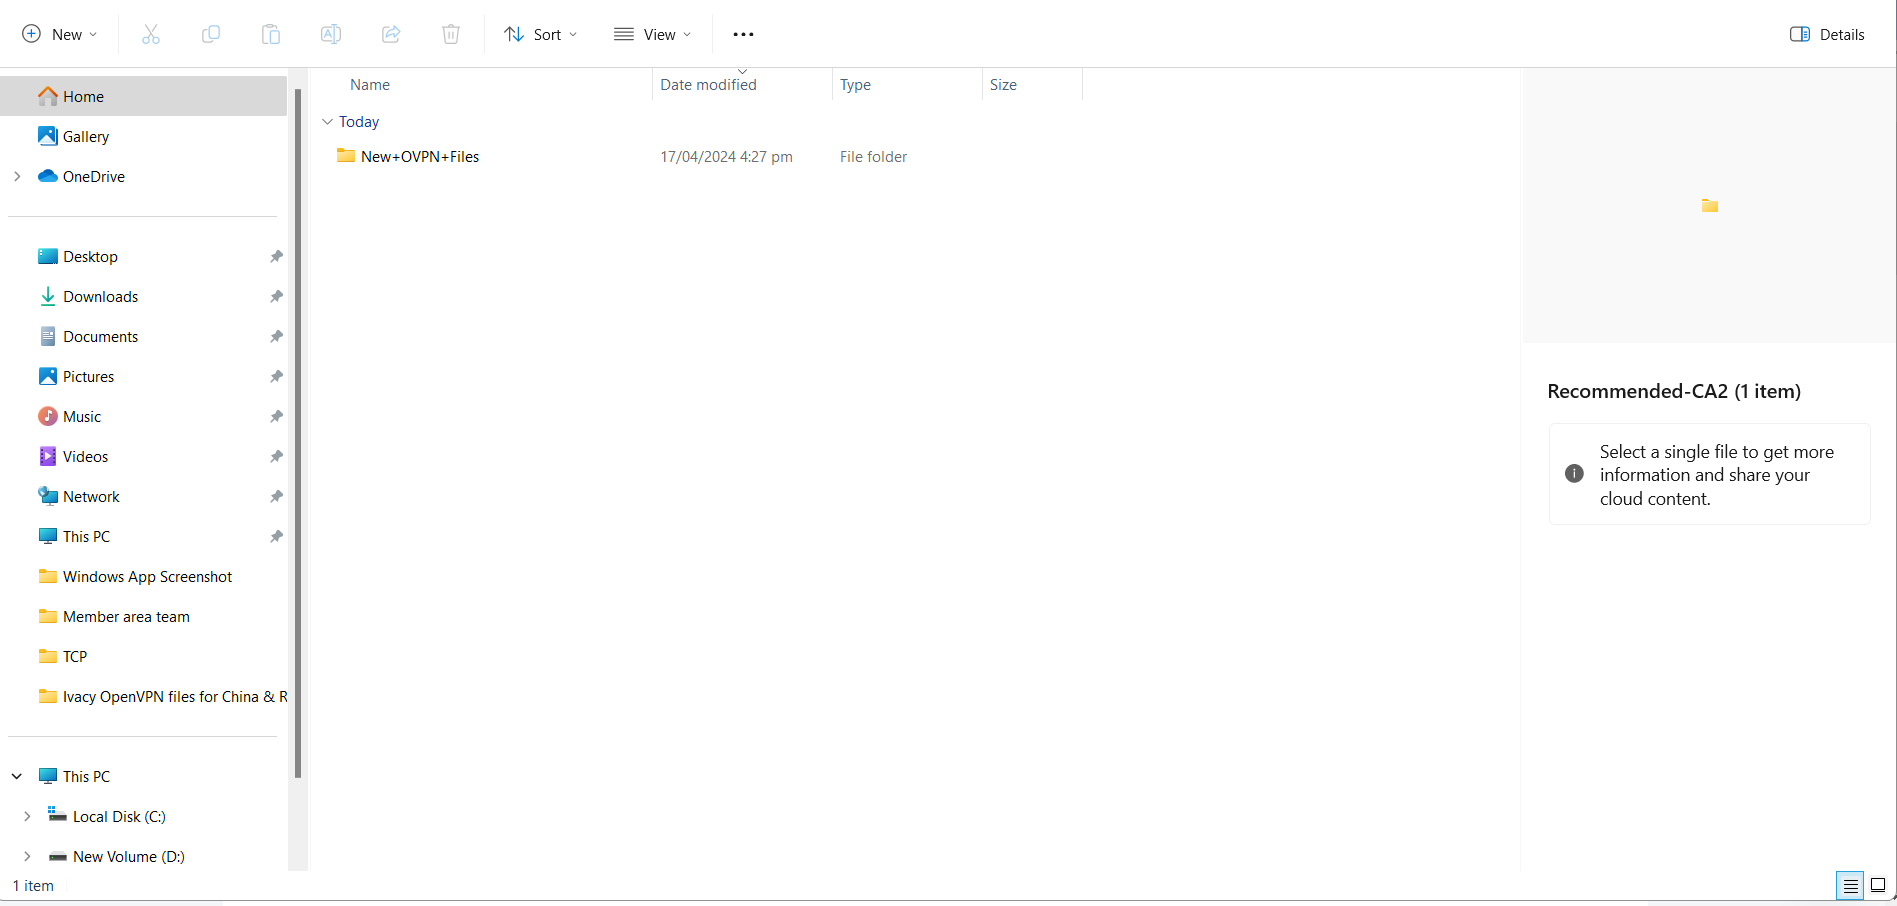
- Go to your desired web browser, download PureVPN OpenVPN configuration files, click👉 here and extract them.
- Go to the Launcher, then System Tools and open QTerminal.
- Install OpenVPN packages. For this you’ll have to type the following commands one after another:
- sudo apt-get update
- sudo apt-get install openvpn
- sudo apt-get install network-manager-openvpn
- sudo apt-get install network-manager-openvpn-gnome
- Go to the Launcher again then Preferences and open Advanced Network Configuration.

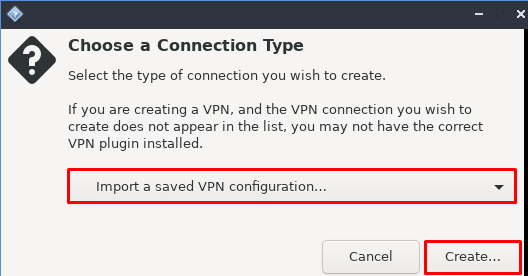
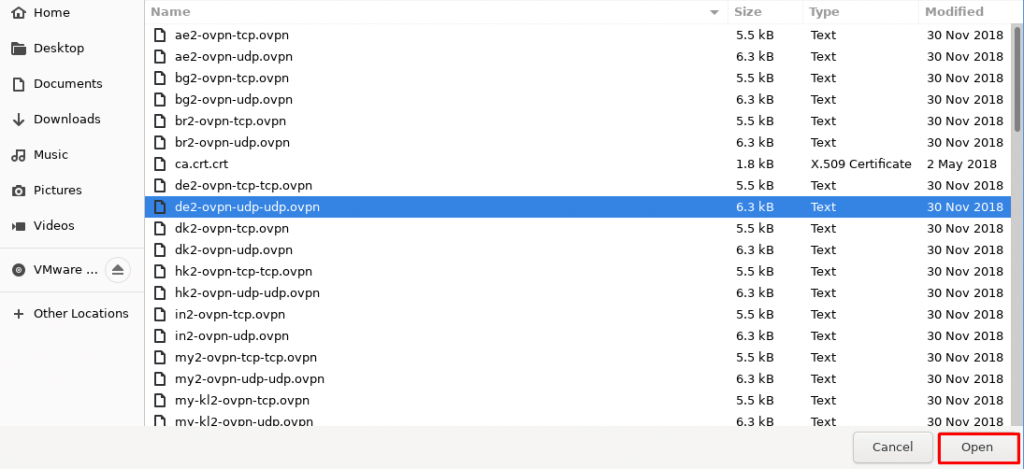
- Click the + icon to add a VPN connection and select Import a saved VPN configuration… from the drop-down list. Click the Create button once done.
- Go to the folder where you have downloaded the OpenVPN files and select your desired one to connect to.
- Now enter the following info:
- Connection name: PureVPN
- Gateway: (already selected/entered)
- Connection Type: Password From drop-down menu
- Enter your VPN credentials. Here is how you can find your VPN credentials.
- Click the folder icon adjacent to the CA certificate and upload the crt.crt file.
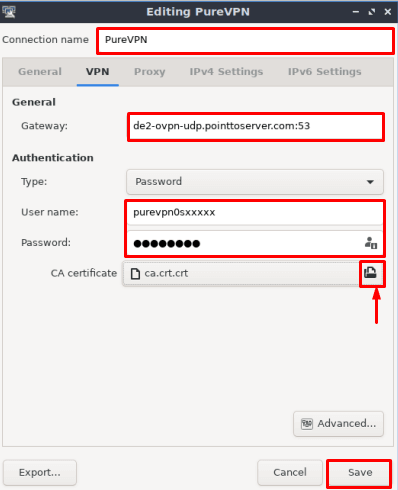
- Click Save and close the window.
- Click the Wired Connections icon and choose the newly created connection to connect to PureVPN.

- You’re all set!