Learn how to activate PureVPN’s Port Forwarding (Formerly NAT Firewall). Stay secure with the robust feature and carry on with your online activities without having someone snoop on your online communications. Here is how to activate PureVPN's Port forwarding feature on your devices.
How to configure Port Forwarding Add-on
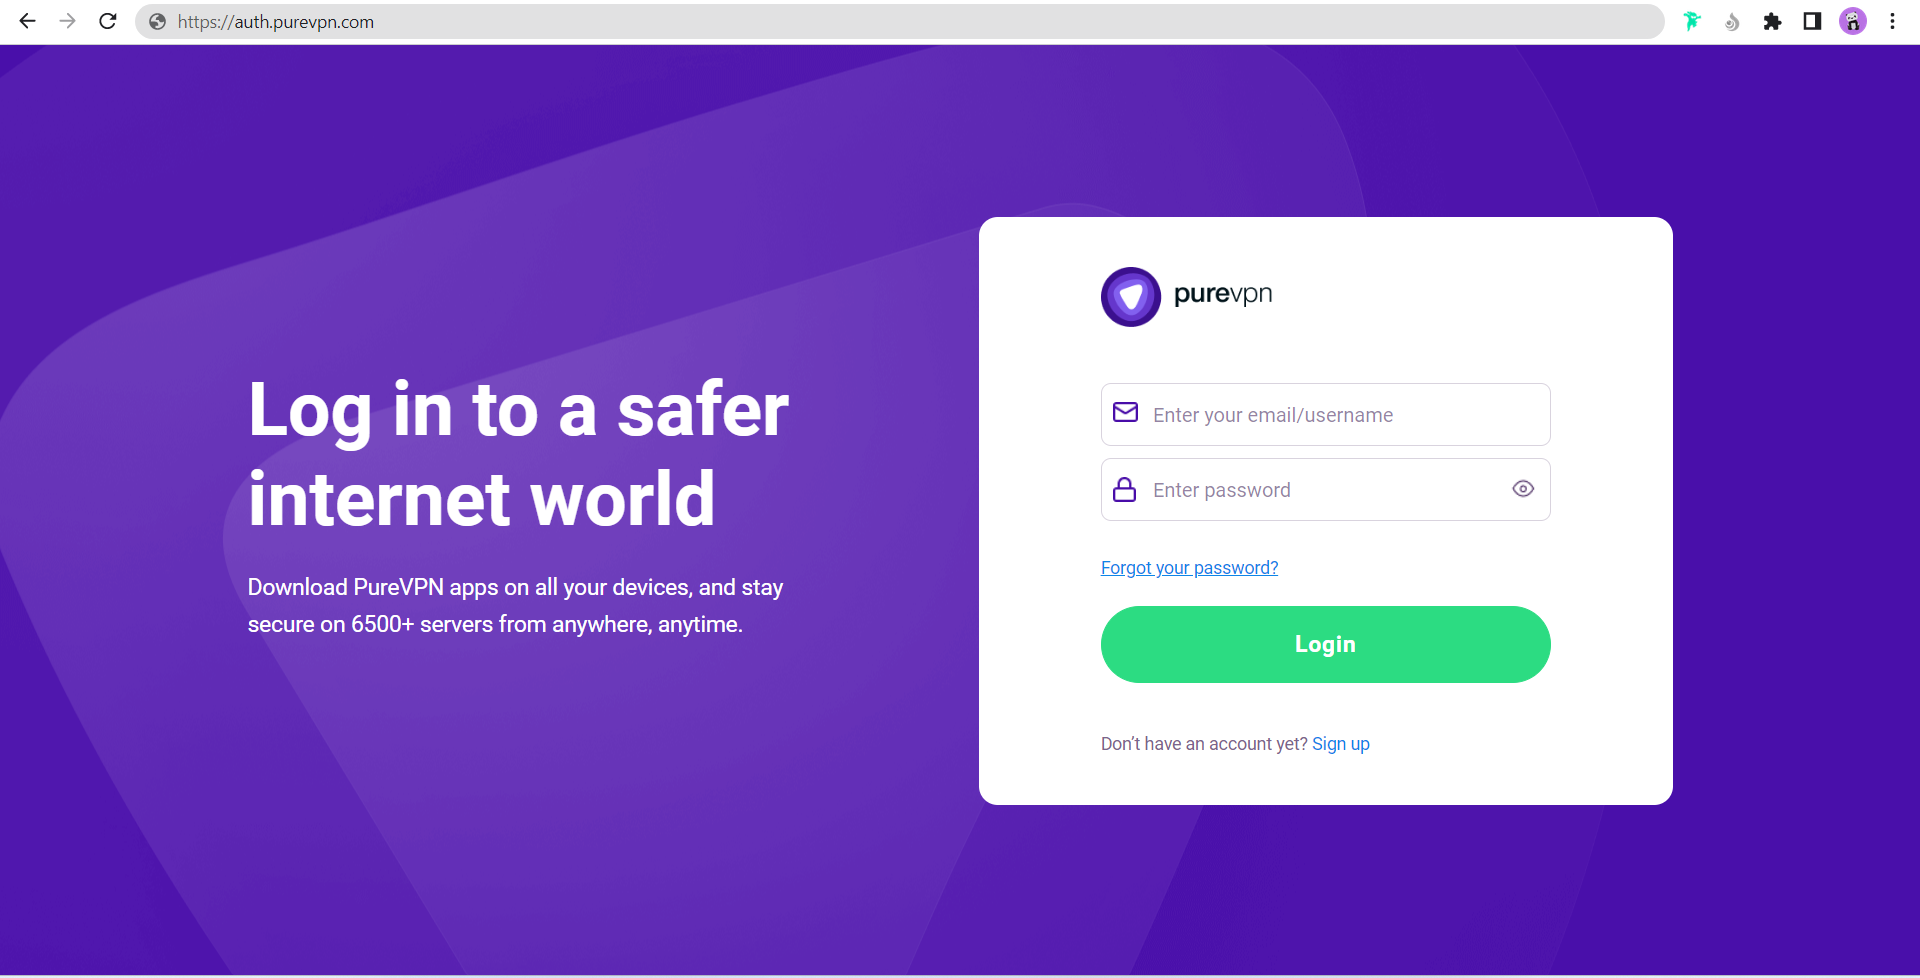
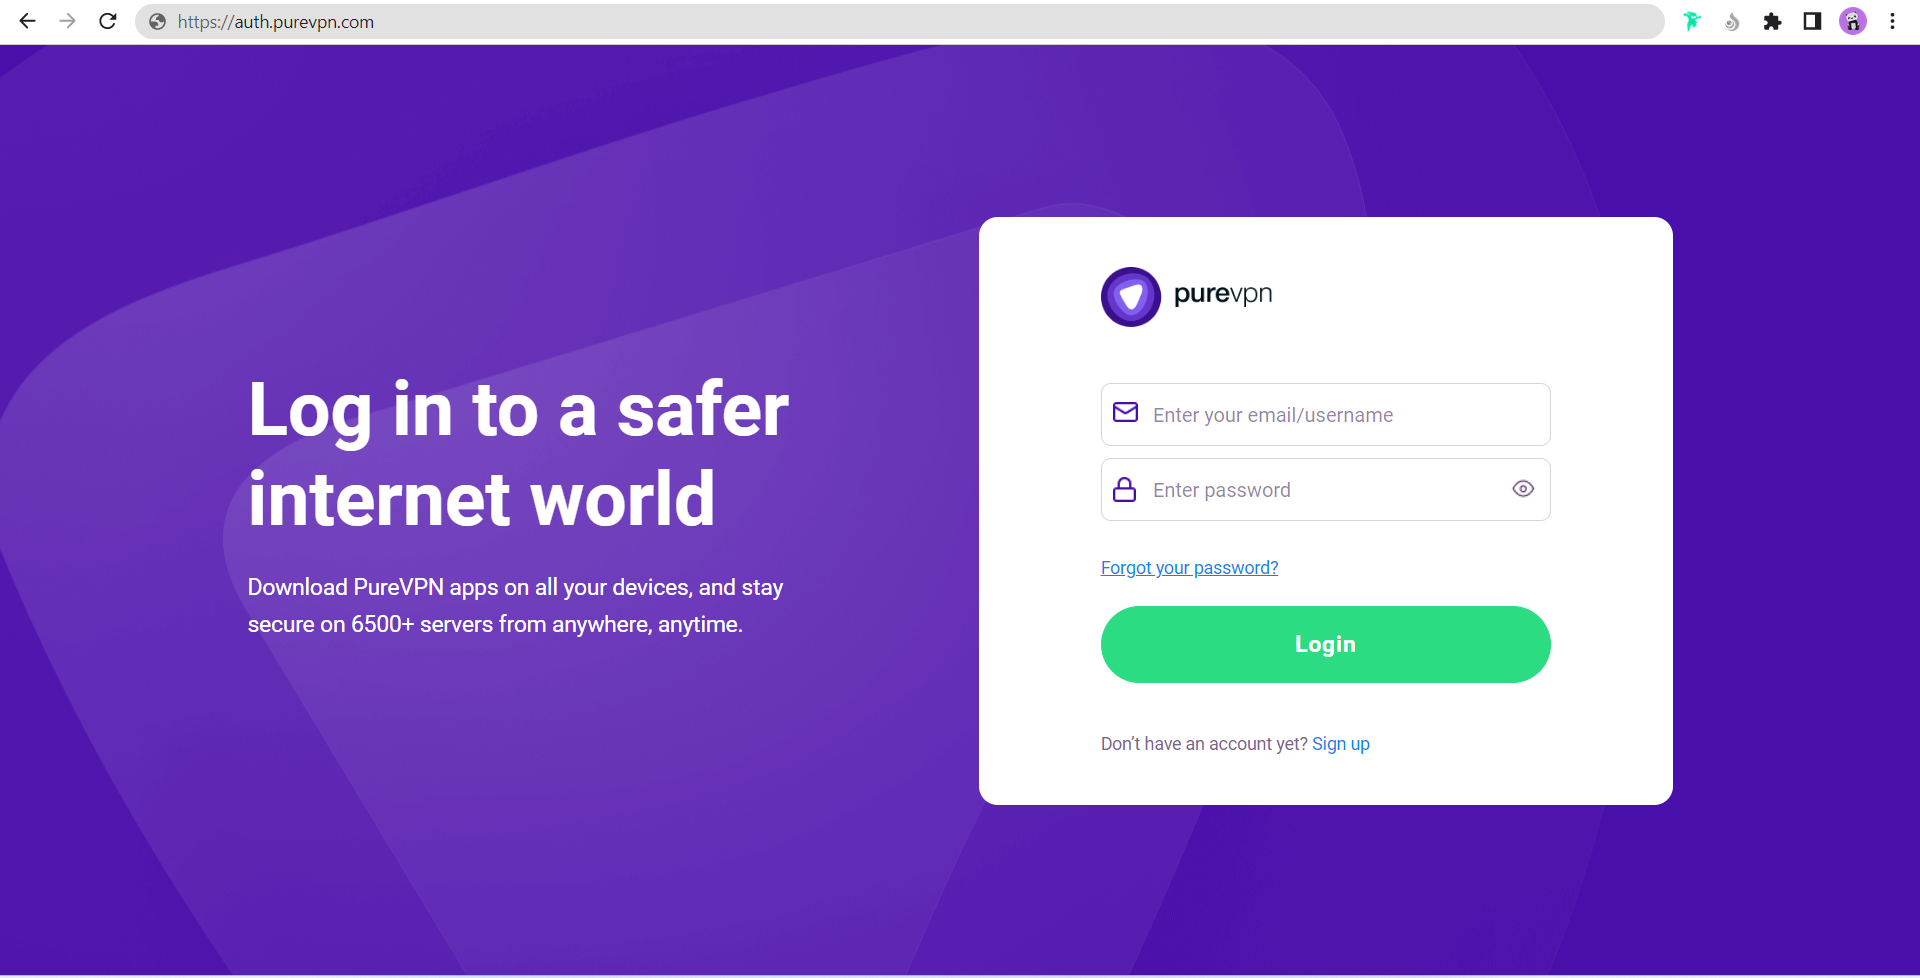
- Login to Member Area account with your email and password.

- Click Subscriptions.

- Scroll down to see the Port Forwarding and click Get This Add-on.

- Click Get This Add-on.

- Click Confirm Order to get Port Forwarding with your existing PureVPN subscriptions.

How to configure Port Forwarding on Windows
With PureVPN’s Port Forwarding add-on, you can open or forward ports in a hassle-free manner. Just follow these simple steps to get started!
- Login to Member Area account with your email and password.

- Click Subscriptions.

- Click Configure.

In order to have a better understanding of all options. You can refer to its details below:
- Enable all ports: When this option is selected under settings. It allows all ports to be opened and you can transfer any data to any desired port.

- Disable all ports: When this option is selected under settings. It allows all ports to be blocked and doesn’t allow any internet traffic to be passed from the VPN connection.

- Enable specific Ports: When this option is selected under settings. It allows ports to be blocked but makes a few exceptions in which you can allow a specific port or multiple ports to be opened as per desire.
So, protect your system from unauthorized access through PureVPN’s Port Forwarding/NAT Firewall Add-on and stay secure all the time!

- Select your desired option and click Apply Settings.
How to configure Port Forwarding on macOS
With PureVPN’s Port Forwarding add-on, you can open or forward ports in a hassle-free manner. Just follow these simple steps to get started!
- Login to Member Area account with your email and password.

- Click Subscriptions.

- Click Configure.

In order to have a better understanding of all options. You can refer to its details below:
- Enable all ports: When this option is selected under settings. It allows all ports to be opened and you can transfer any data to any desired port.

- Disable all ports: When this option is selected under settings. It allows all ports to be blocked and doesn’t allow any internet traffic to be passed from the VPN connection.

- Enable specific Ports: When this option is selected under settings. It allows ports to be blocked but makes a few exceptions in which you can allow a specific port or multiple ports to be opened as per desire.
So, protect your system from unauthorized access through PureVPN’s Port Forwarding/NAT Firewall Add-on and stay secure all the time!

- Select your desired option and click Apply Settings.
How to configure Port Forwarding on Android
With PureVPN’s Port Forwarding add-on, you can open or forward ports in a hassle-free manner. Just follow these simple steps to get started!
- Login to Member Area account with your email and password.

- Tap Subscriptions.
.jpeg)
- Tap Configure.

In order to have a better understanding of all options. You can refer to its details below:
- Enable all ports: When this option is selected under settings. It allows all ports to be opened and you can transfer any data to any desired port.

- Disable all ports: When this option is selected under settings. It allows all ports to be blocked and doesn’t allow any internet traffic to be passed from the VPN connection.

- Enable specific Ports: When this option is selected under settings. It allows ports to be blocked but makes a few exceptions in which you can allow a specific port or multiple ports to be opened as per desire.
So, protect your system from unauthorized access through PureVPN’s Port Forwarding/NAT Firewall Add-on and stay secure all the time!

- Select your desired option and tap Apply Settings.