
Please follow the step-by-step guide to set up PureVPN Dedicated IP Add-on on your Android Application.
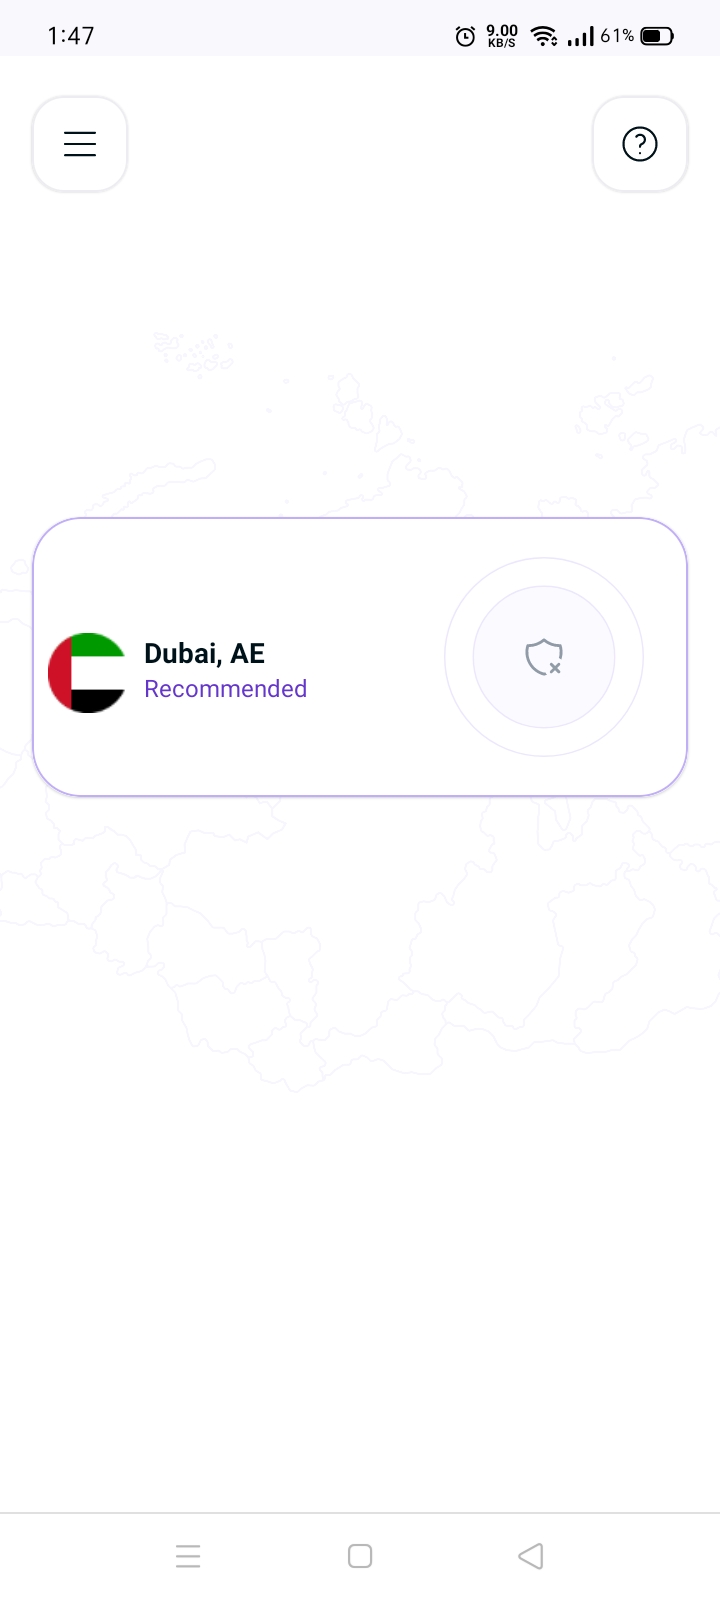
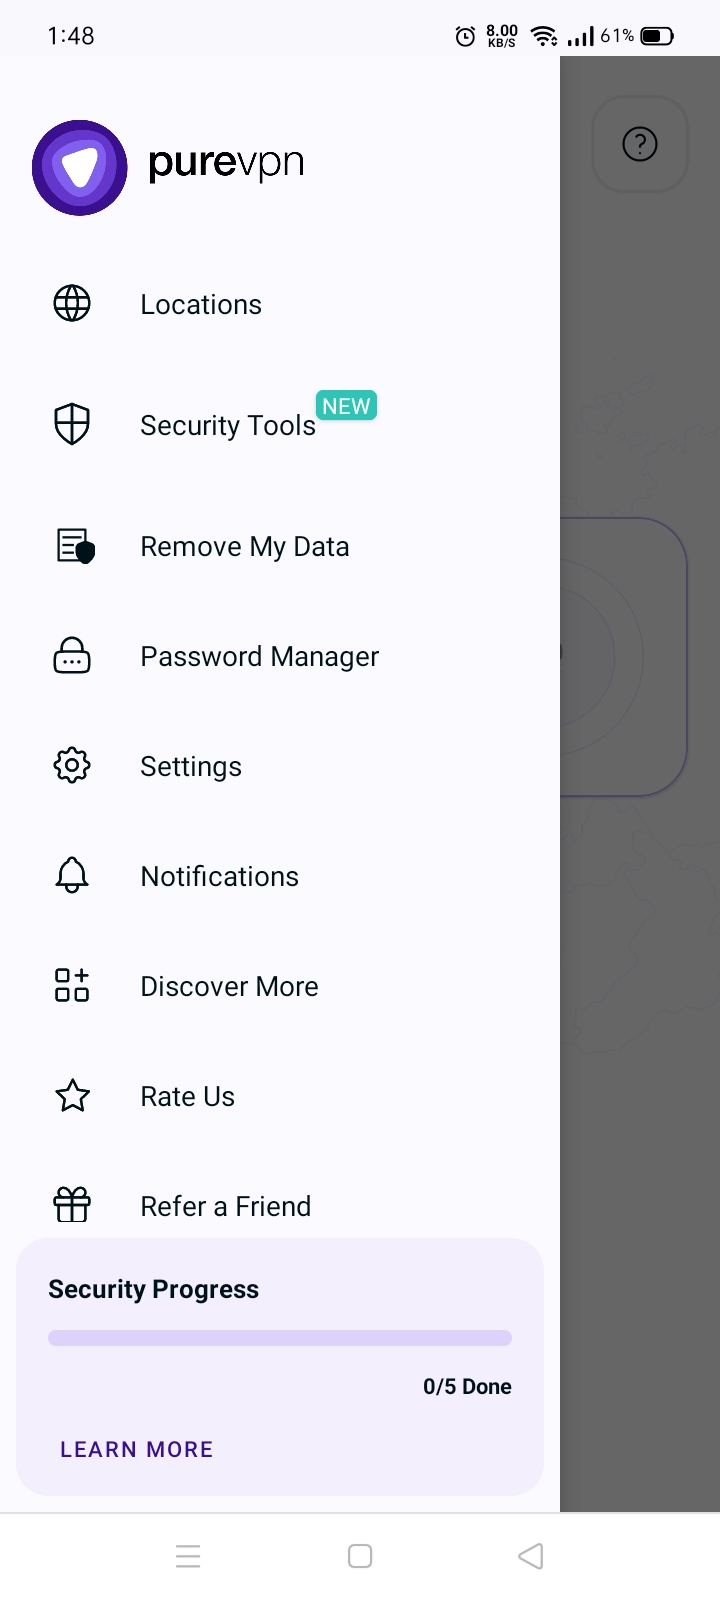
- Tap Hamburger icon (≡) from the top left.
- Tap Locations 🌐.
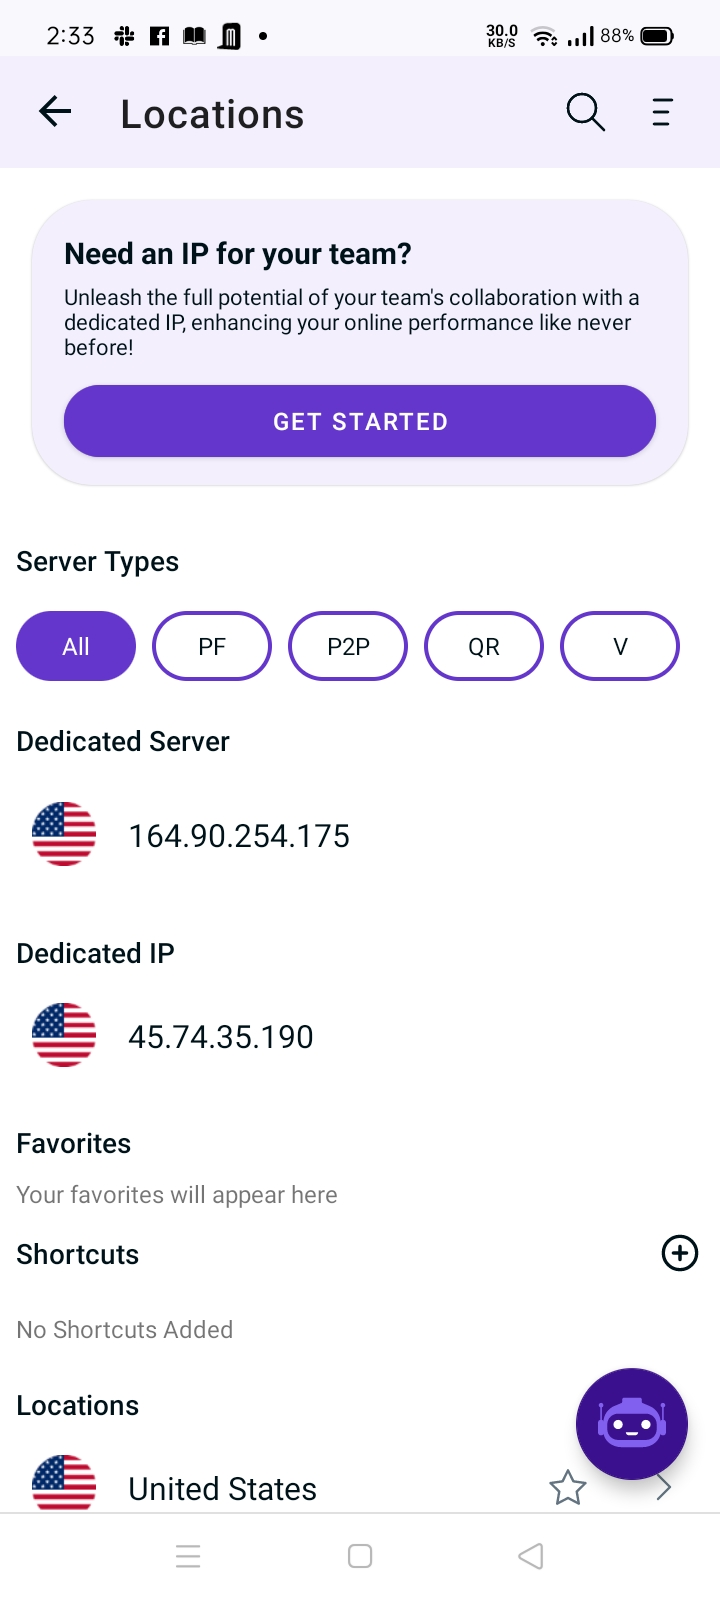
- Tap the Dedicated IP option to connect.
- You are now Connected successfully with your Dedicated IP Add-on.
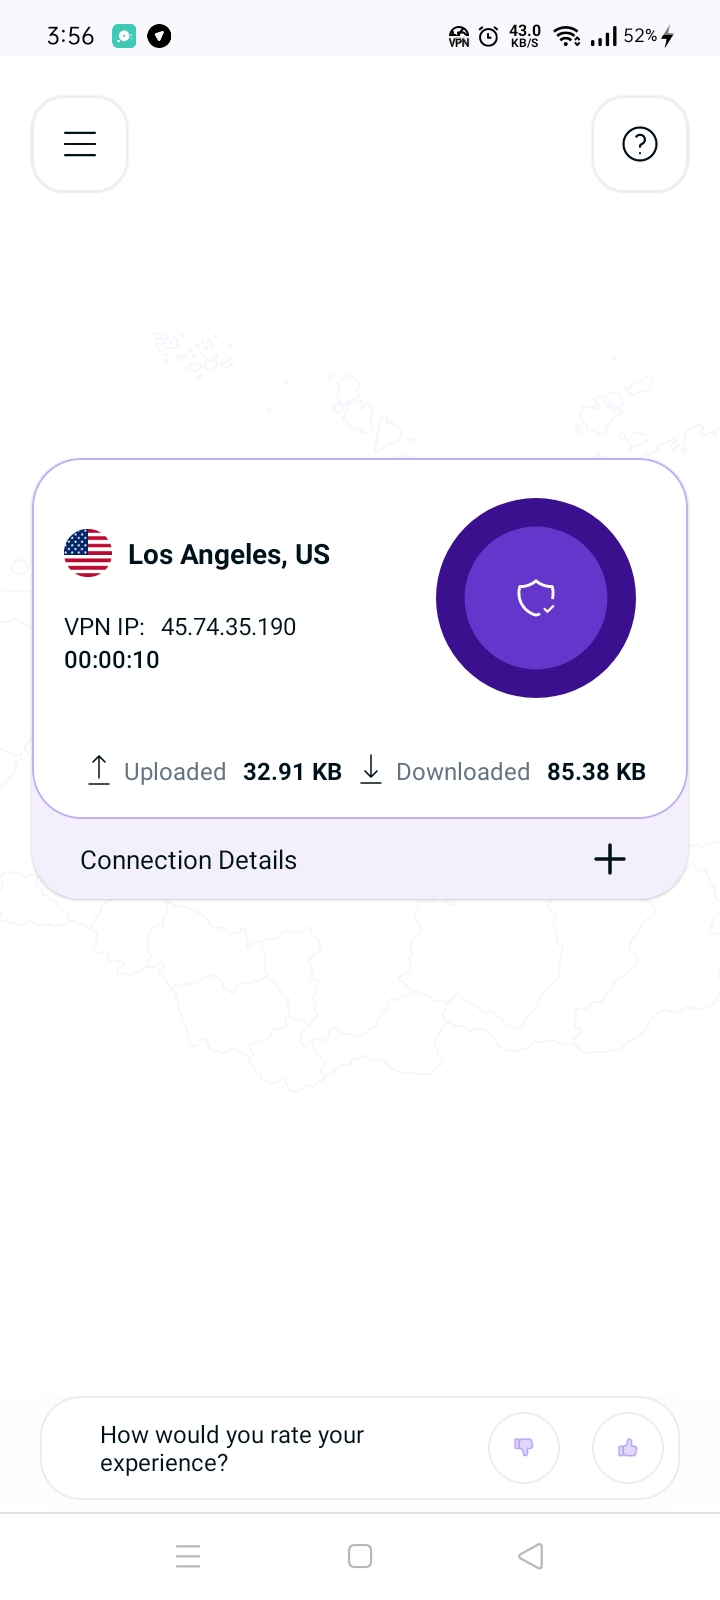
- In case you’re already connected to your dedicated IP on another device, you’ll be prompted accordingly to continue as per choice.