
What is site to site connectivity?
A Site-to-Site VPN creates a secure communication link between two or more geographically separate locations. This type of connectivity is commonly used in the context of businesses or organizations that have multiple offices, branches, or data centres. The goal is to create a seamless and secure network environment that allows data and resources to be shared between these different sites.
What options does PureDome provide?
PureDome offers the ability to use an IPSec Site-2-Site Tunnel.
IPSec Site-2-Site tunnel connection overview
IPSec Tunneling is a security feature that facilitates the creation of a secure communication link between two different networks located at separate locations using the Strongswan (IKE and IPSec) VPN protocol. By establishing an IPSec Tunnel, you can connect your PureDome gateway to your local network or cloud services, allowing for secure remote access.
Creating a new IPSec Site-2-Site tunnel connection
- To create a tunnel, go to the Gateways screen, click the three-dot icon (⋮) next to the desired gateway for tunnel creation and click Manage Tunnel.
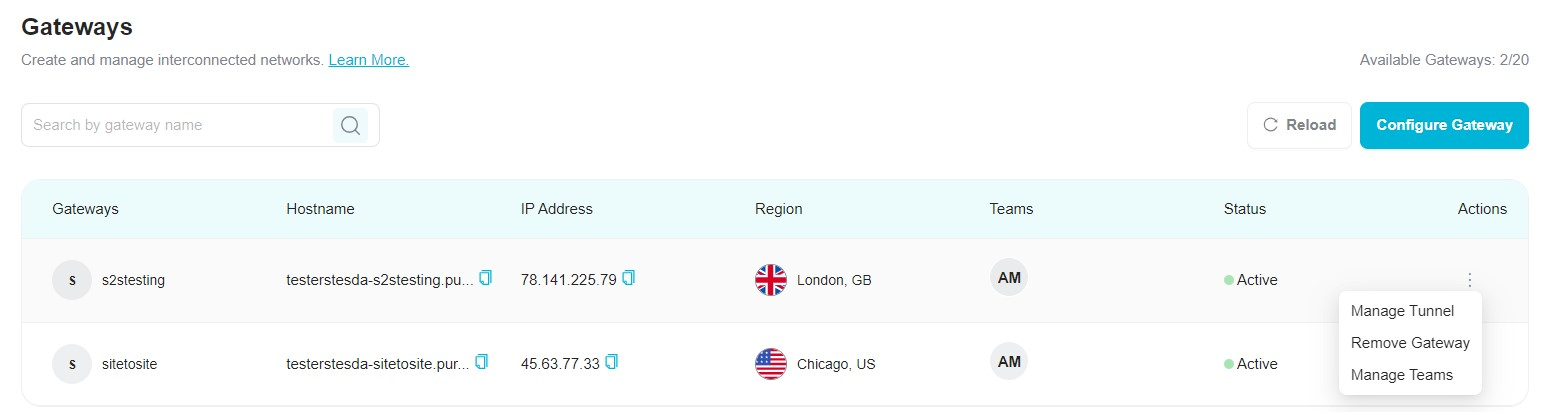
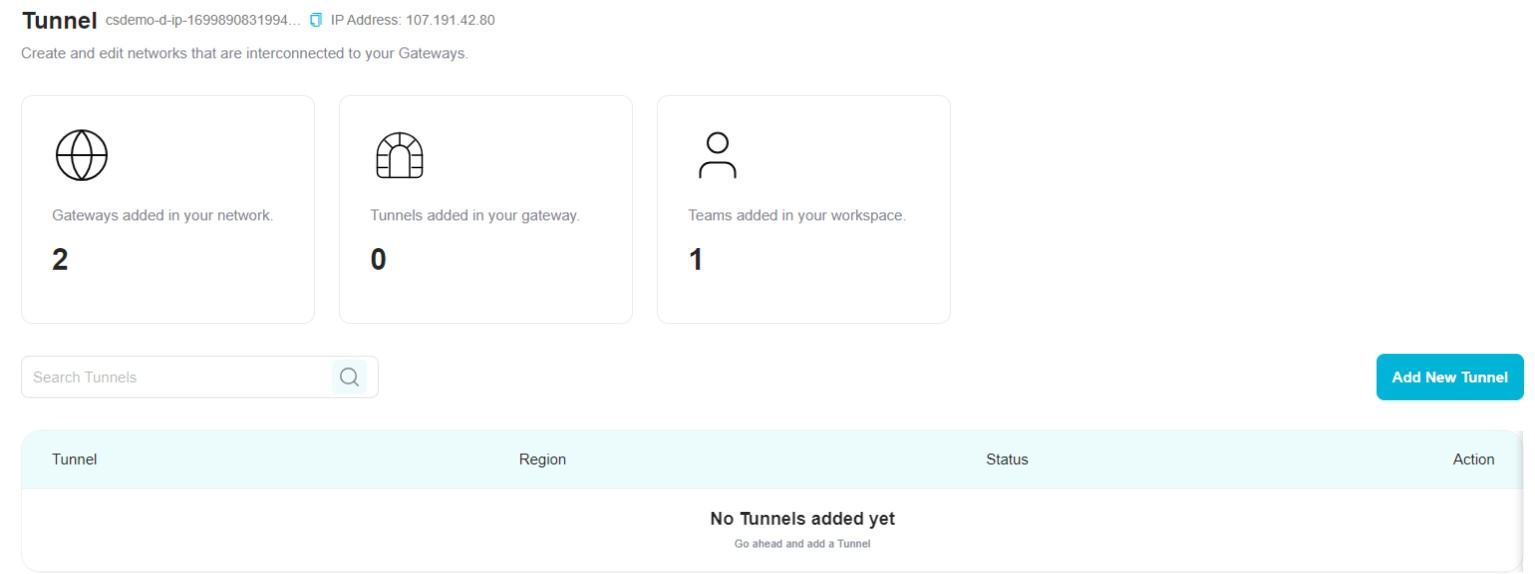
- Click Add New Tunnel in order to create an IPSec Site-2-Site tunnel.
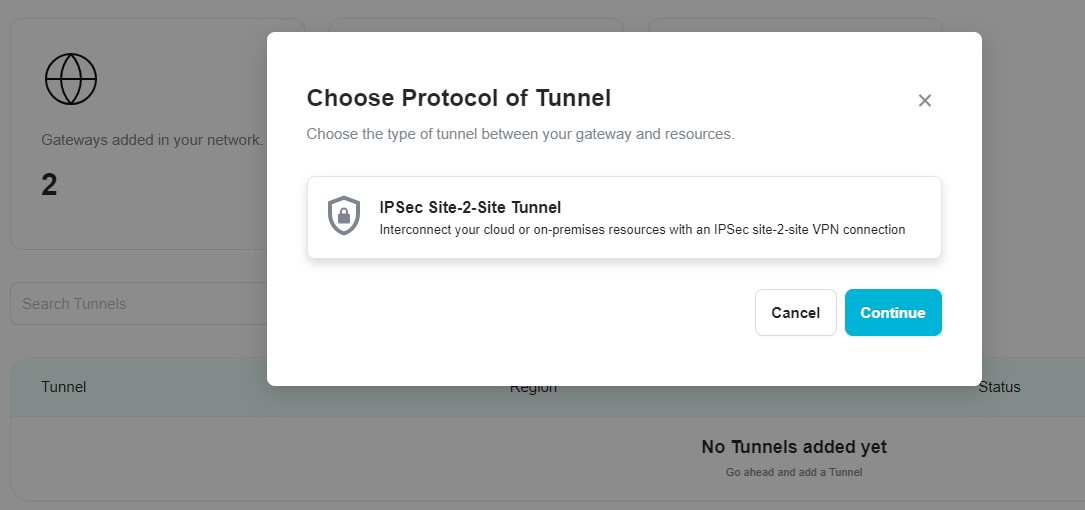
- Select the protocol for your preferred tunnel. Currently, only the IPSec Site-2-Site tunnel is supported, so choose that option and click Continue.
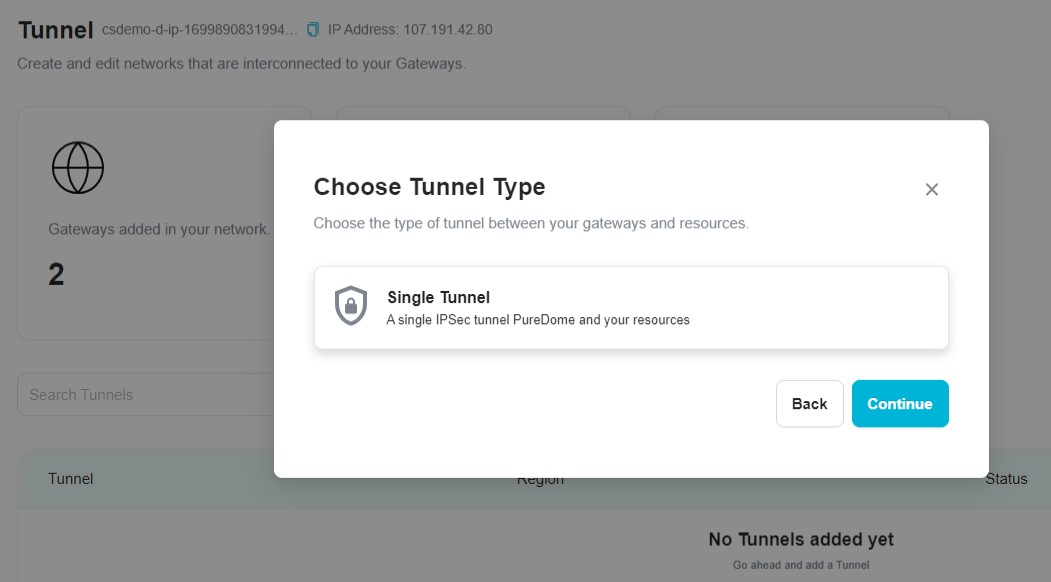
- Choose the tunnel type for your desired connection. Currently, the system supports only a single IPSec tunnel, so select that option and click Continue.
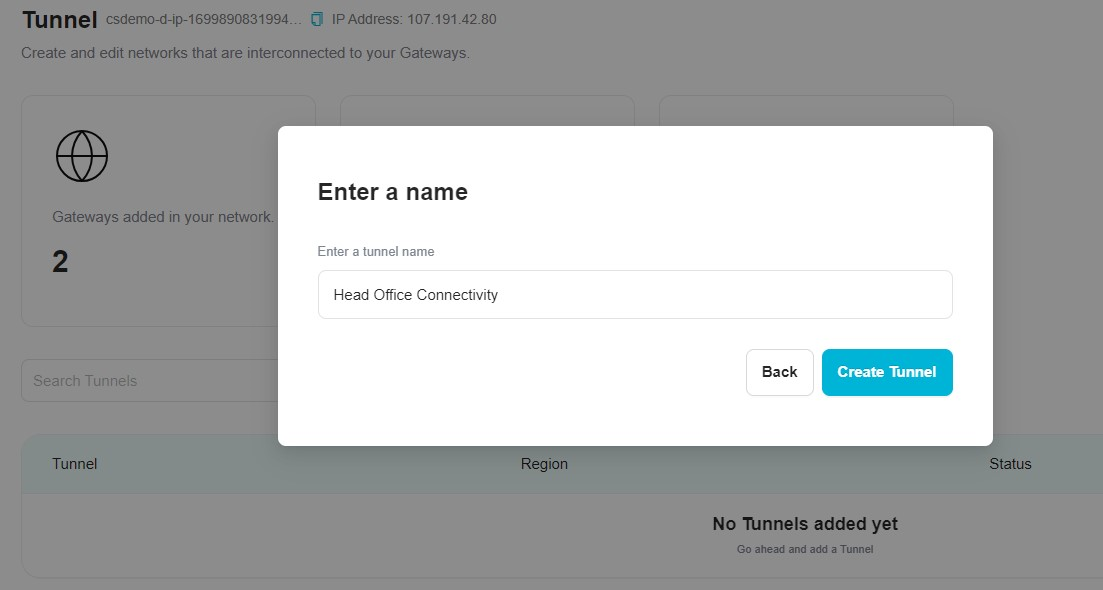
- Enter a name for the tunnel, and click Create Tunnel.
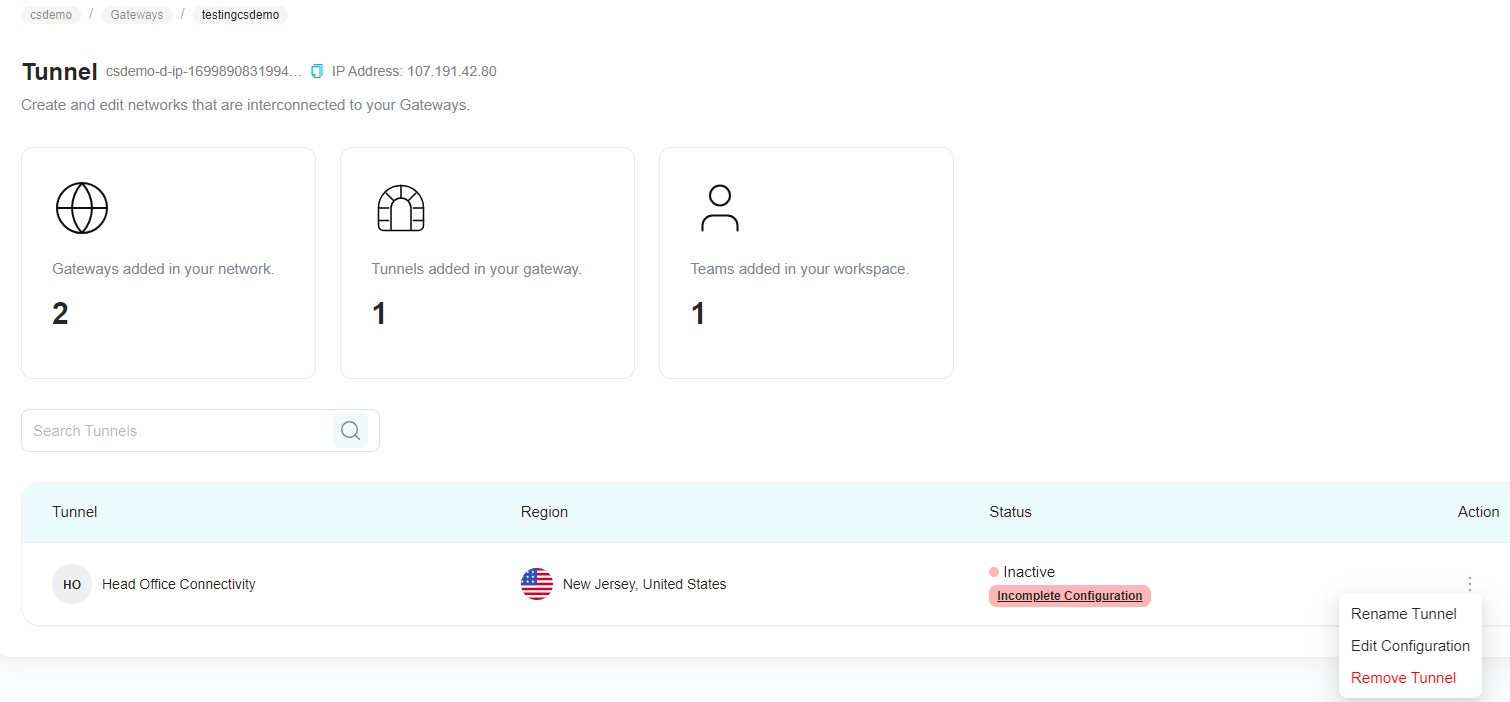
- Once the tunnel is created, click the three-dot icon (⋮) next to the newly created tunnel and click Edit Configuration.
- Provide the following details to complete the configuration of your IPSec Site-2-Site tunnel:
- Name: The name of the Tunnel you want to create. (set up in previous steps)
- Public IP: The public IP address of your PureDome gateway.
- PureDome Gateway Proposal Subnets: The IPSec network selector must be configured to the same value at both ends of the tunnel.
- Shared Secret: A pre-shared key that will be used by both of the tunnel parties. (click Generate in order to generate a Shared Secret key)
- Remote ID: The public IP address of the second end of the tunnel.
- Remote Gateway Proposal Subnets: The remote subnet selector must be configured to the same value on both tunnel ends. If you do not specify the subnets, you will need to do so manually using the Routes Table configuration.
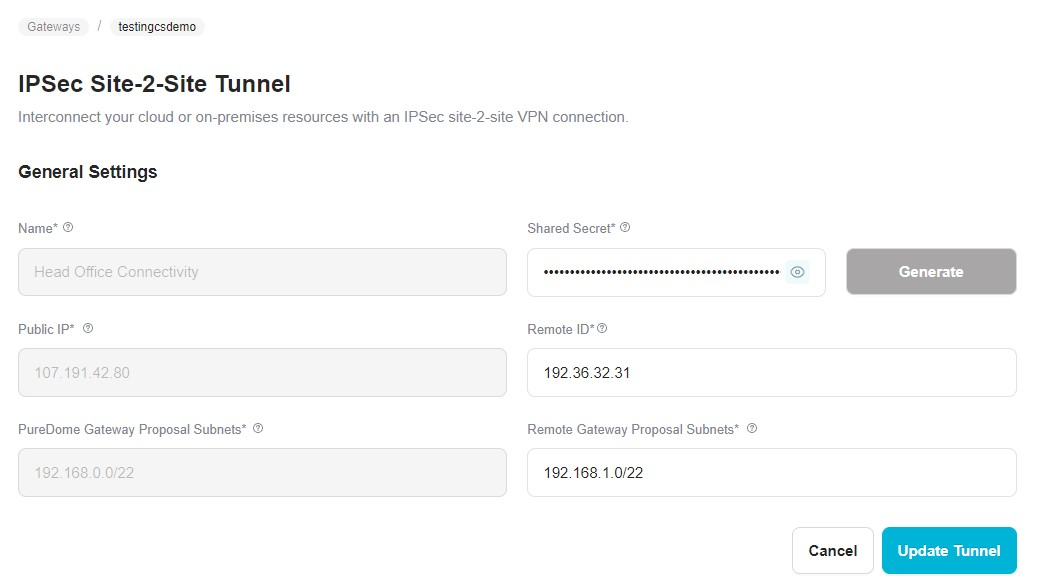
- After entering the details, click Update Tunnel. The tunnel will then undergo the deployment process.
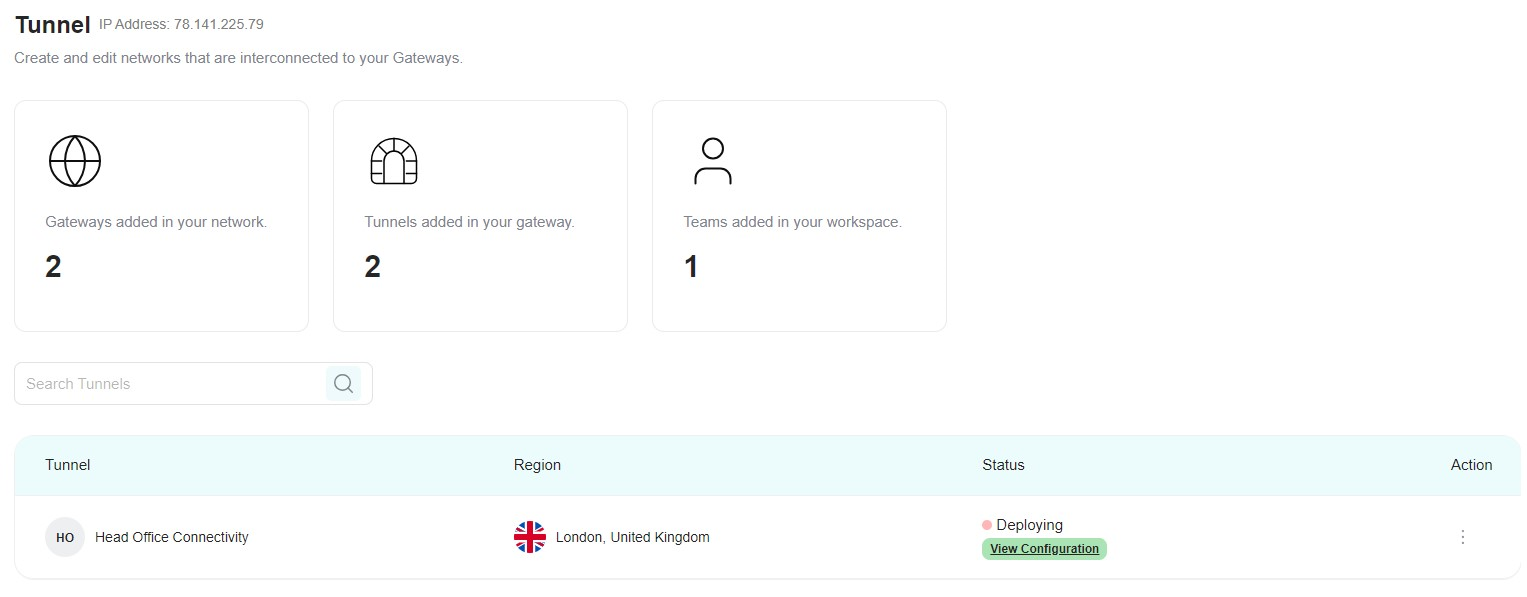
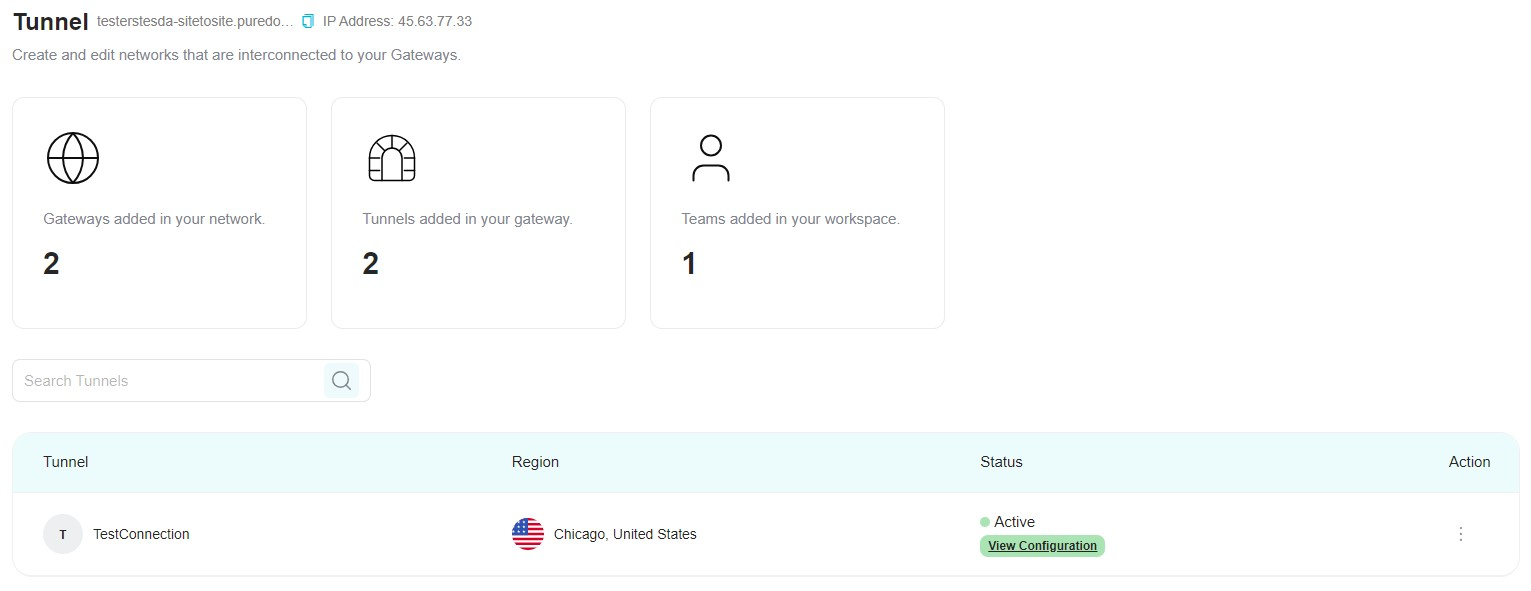
- The deployment of the tunnel typically takes 5-10 minutes. You'll be notified that the deployment is complete when the status indicates it is Active.
Note:
- The Remote ID of the second end of the tunnel must be static.
- Keep in mind that only one subnet can be added.
- After deploying and activating the tunnel, log in to the PureDome application. Make a connection with the gateway from its dedicated tab. Once connected, you can access the resources hosted on the remote network.
If you have any questions or are experiencing any issues, please don't hesitate to contact our 24/7 customer support team via live chat or email at support@puredome.com. We're always happy to help!