To get started with PureEncrypt on Windows device you can simply follow the below instructions.
Download and Install PureEncrypt
- You can start using PureEncrypt by simply downloading it.
- Launch the downloaded .exe file and follow the setup as usual.
- We recommend also installing Dokany, which is included in the installer. Dokan is a software interface for Windows that lets programmers create virtual file systems without writing a kernel-level driver.
How to Login
- Launch PureEncrypt app.
- Click Login.

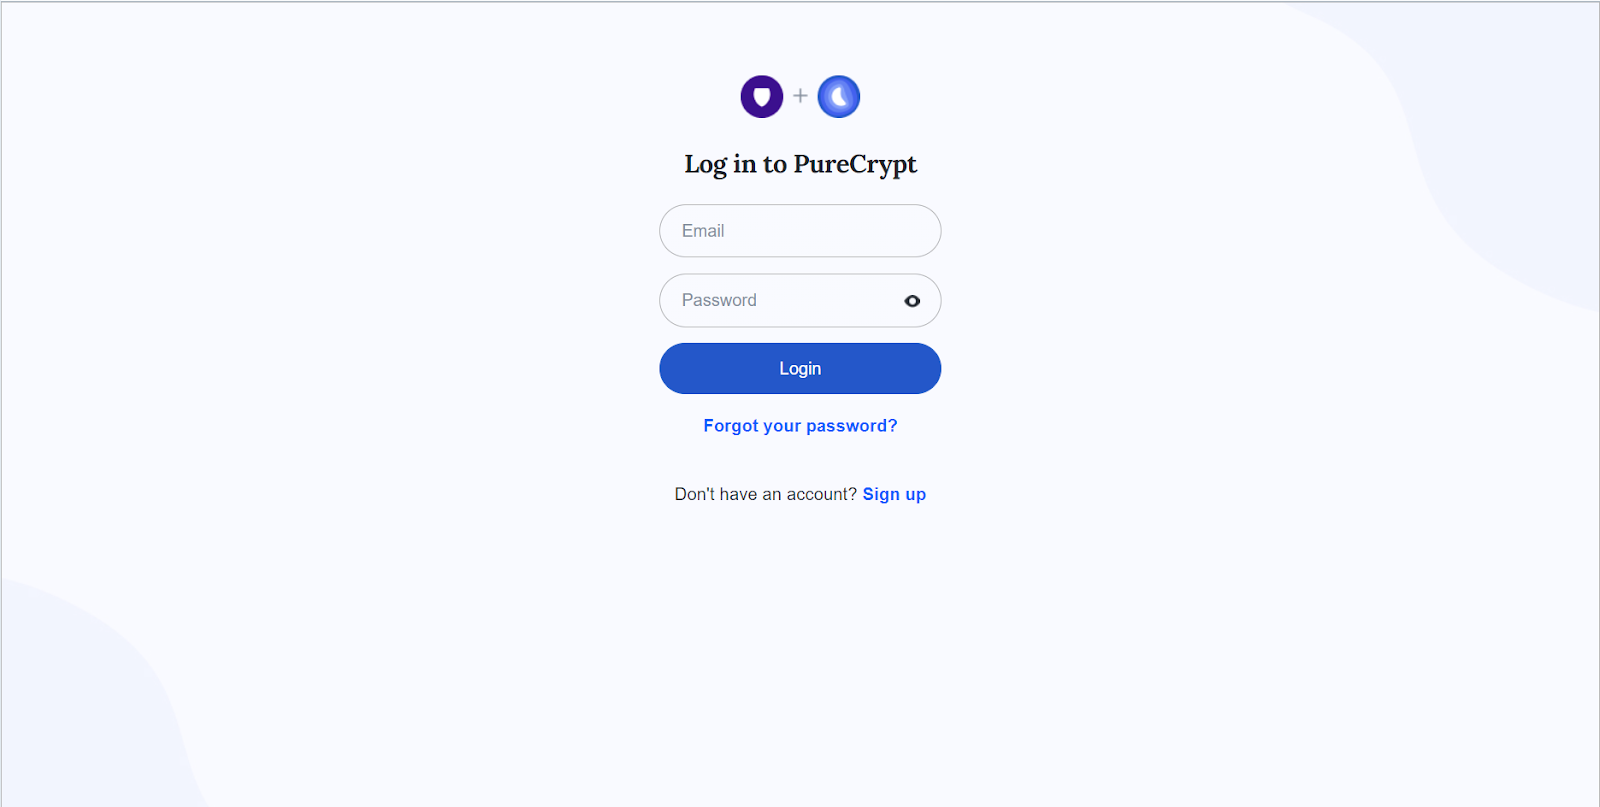
- You will be redirected to your default browser for login.
- Enter your PureVPN registered email and password (Use the email and password you set up during the purchase).
- After entering the account details, click Login.
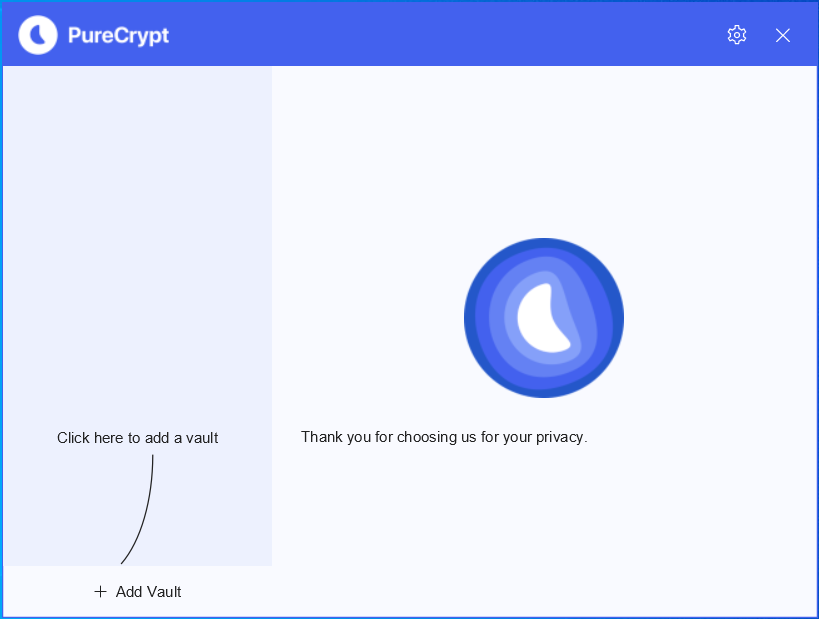
- Once you click Login, the PureEncrypt app will automatically pop-up and you will be logged in to the app.
How to Logout
Wish to logout from the PureEncrypt application? No problem..!! Follow the simple steps below.
- Start by clicking the Setting icon from the top right corner.

From the General settings option, you may proceed to click Profile and see the details of your profile.
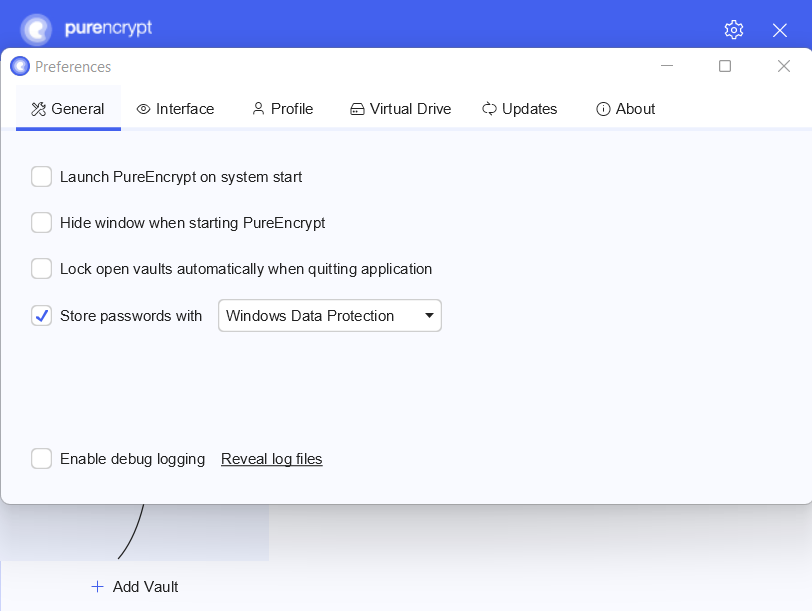
Click Logout to proceed.
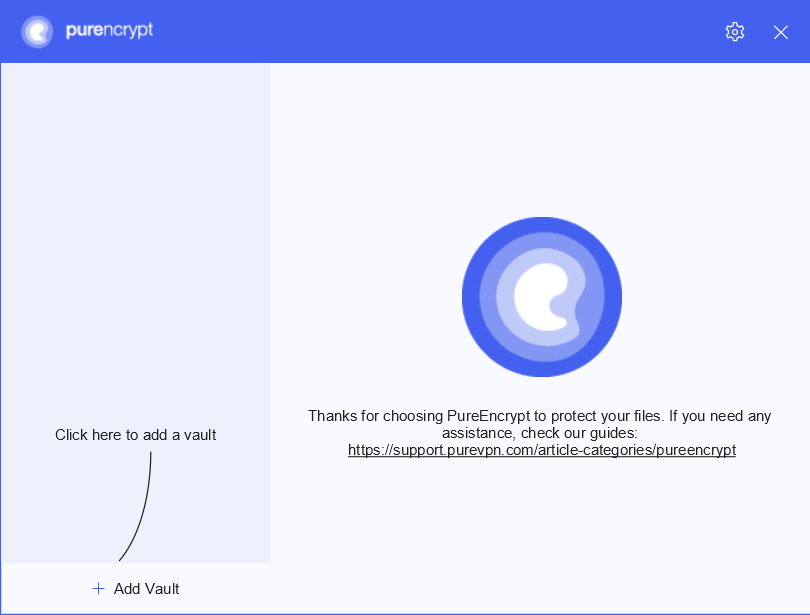
Create Vault
- Click + icon to add a new Vault.
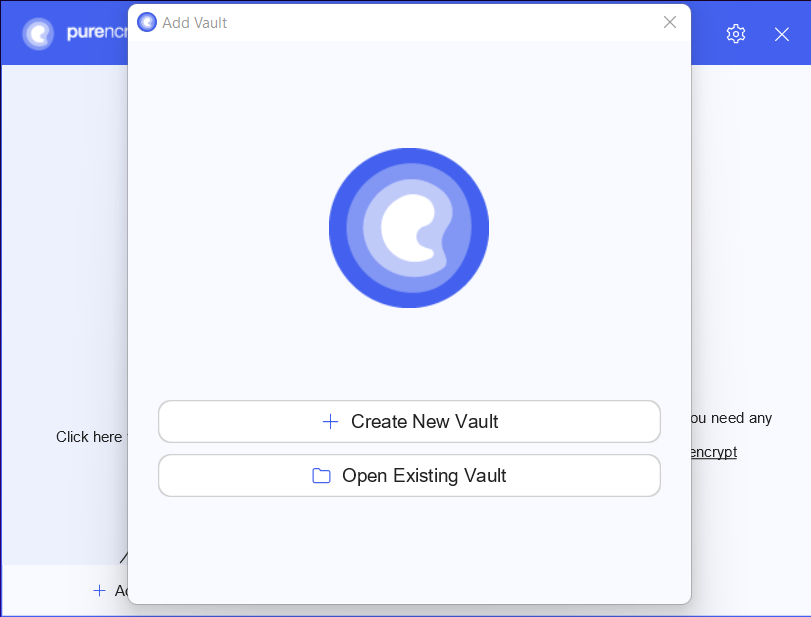
- To create a new vault, choose Create New Vault.
- Once done a wizard will now guide you through the vault creation process.
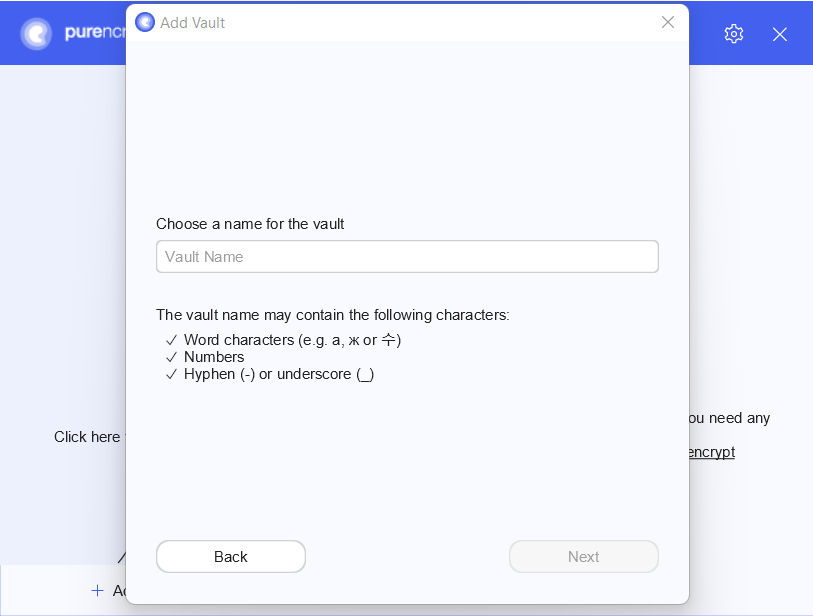
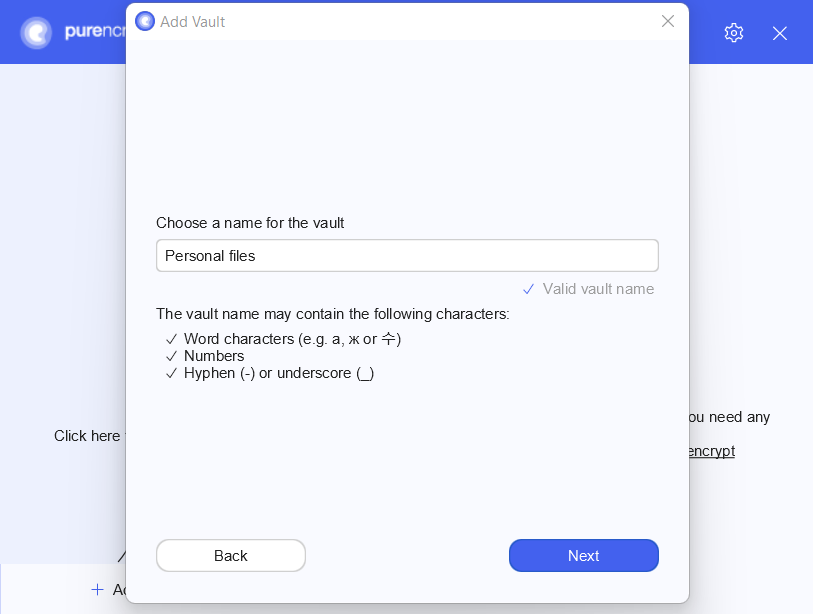
1. Choose a Name:
- You start by simply choosing a name for your vault.
2. Choose a Storage Location:
- Next, choose where you want to save your vault. Since a vault is just a directory containing encrypted files, you need to store it somewhere. Usually this would be inside your cloud-synced directory. But you can choose any storage location you like.
Keep in mind that PureEncrypt is not a sync tool. You still need the software from your favourite cloud storage service.
3. Choose a Password:
- Now it is time to choose a good password for your vault. PureEncrypt requires at least 8 characters but we recommend you to use longer phrases such as pass-sentences. The bar below the password field estimates the strength of your password.

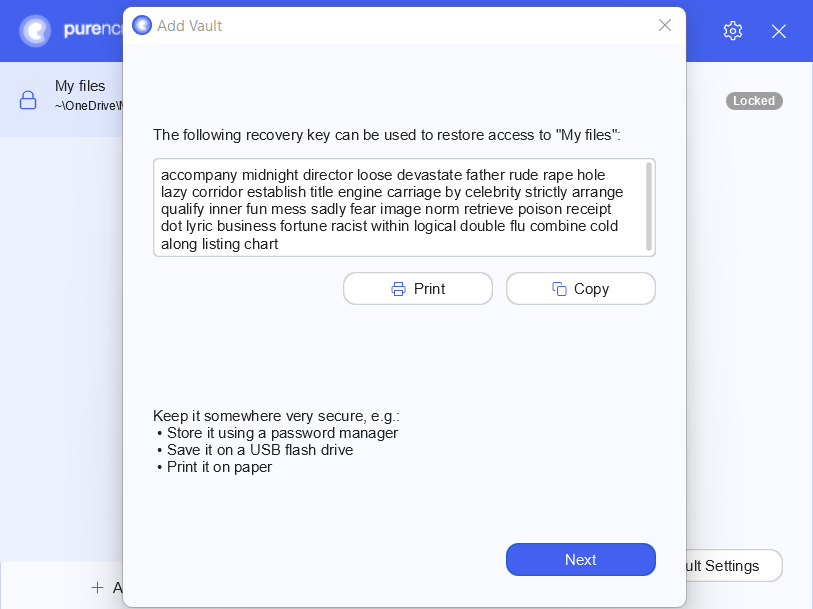
4. Show Recovery Key:
- Since we can not reset your password, we recommend you to create an additional recovery key.
- If you chose to create a recovery key in the previous step, it will now be displayed. Make sure not to lose it. Ideally make a hard copy of it.
- That’s it. You have successfully created a new vault.
Open an Existing Vault
- Click + icon to add a new Vault.

- To open an existing vault, choose Open Existing Vault.

- Once done all you need to do is to locate the masterkey. PureEncrypt file of the vault you want to open.
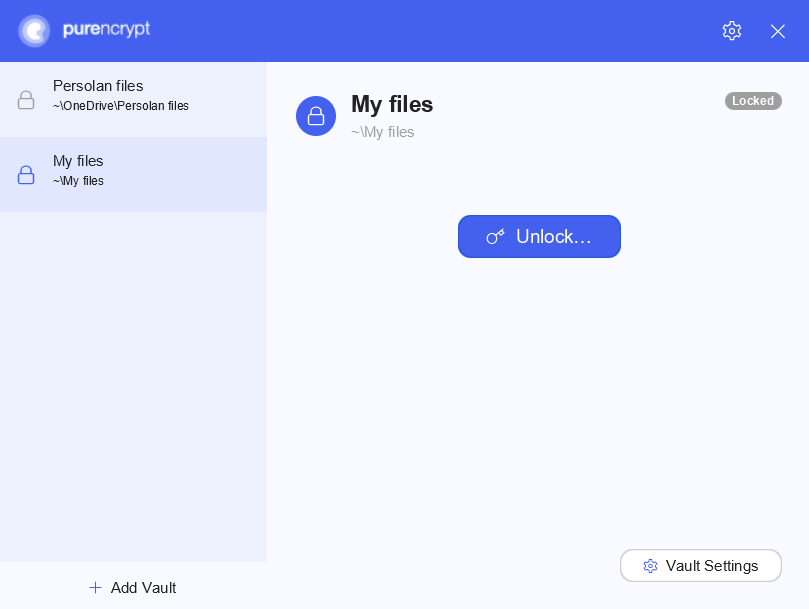
Access Vault
- To access a vault you need to unlock it. To unlock a vault click 🔑 Unlock button.
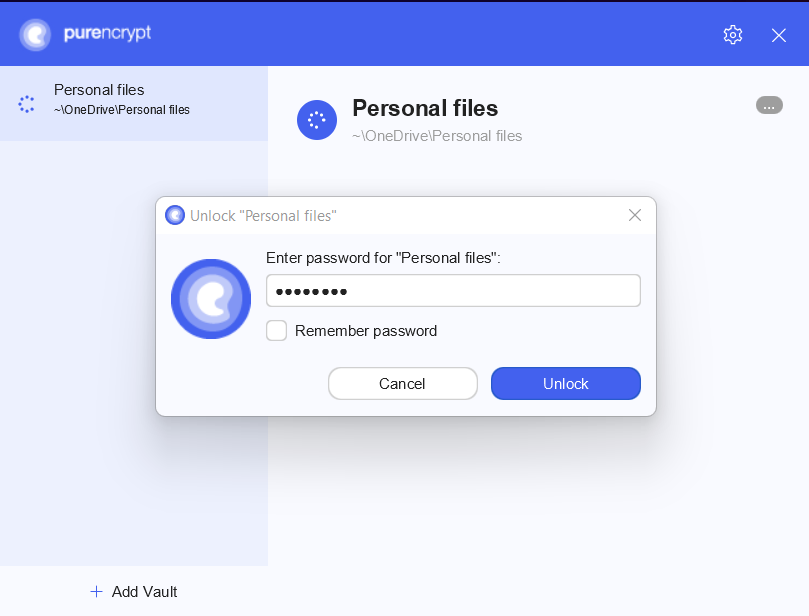
- A pop-up window will appear asking you to enter your vault password.
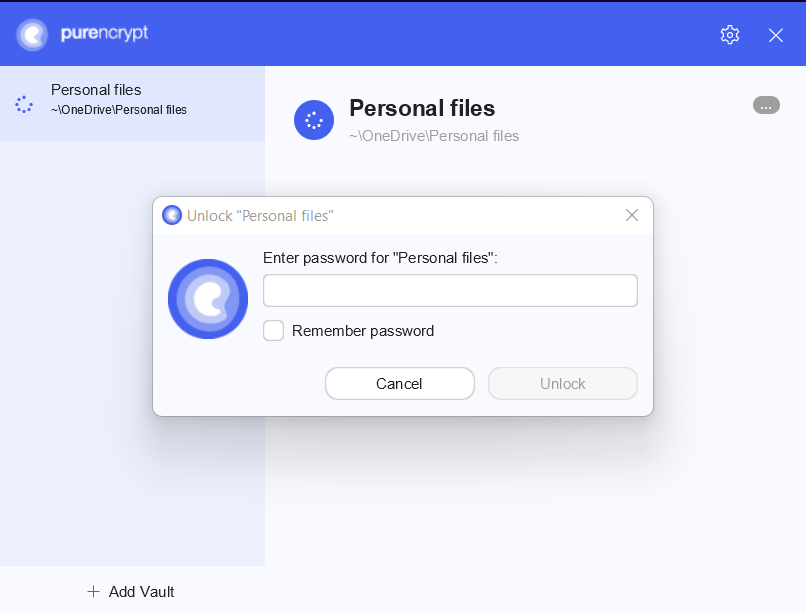
- After entering your password click Unlock.
- If the password is successfully verified you will get a prompt confirming that the vault is now accessible. Click Reveal Drive to proceed.
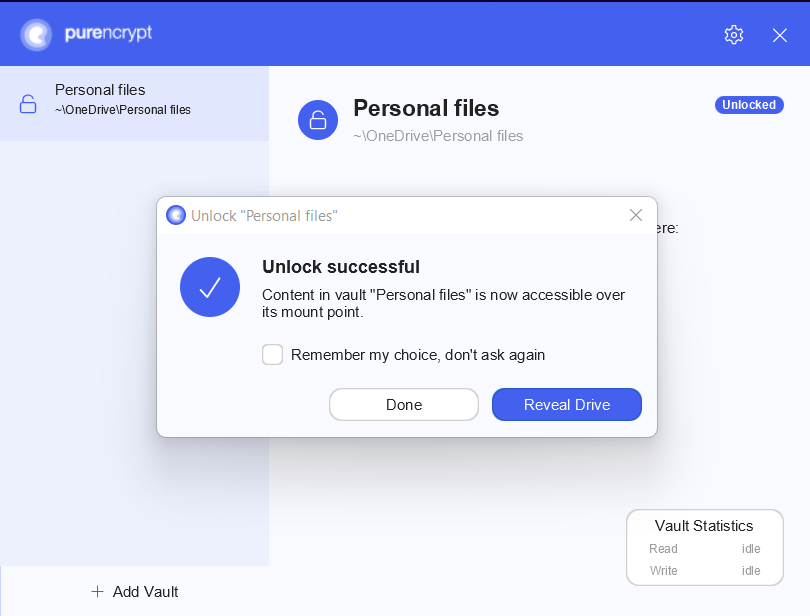
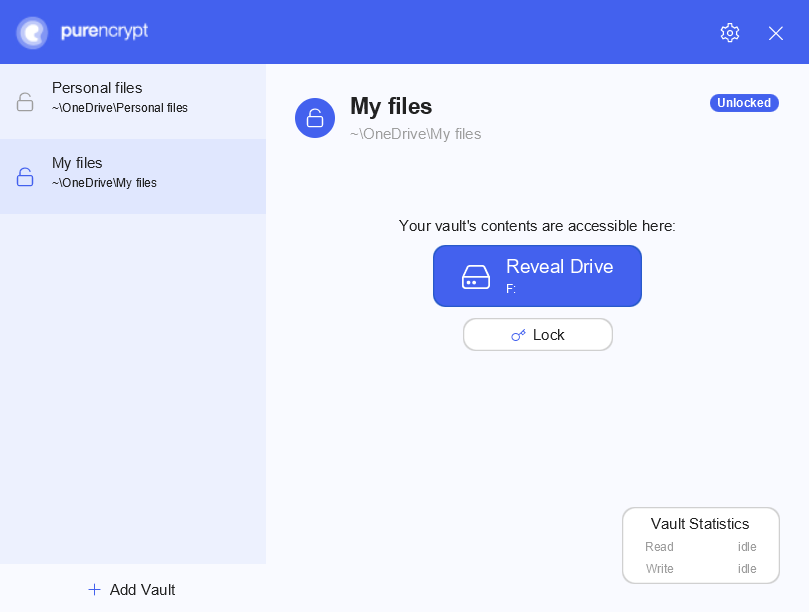
- After unlocking, your vault’s contents will become available as a virtual drive on your PC. This means that you interact with your confidential files in the same way as with any other hard drive or USB stick.
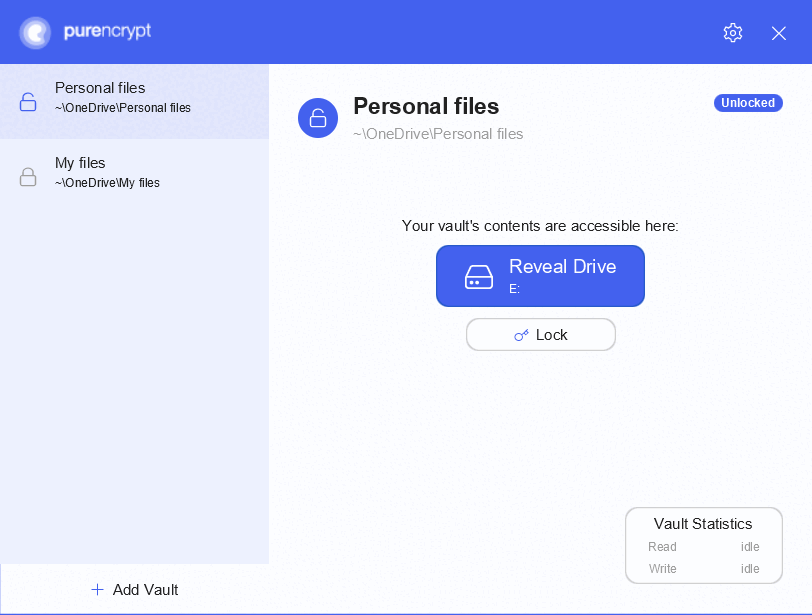
- If you can not find the unlocked vault in your systems file manager Windows Explorer, Finder, you can always click on Reveal Drive in your PureEncrypt window:
Lock Vault
- To 🔒 lock your vault again simply click 🔑 Lock and your data will be protected and encrypted again.

Reorder Vaults
- You can change the order of your vaults by dragging them to the desired position.
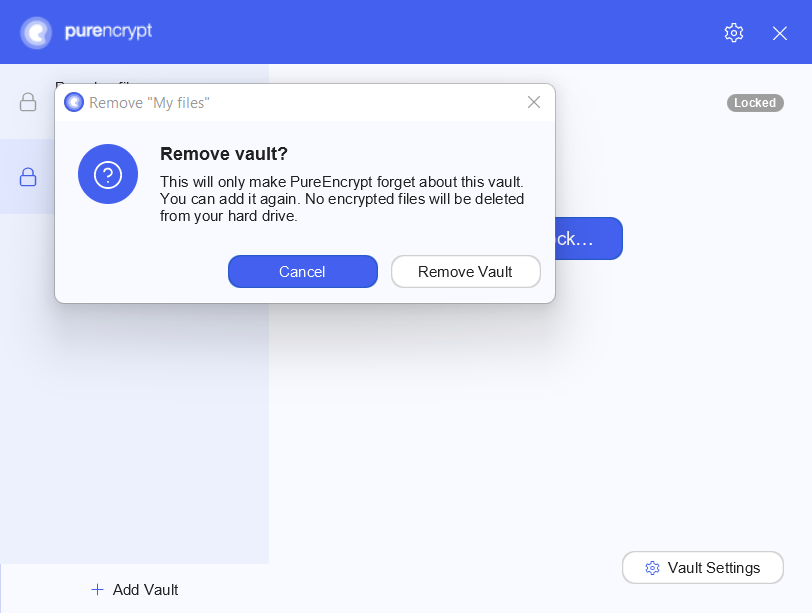
Remove Vaults
- You can remove a vault from the vault list by right clicking on the list entry. This is only possible while the vault is locked.
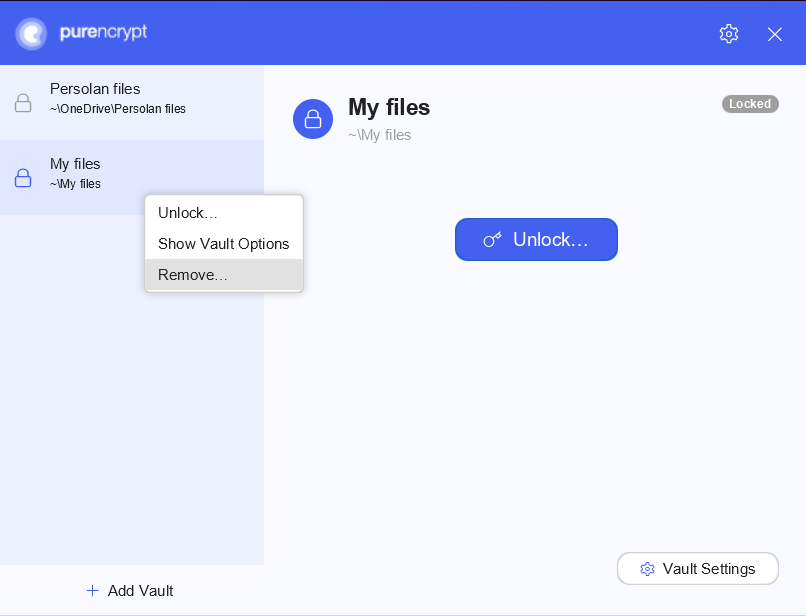
- A pop-up window appears asking you to confirm your decision. Click Remove Vault to remove it from the list of vaults.