To get started with PureEncrypt on Mac device you can simply follow the below instructions
Download and Install PureEncrypt
- Click here to download PureEncrypt.
- Open the downloaded .dmg file, accept the licence, and drag & drop PureEncrypt onto the Applications folder.
- We recommend also installing FUSE for macOS, which is linked from inside the .dmg file.
How to Login
- Launch PureEncrypt app.
- Click Login.

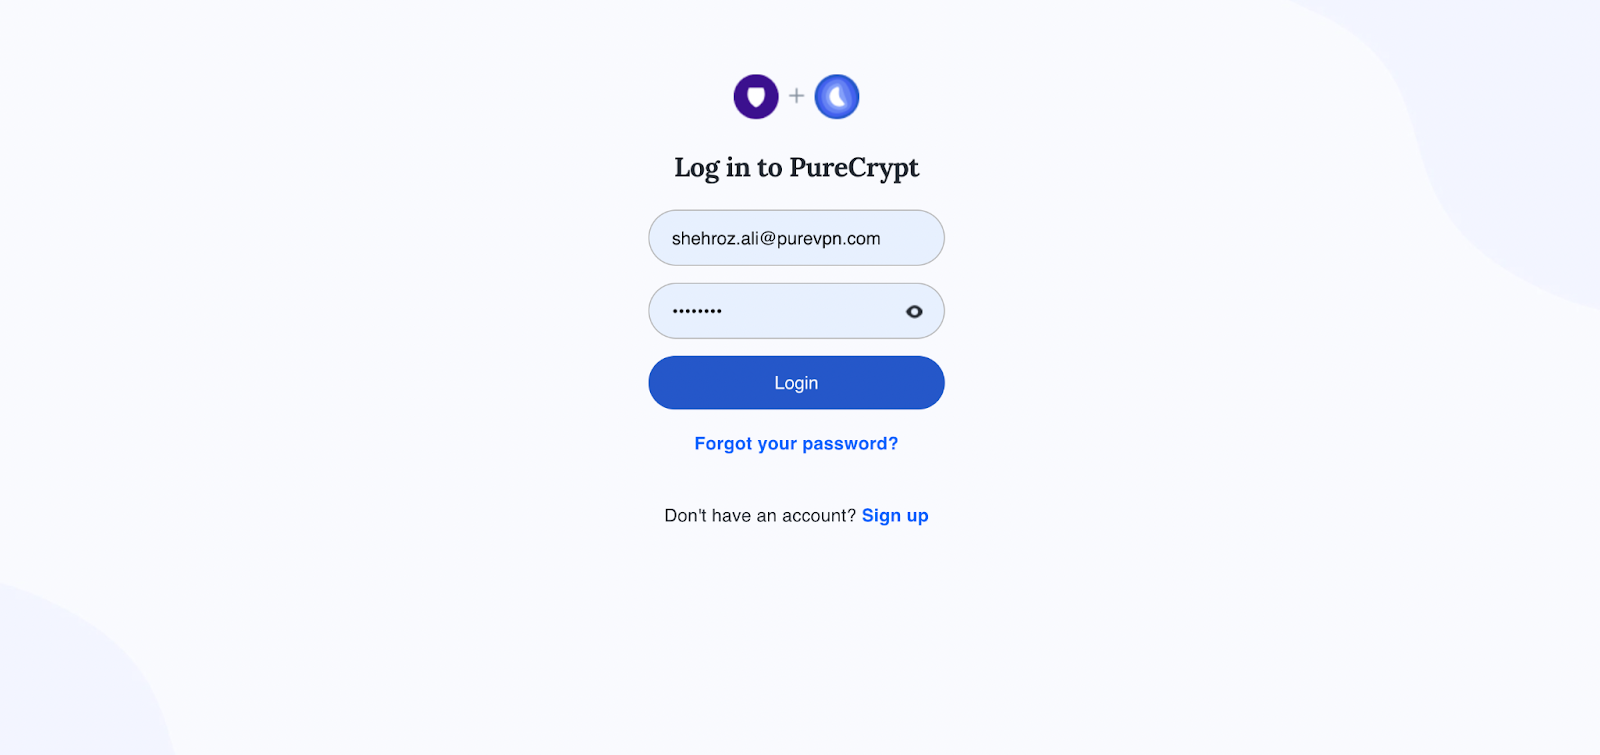
- You will be redirected to your default browser for login.
- Enter your PureVPN registered email and password (Use the email and password you set up during the purchase).
- After entering the account details, click Login.
- Once you click Login, the PureEncrypt app will automatically pop-up and you will be logged in to the app.
How to Logout
Wish to logout from the PureEncrypt application? No problem..!! Follow the simple steps below.
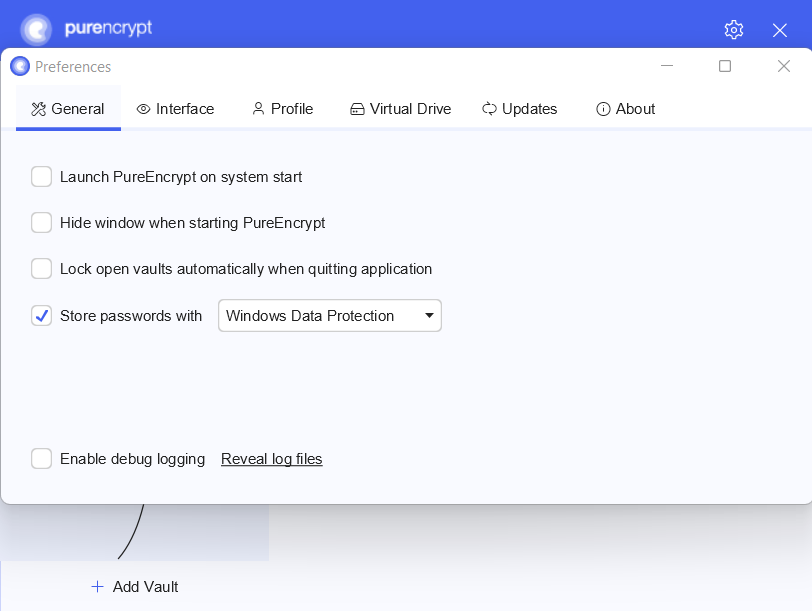
- Start by clicking the Settings icon from the top right corner.

- From the general settings tab, you may proceed to click Profile and see the details of your profile.
- Click Logout to proceed.
Create Vault
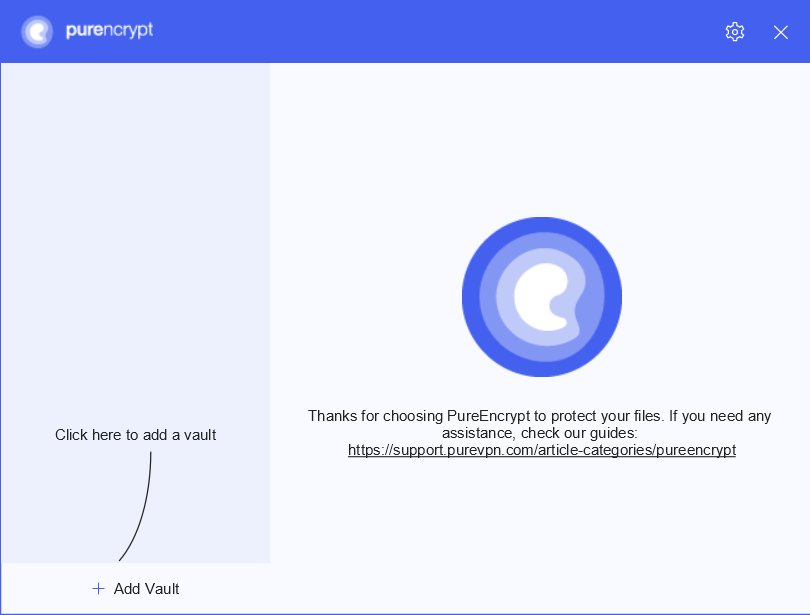
- Click + icon to add a new Vault.

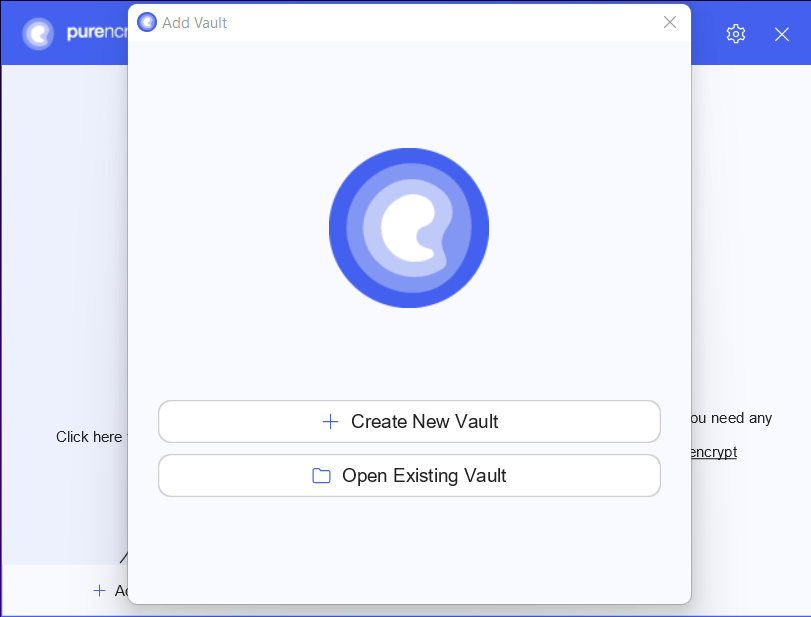
- To create a new vault, choose Create New Vault.

- Once done a wizard will now guide you through the vault creation process.
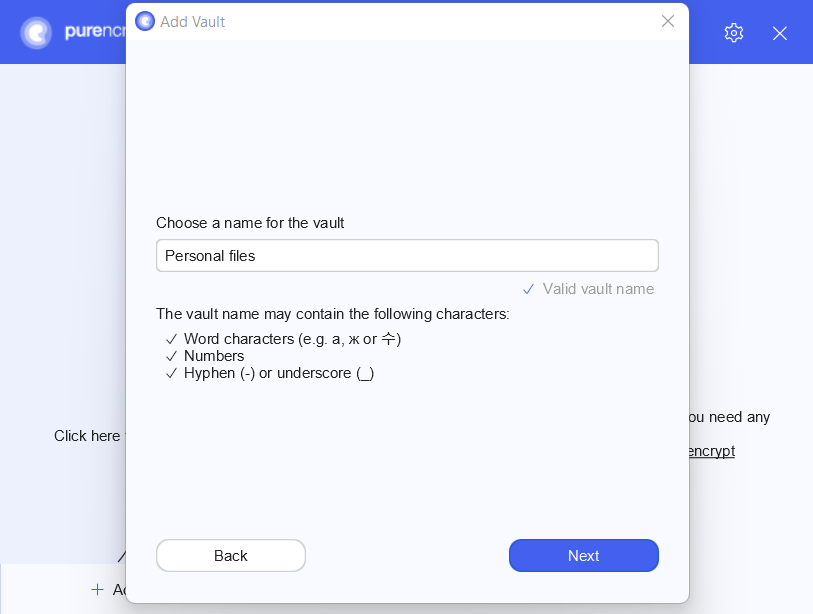
1. Choose a Name:
- You start by simply choosing a name for your vault.

2. Choose a Storage Location:
- Next, choose where you want to save your vault. Since a vault is just a directory containing encrypted files, you need to store it somewhere. Usually this would be inside your cloud-synced directory. But you can choose any storage location you like.
Keep in mind that PureEncrypt is not a sync tool. You still need the software from your favourite cloud storage service.
3. Choose a Password:
- Now it is time to choose a good password for your vault. PureEncrypt requires at least 8 characters but we recommend you to use longer phrases such as pass-sentences. The bar below the password field estimates the strength of your password.

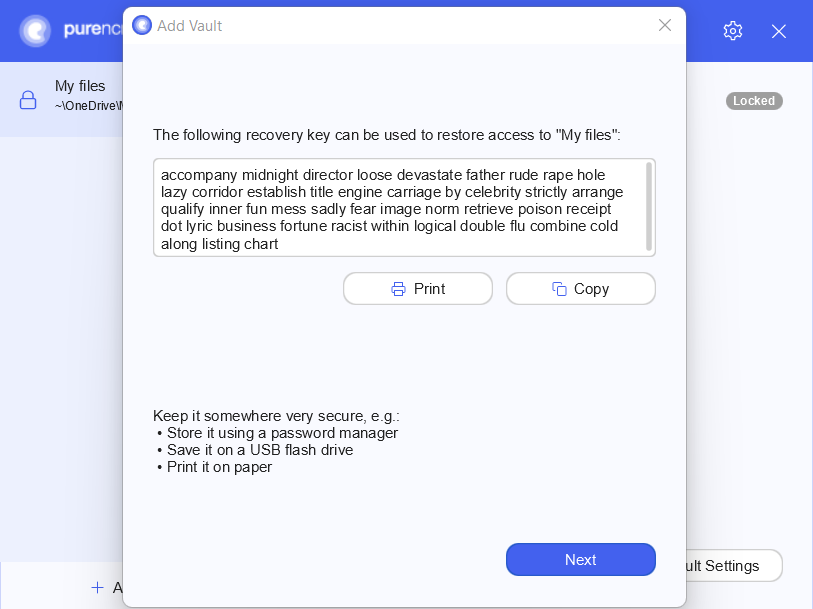
4. Show Recovery Key:
- Since we can not reset your password, we recommend you to create an additional recovery key.
- If you chose to create a recovery key in the previous step, it will now be displayed. Make sure not to lose it. Ideally make a hard copy of it.
- That’s it. You have successfully created a new vault.
Open an Existing Vault
- Click + icon to add a new Vault.
- To open an existing vault, choose Open Existing Vault.
- Once done all you need to do is to locate the masterkey. PureEncrypt file of the vault you want to open.
Access Vault
- To access a vault you need to unlock it. To unlock a vault click 🔑 Unlock button.
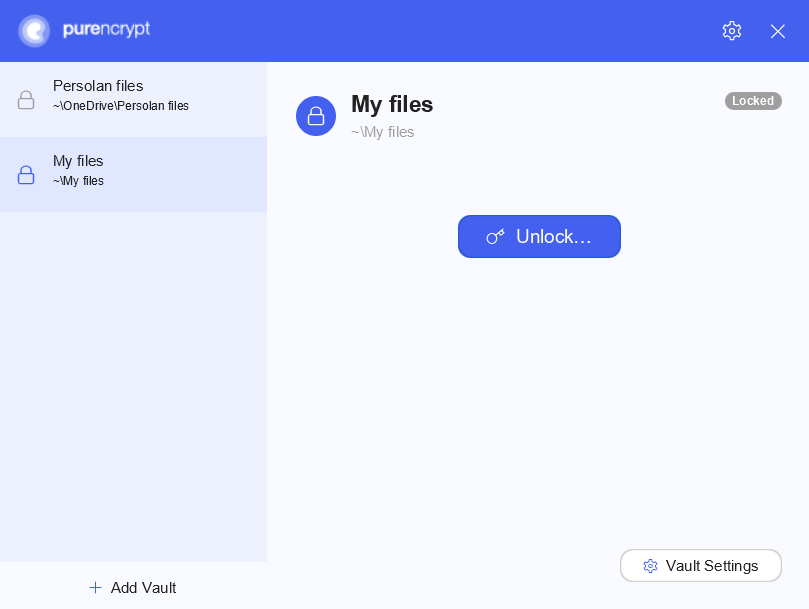
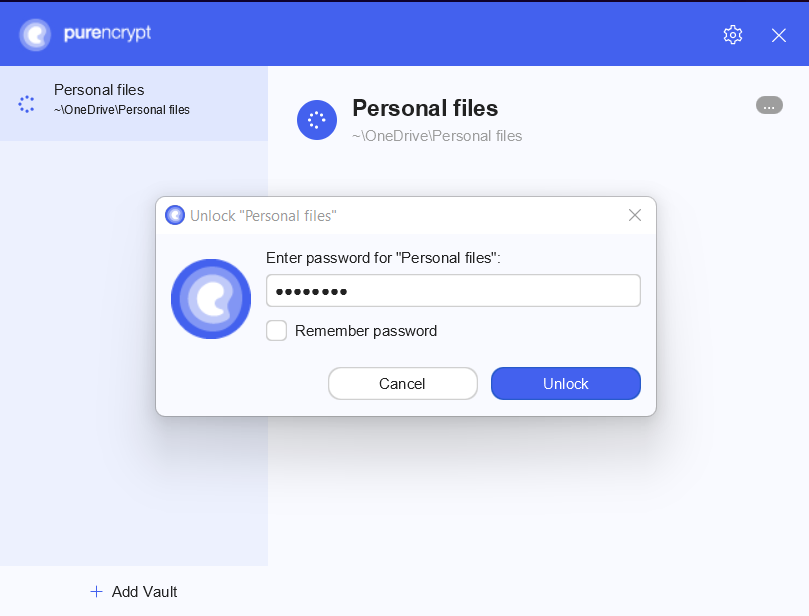
- A pop-up window will appear asking you to enter your vault password.
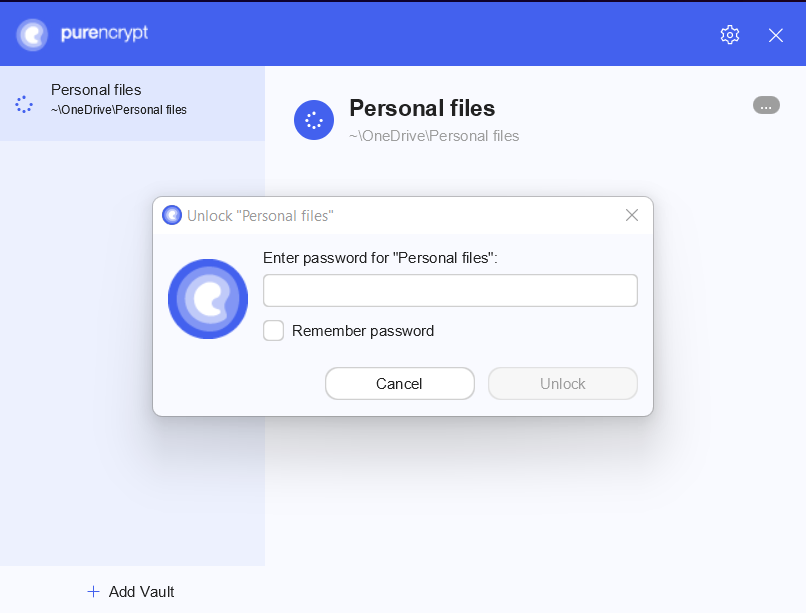
- After entering your password click Unlock.
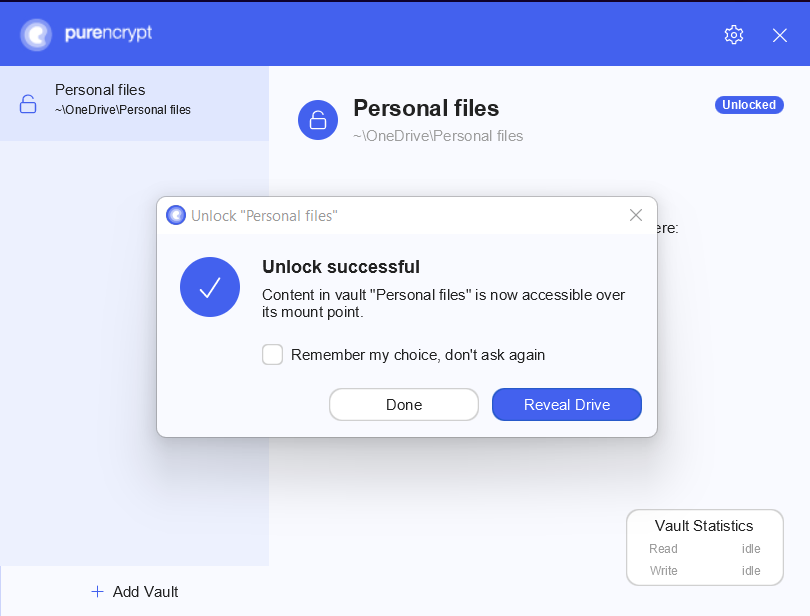
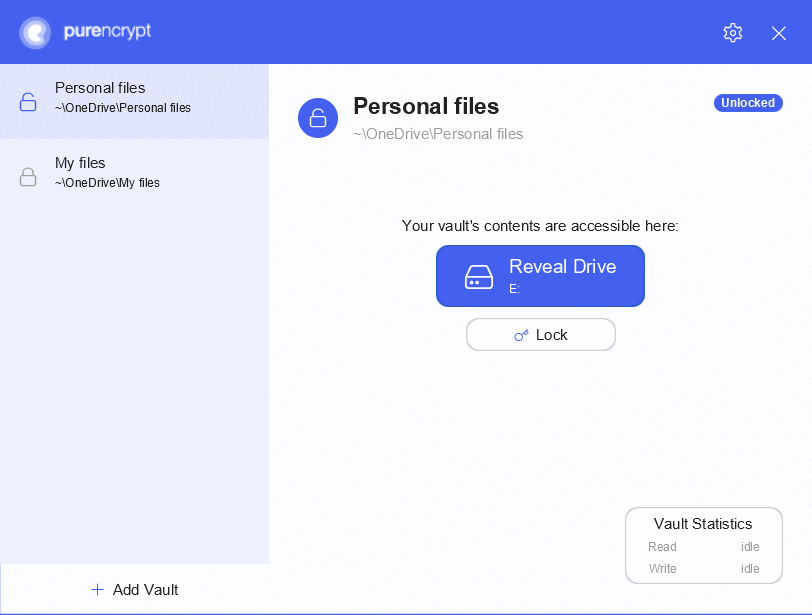
- If the password is successfully verified you will get a prompt confirming that the vault is now accessible. Click Reveal Drive to proceed.
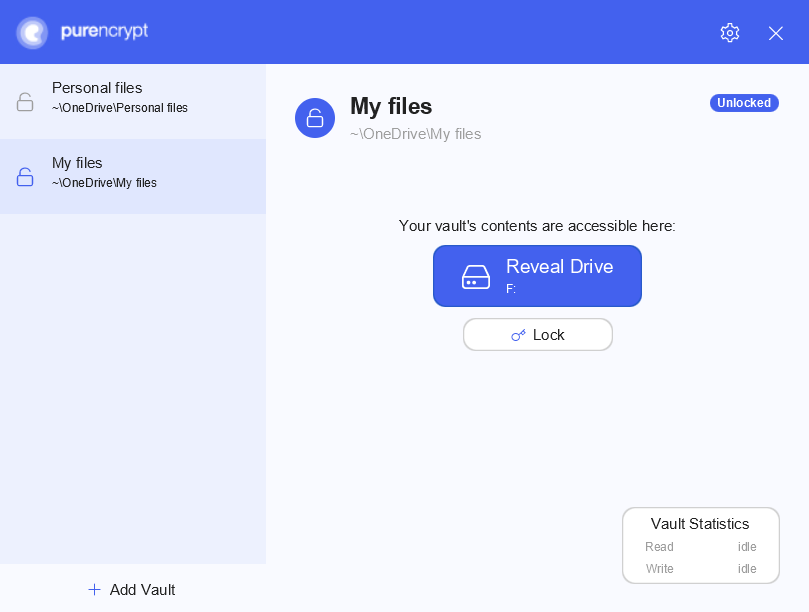
- After unlocking, your vault’s contents will become available as a virtual drive on your PC. This means that you interact with your confidential files in the same way as with any other hard drive or USB stick.
- If you can not find the unlocked vault in your systems file manager (Windows Explorer, Finder, you can always click on Reveal Drive in your PureEncrypt window:
Lock Vault
- To 🔒 lock your vault again simply click 🔑 Lock and your data will be protected and encrypted again.

Reorder Vaults
- You can change the order of your vaults by dragging them to the desired position.
Remove Vaults
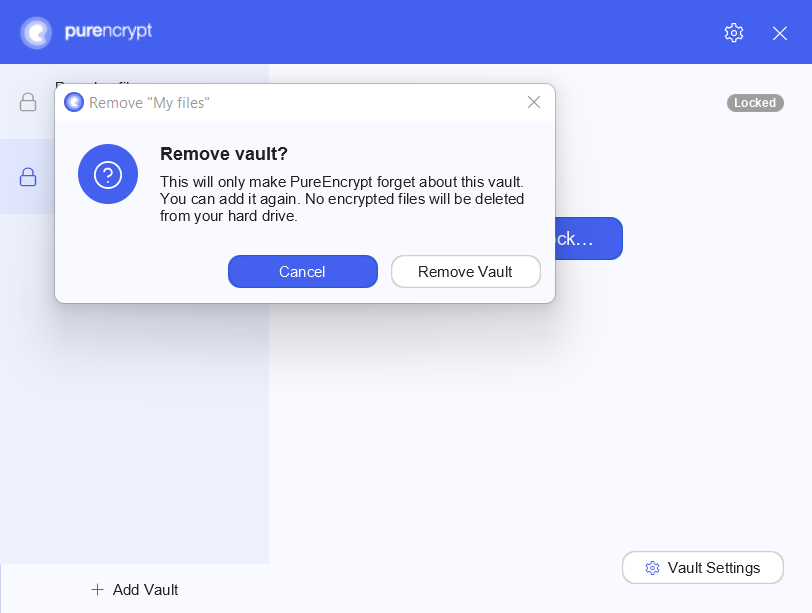
- You can remove a vault from the vault list by right clicking on the list entry. This is only possible while the vault is locked.
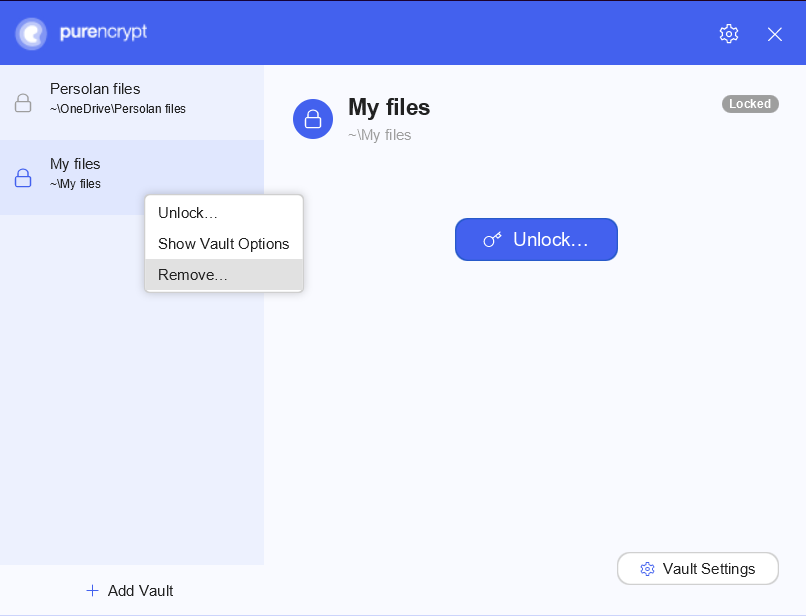
- A pop-up window appears asking you to confirm your decision. Click Remove Vault to remove it from the list of vaults.