
PureVPN offers dedicated IP addresses to users who require a static and exclusive IP for various purposes, online gaming, or accessing geo-restricted content. This article will guide you through the process of connecting a PureVPN dedicated IP to enhance your online experience.
Before you can connect you must have PureVPN Dedicated IP addon.
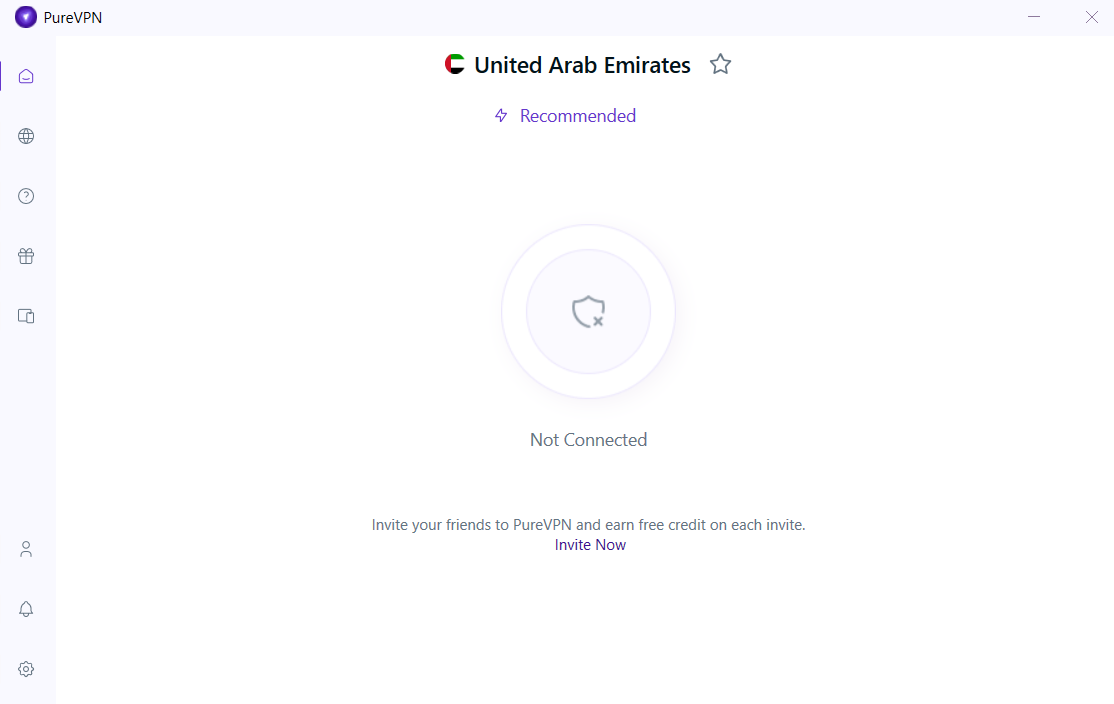
Windows
- Click Globe🌐icon at the left panel of PureVPN app.
- Click the Dedicated IP to connect.
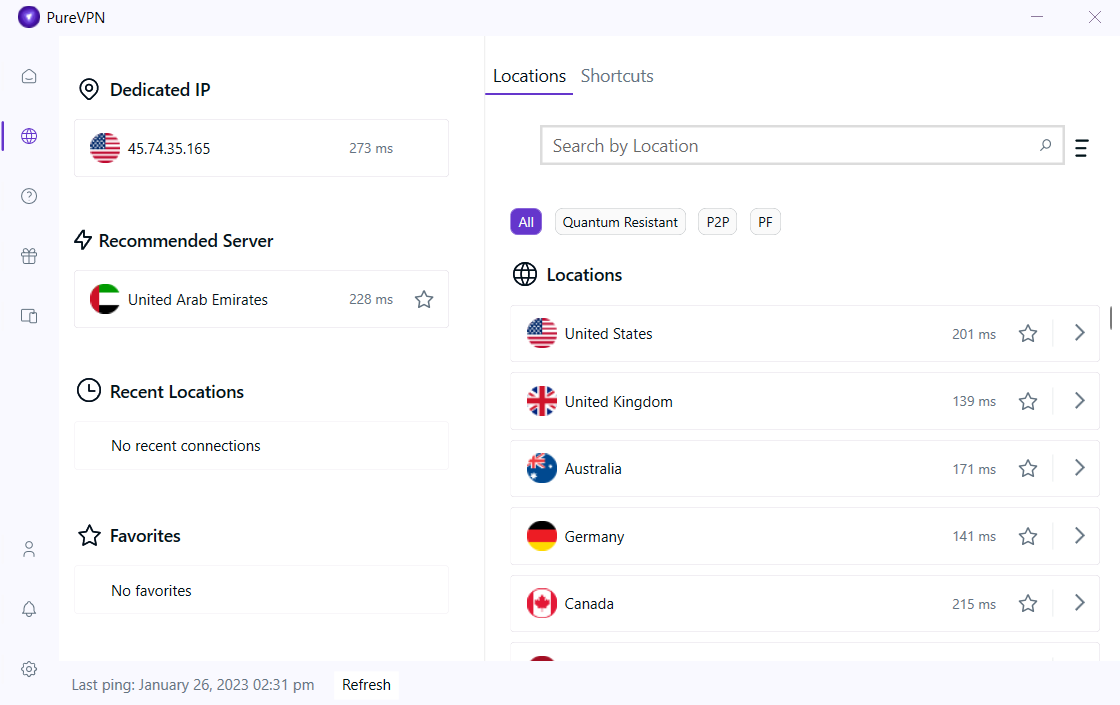
- You are now Connected successfully with your Dedicated IP Add-on.

- In case you’re already connected to your dedicated IP on another device, you'll be prompted accordingly to continue as per choice.
Please note that if you choose to click "Yes," the previous device connected to your dedicated IP address will be disconnected, and your current Windows device will be connected instead. If you choose "No," the connection will remain with your previous device.
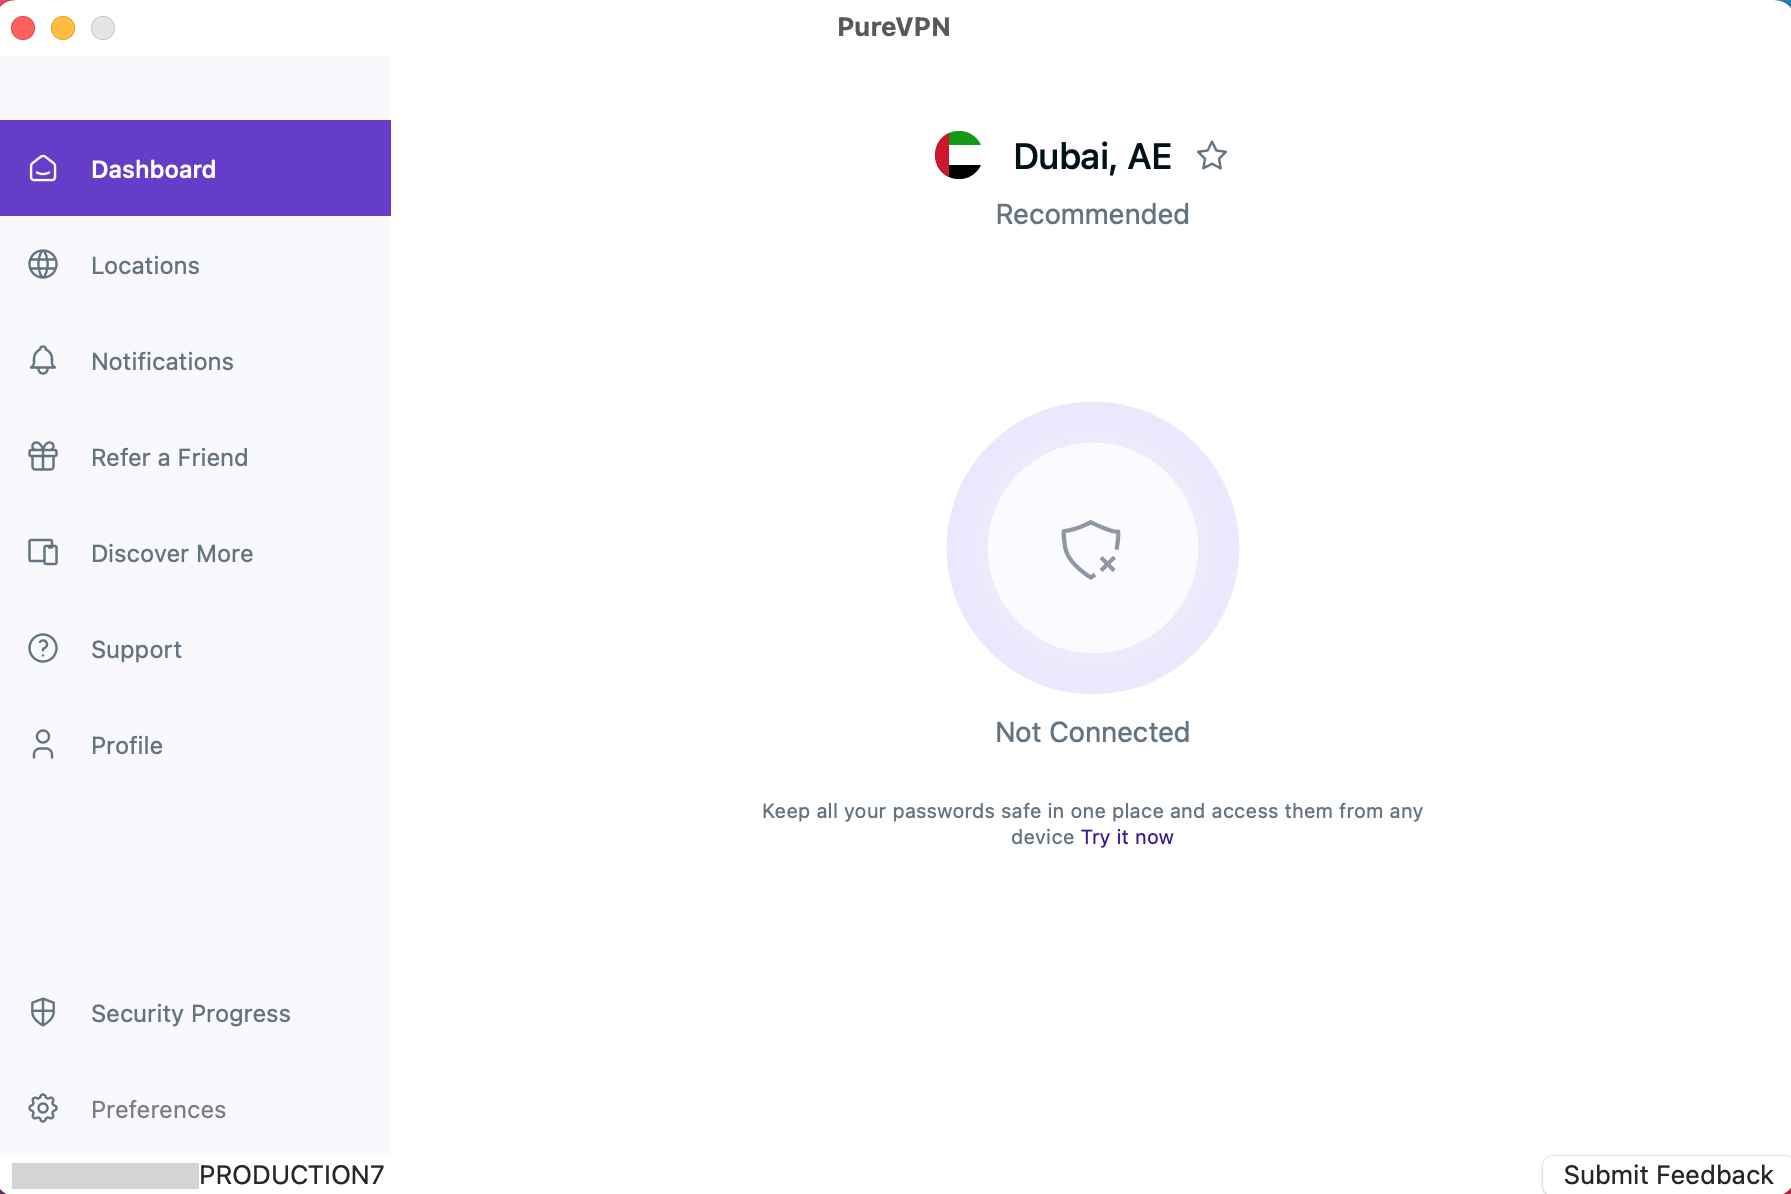
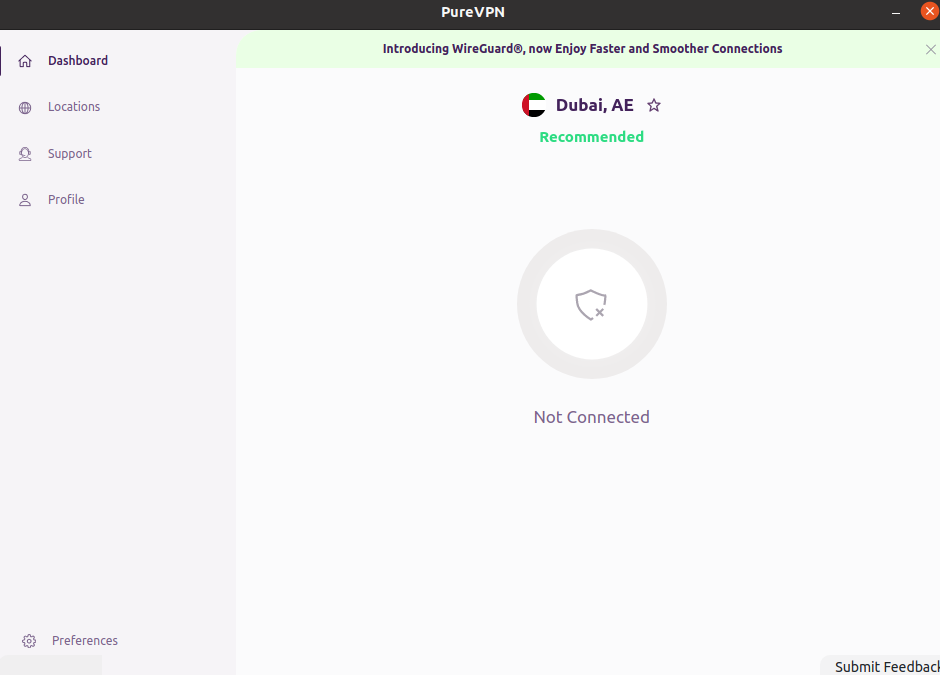
macOS
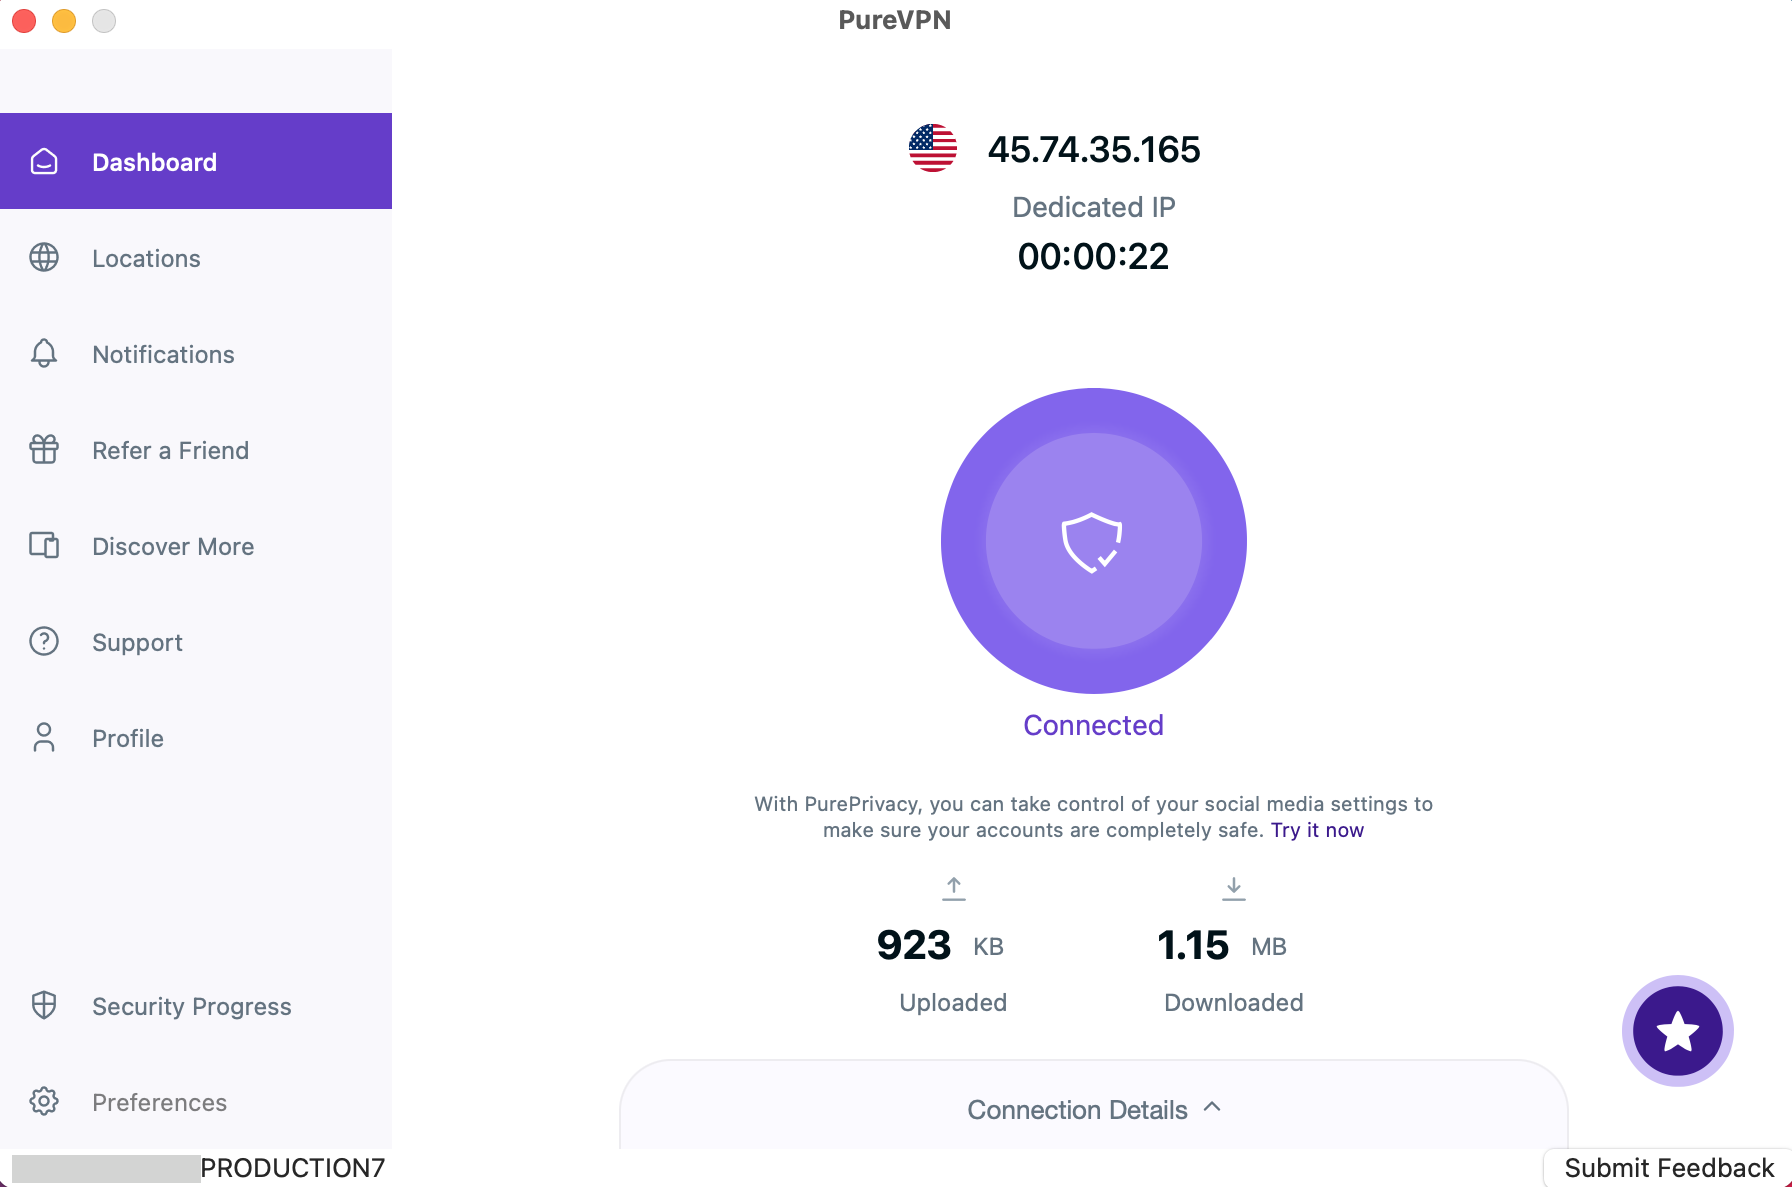
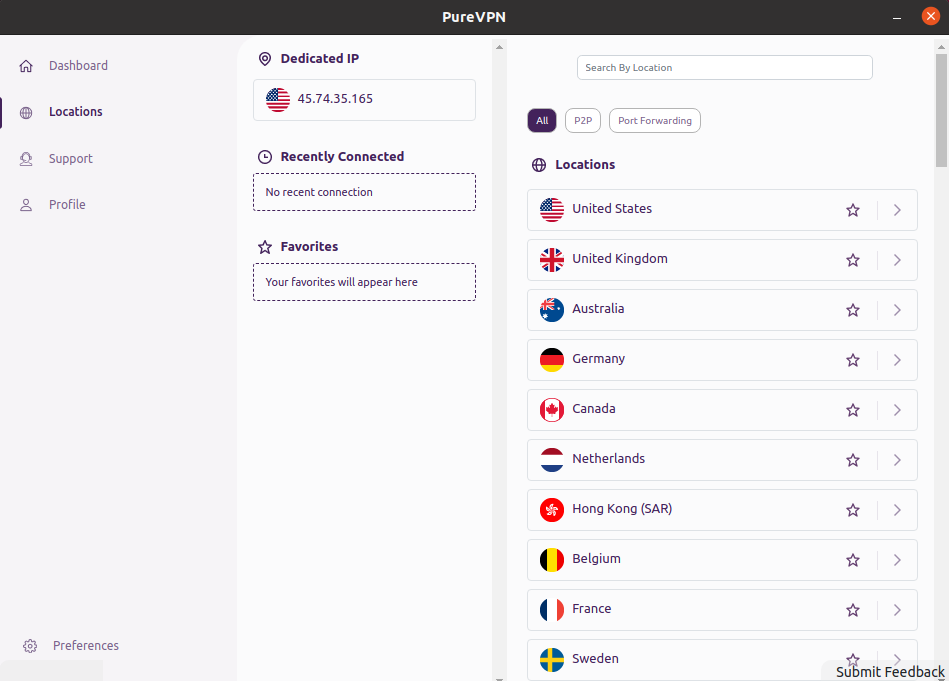
- Click the Locations 🌐 option at the left panel of the PureVPN app.
- Click the Dedicated IP to connect.
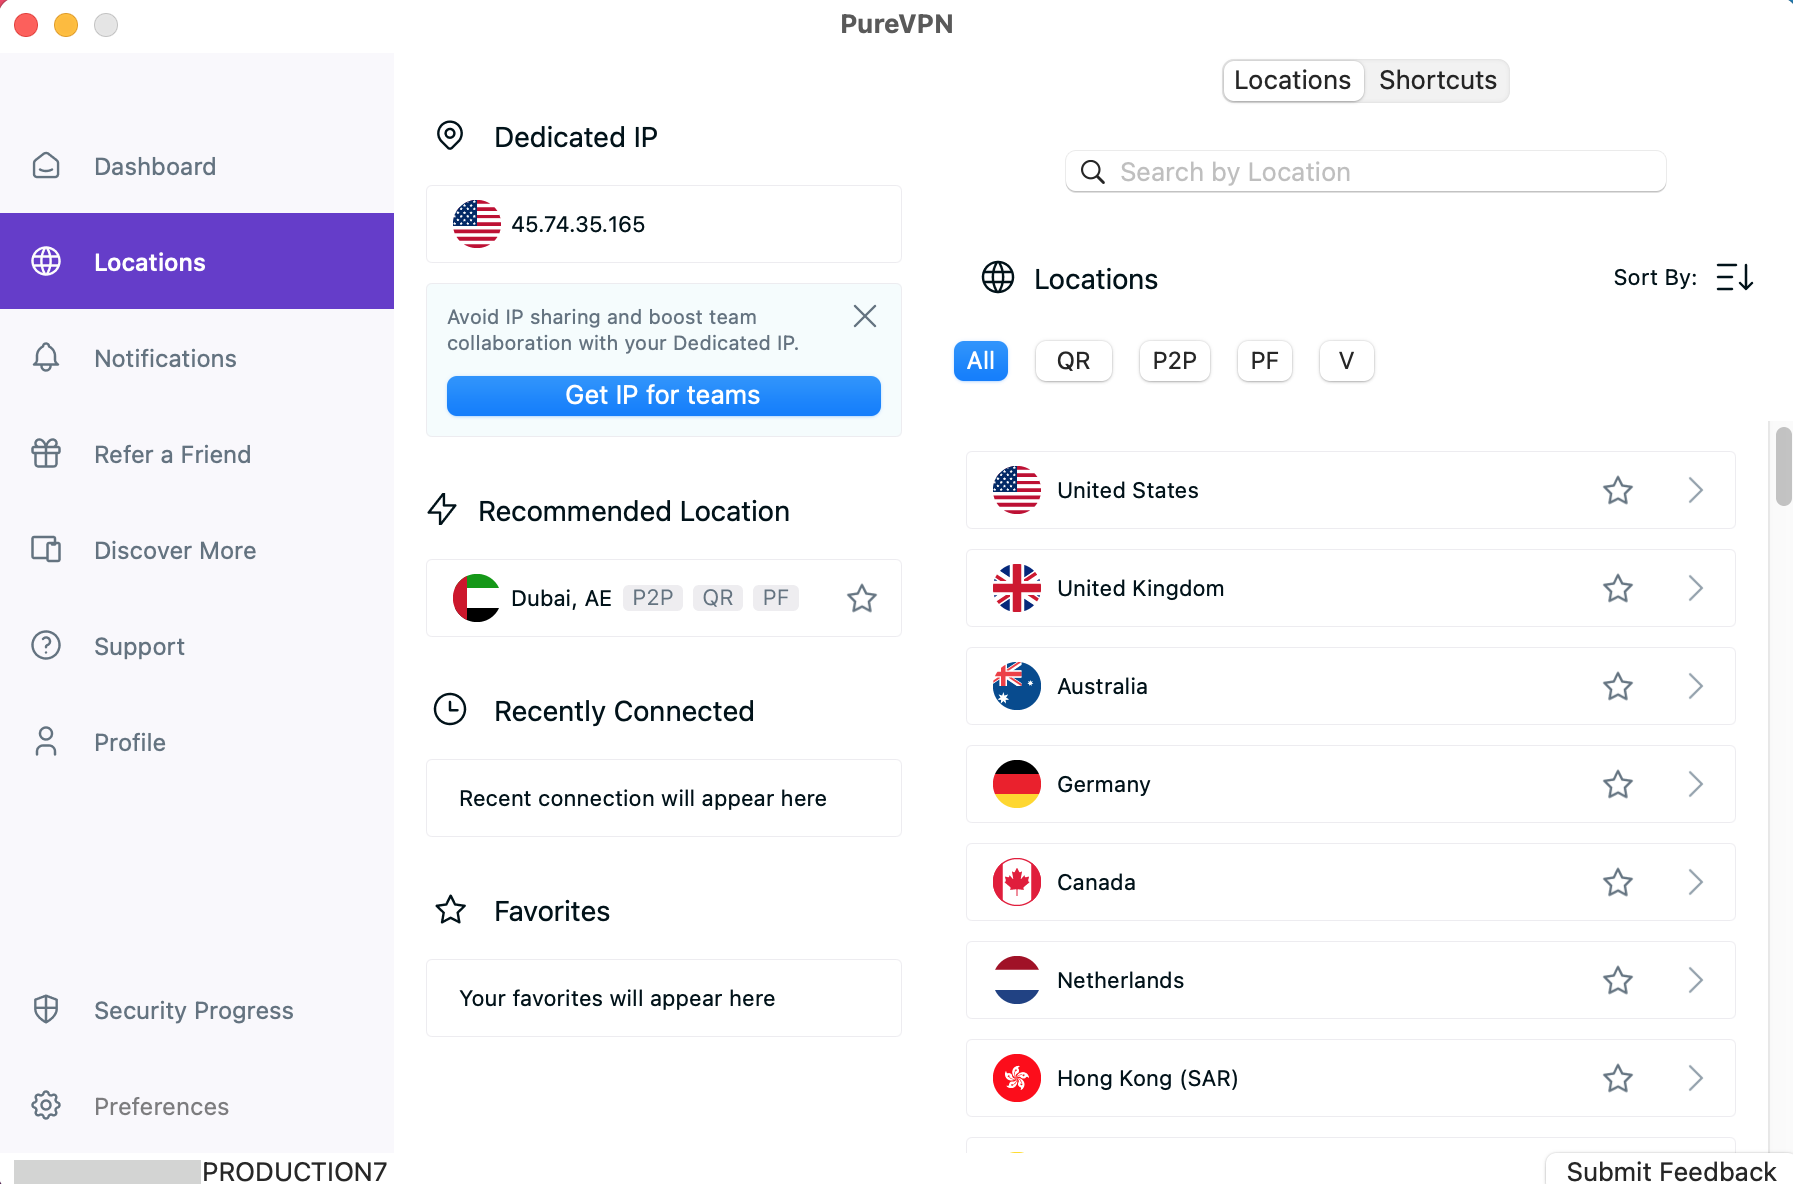
- You are now Connected successfully with your Dedicated IP Add-on.
- In case you’re already connected to your dedicated IP on another device, you'll be prompted accordingly to continue as per choice.
Please note that if you choose to click "Yes," the previous device connected to your dedicated IP address will be disconnected, and your current Mac device will be connected instead. If you choose "No," the connection will remain with your previous device.
Linux
- Click the Locations 🌐 option at the left panel of the PureVPN app.
- Click the Dedicated IP to connect.
- Congratulations! You have successfully connected with your Dedicated IP Add-on.
- In case you’re already connected to your dedicated IP on another device, you'll be prompted accordingly to continue as per choice.
Please note that if you choose to click "Yes," the previous device connected to your dedicated IP address will be disconnected, and your current Mac device will be connected instead. If you choose "No," the connection will remain with your previous device.
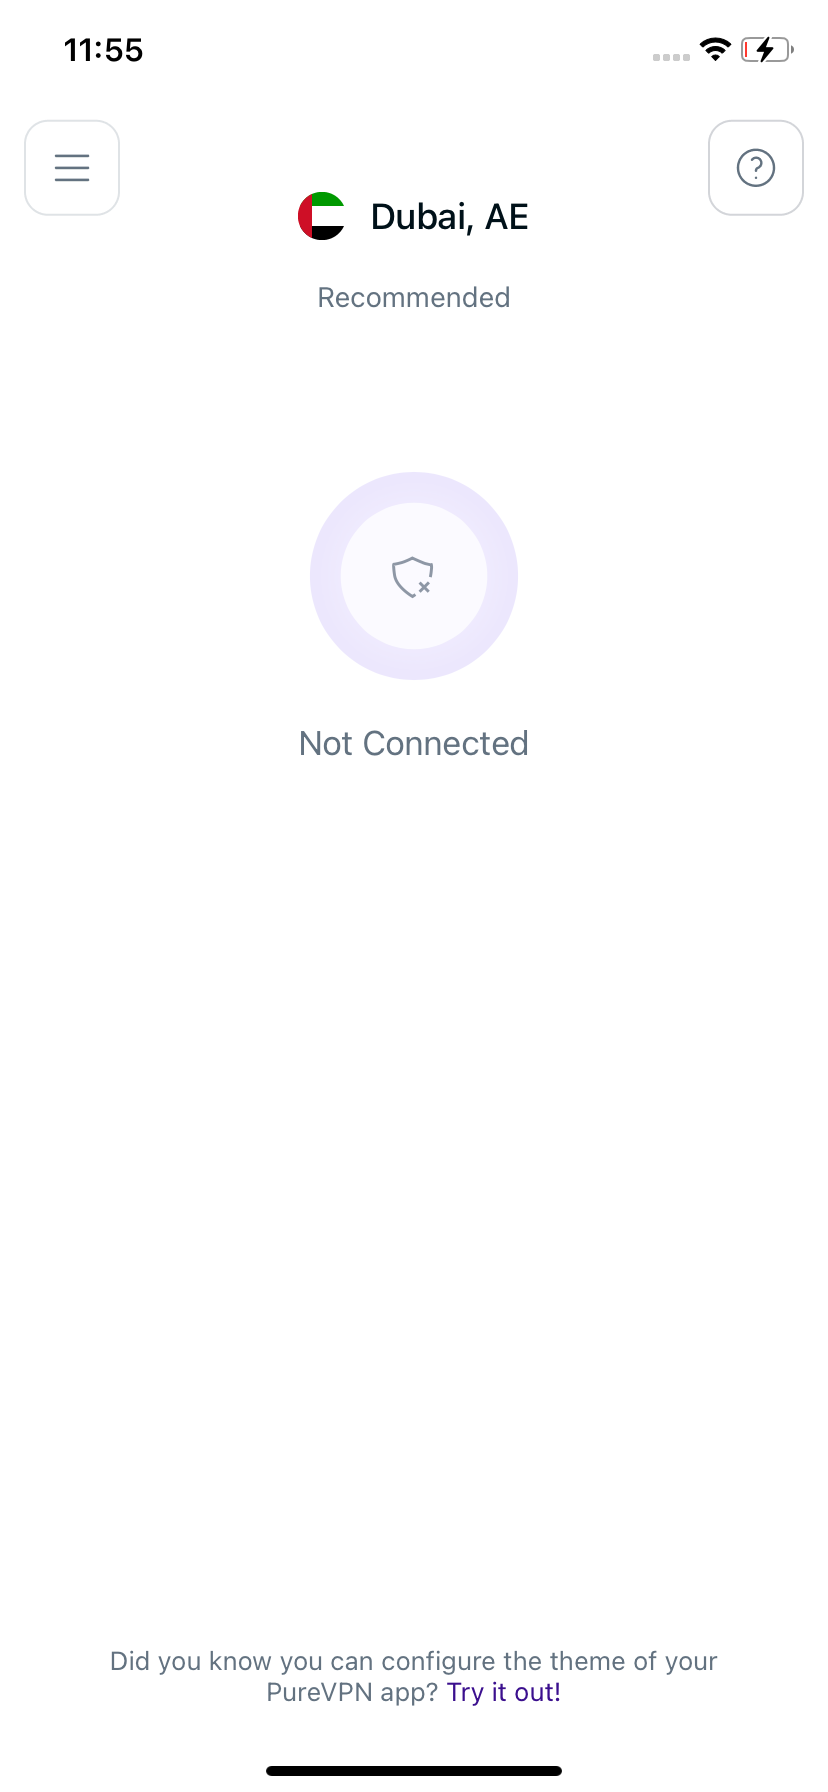
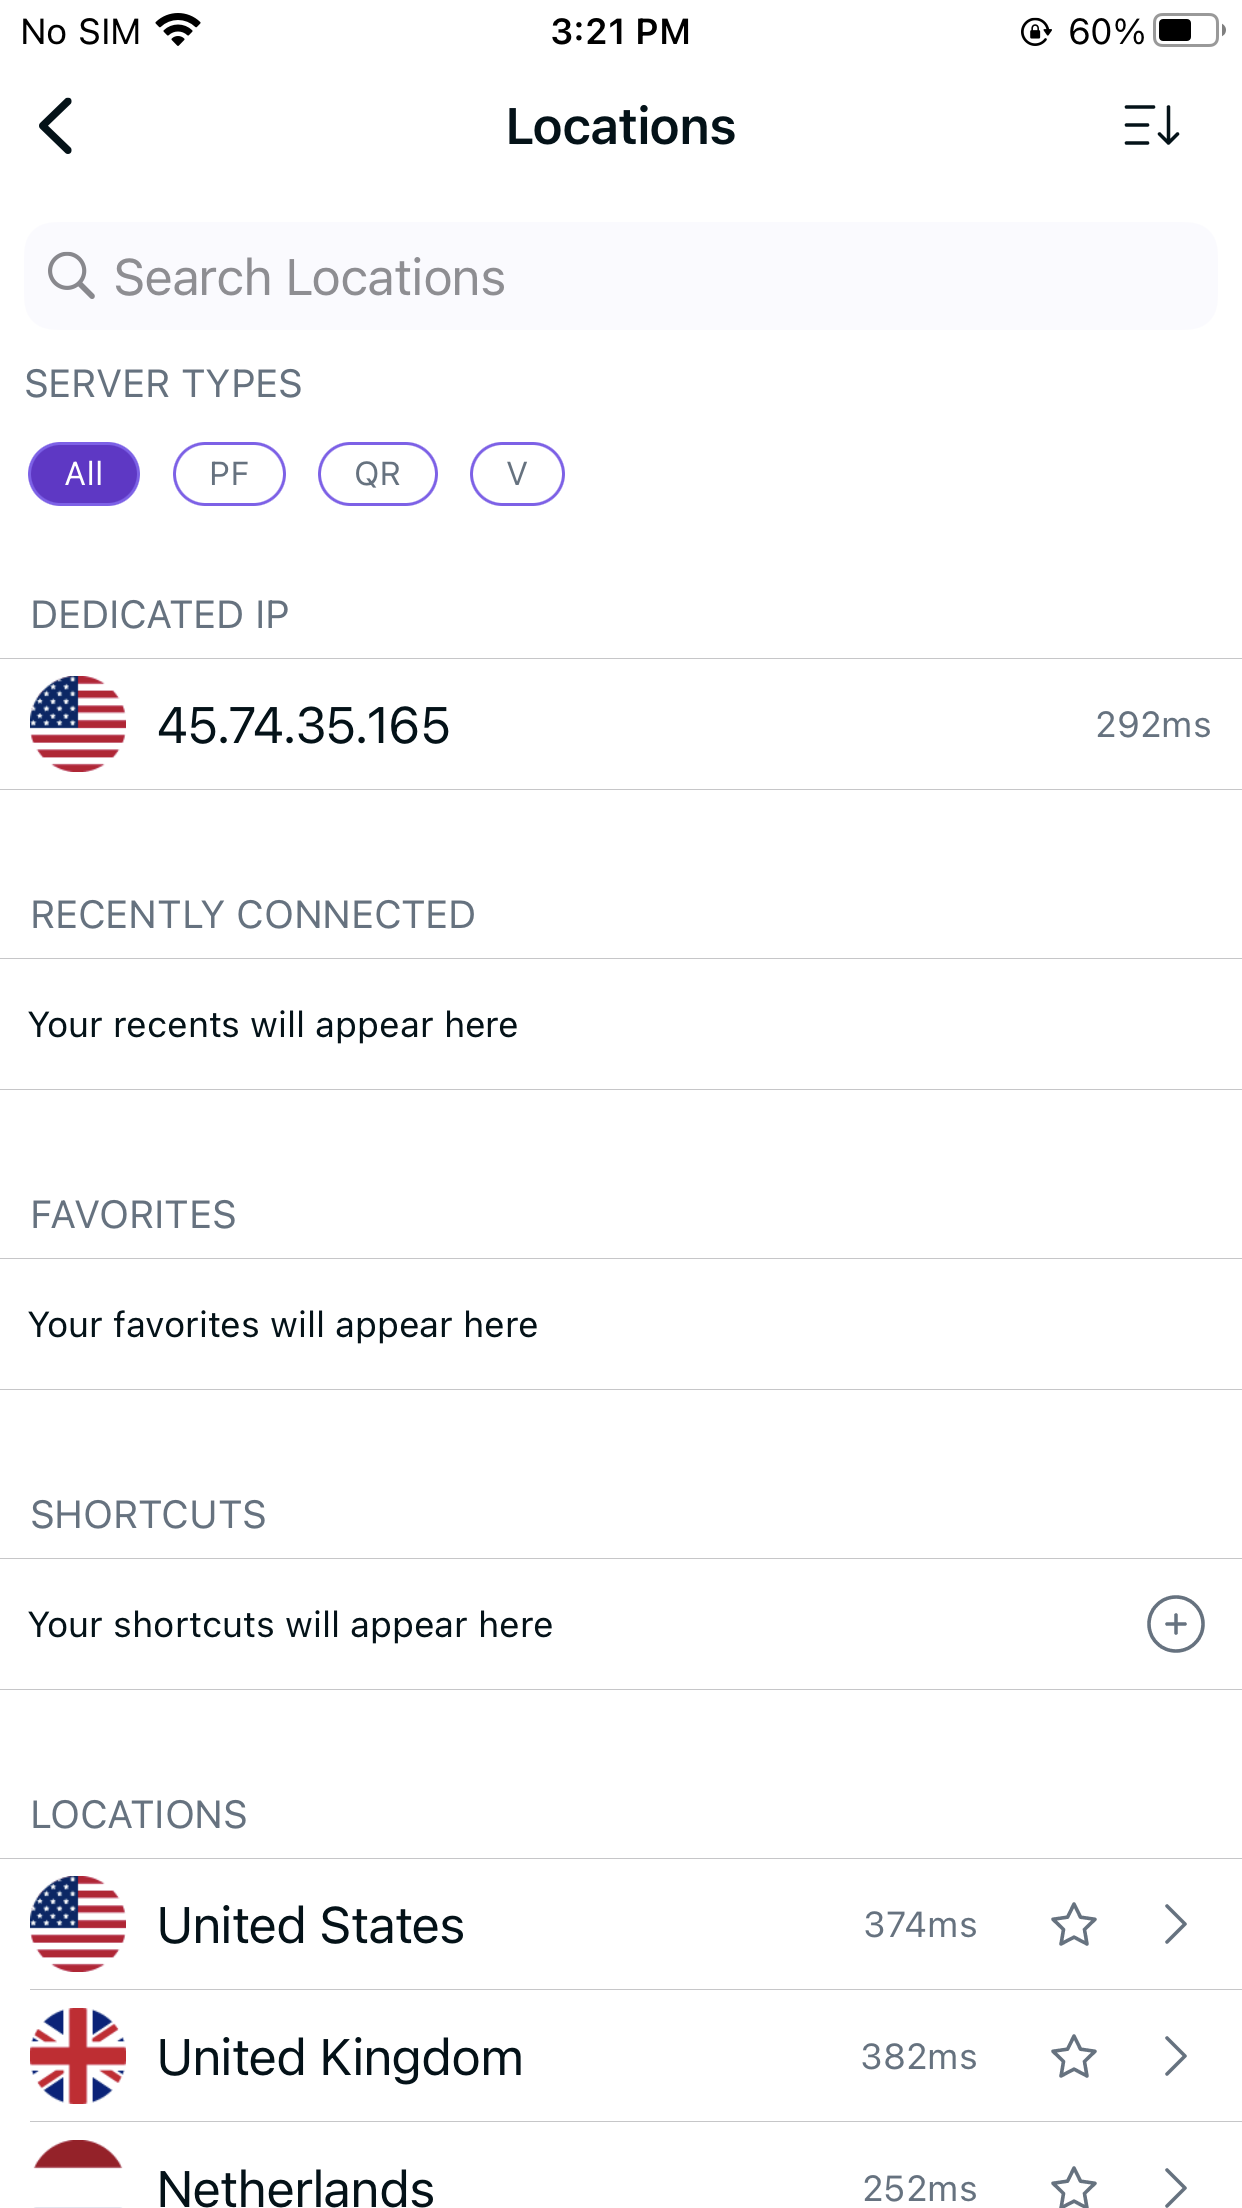
iOS
- Tap Hamburger icon (≡) from the top left.
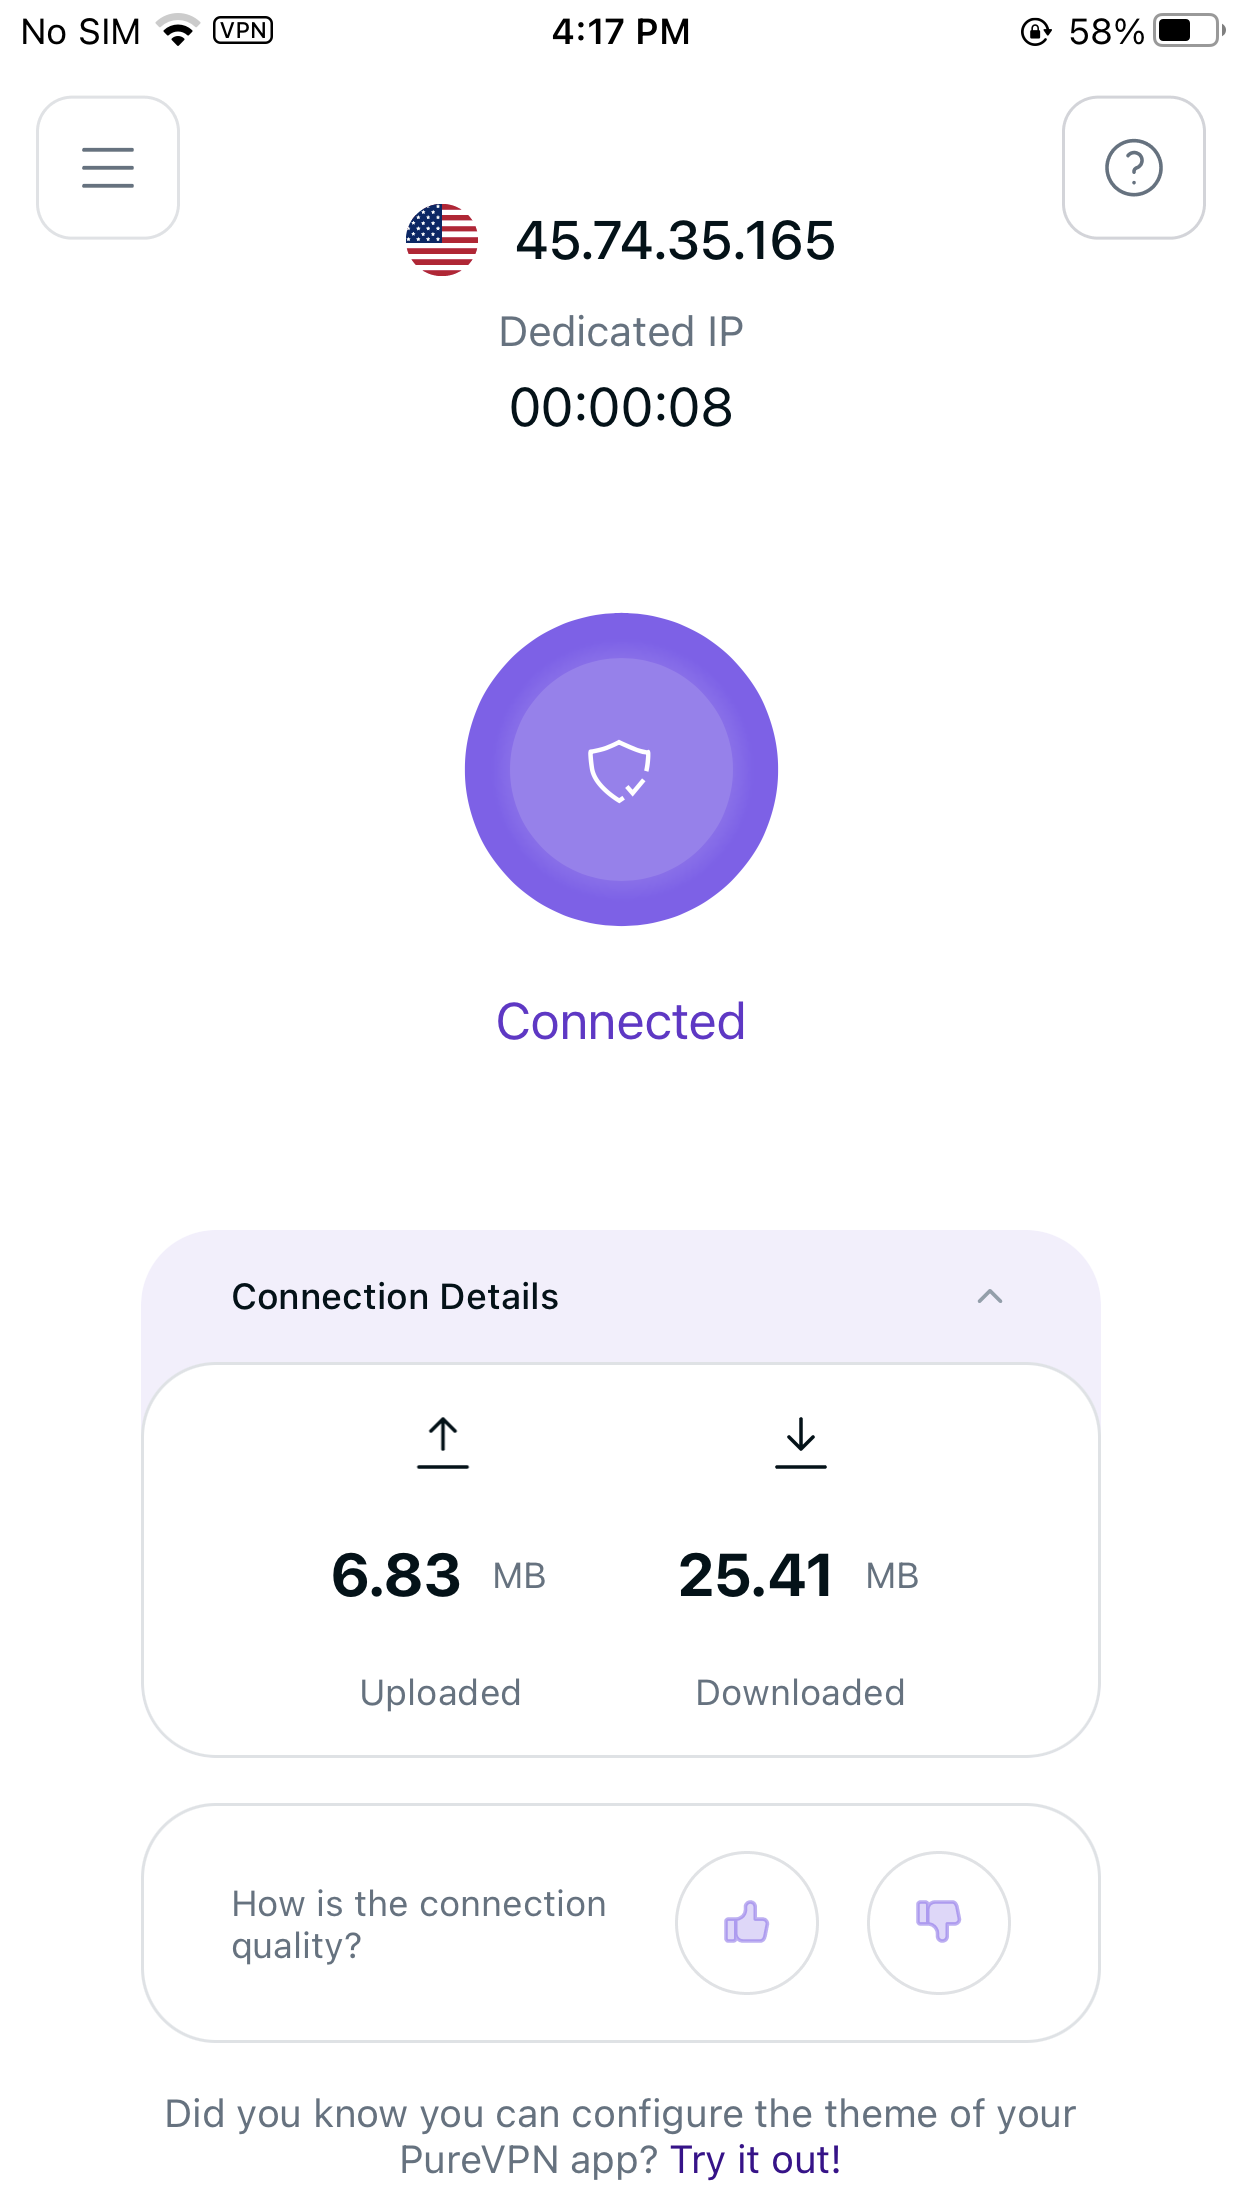
- Tap the Dedicated IP to connect.
- You are now Connected successfully with your Dedicated IP Add-on.
- In case you’re already connected to your dedicated IP on another device, you’ll be prompted accordingly to continue as per choice.
Please note that if you choose to click "Yes," the previous device connected to your dedicated IP address will be disconnected, and your current Mac device will be connected instead. If you choose "No," the connection will remain with your previous device.
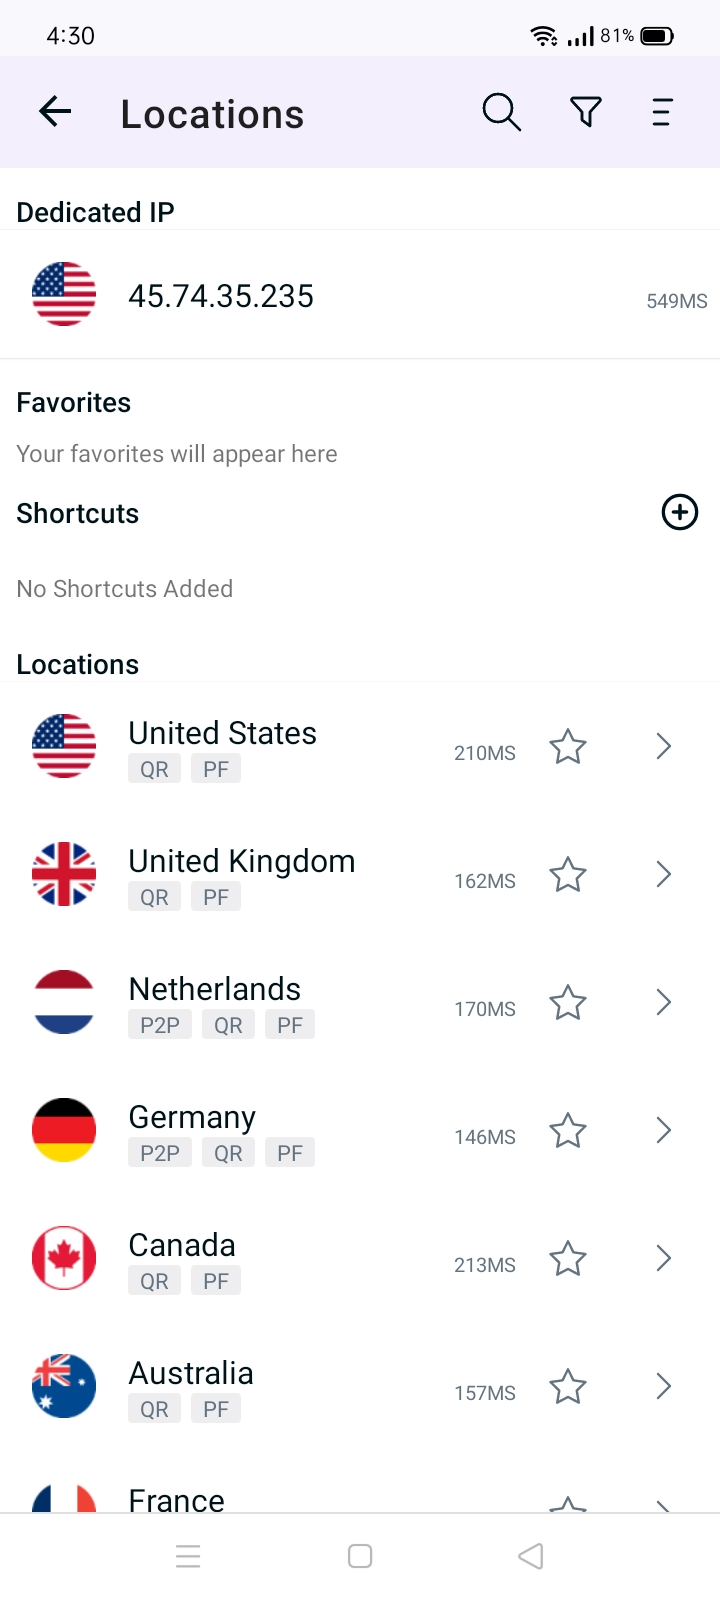
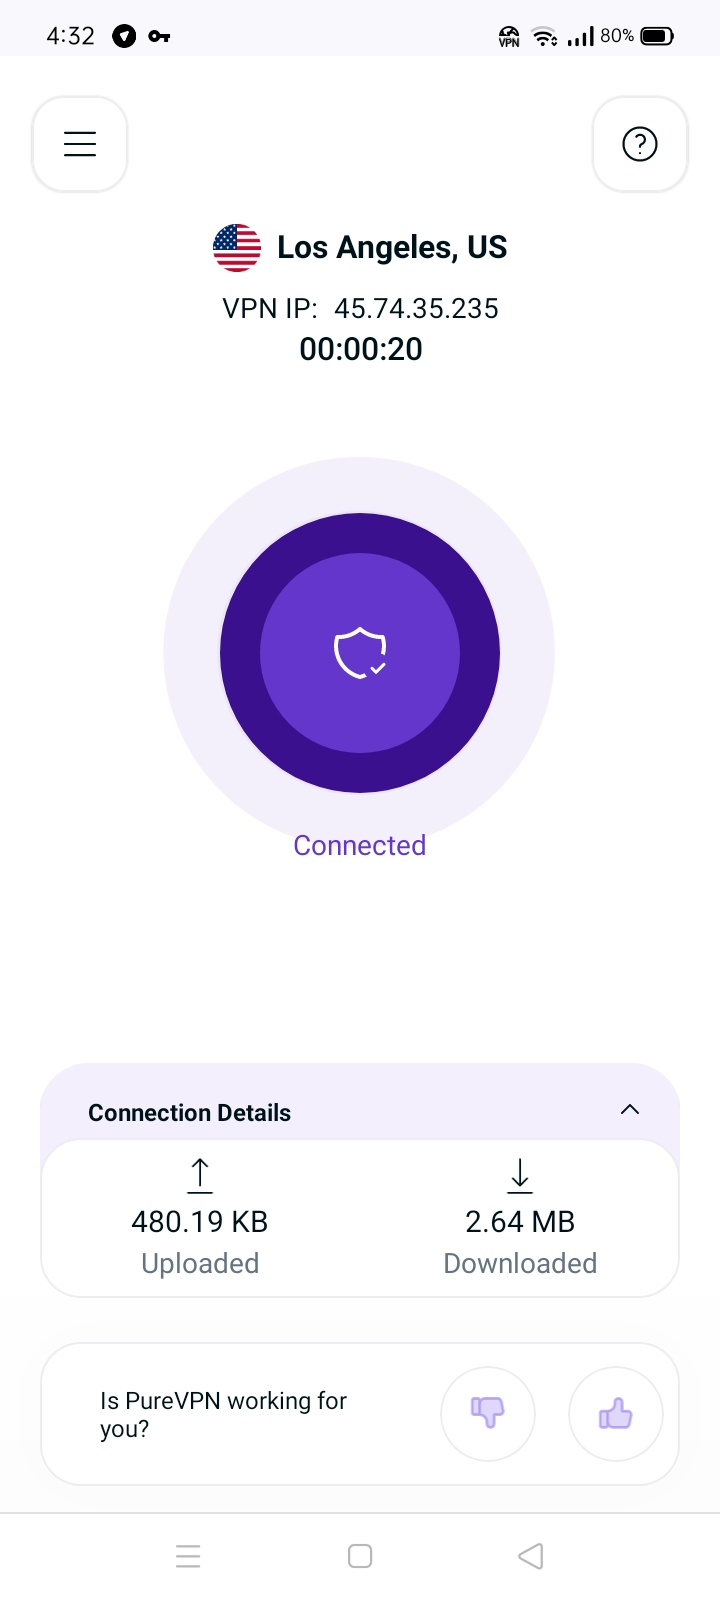
Android
- Tap Hamburger icon (≡) from the top left.

- Tap Locations 🌐

- Tap the Dedicated IP to connect.
- You are now Connected successfully with your Dedicated IP Add-on.
- In case you’re already connected to your dedicated IP on another device, you’ll be prompted accordingly to continue as per choice.
Please note that if you choose to click "Yes," the previous device connected to your dedicated IP address will be disconnected, and your current Mac device will be connected instead. If you choose "No," the connection will remain with your previous device.