Configuring a PureVPN tunnel on your router is a great way to ensure the safety and security of all the devices in your home. This method is especially beneficial if you have devices that don’t have VPN compatibility or you want to protect all the Wi-Fi-connected devices in your home.
To set up a VPN on your GL.iNet router with OpenVPN, follow this step-by-step guide.
Find your VPN credentials for manual configuration
To find your VPN credentials log into the PureVPN Member Area. Click 👉 here to visit Member Area.
- Login to the Member Area using your PureVPN registered email address and password.
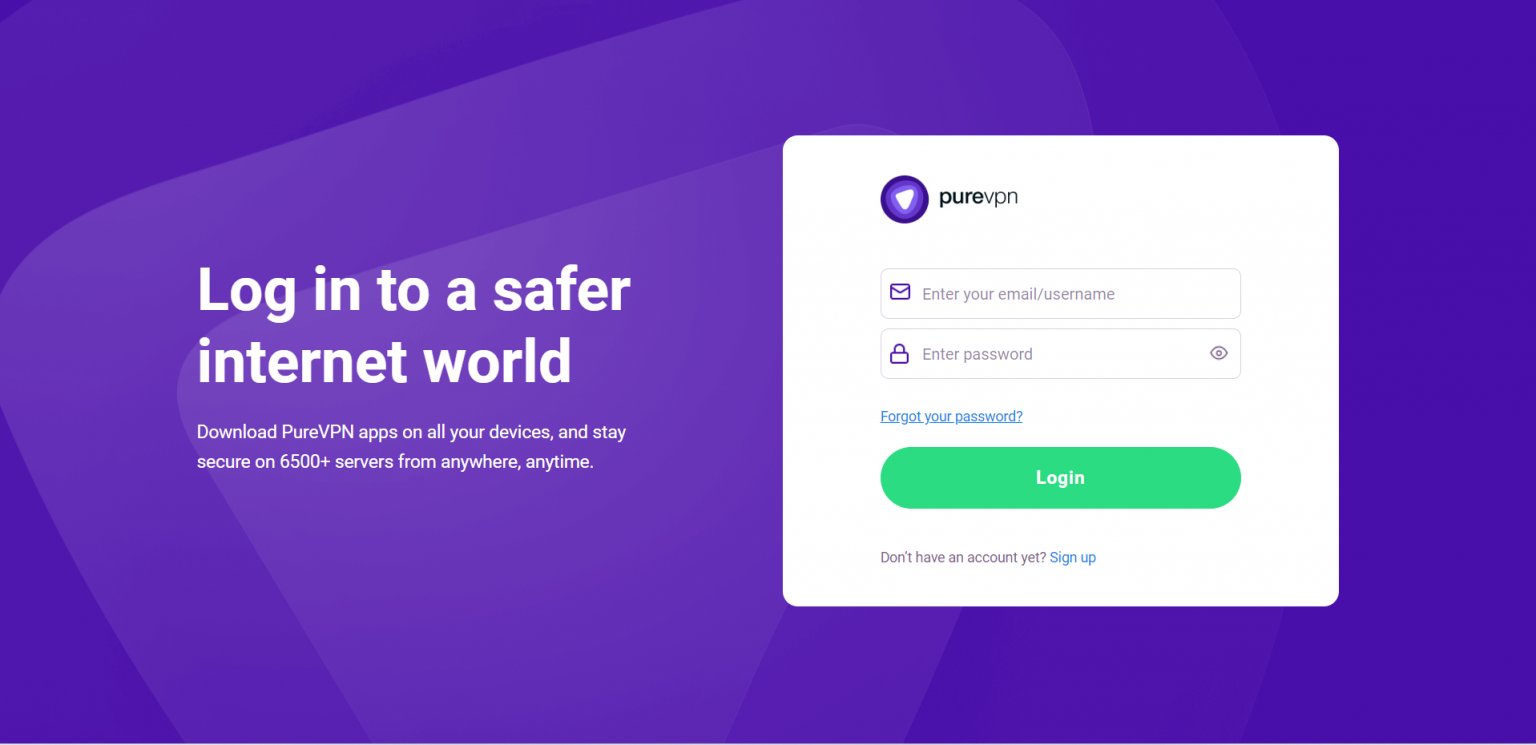
- On the Subscription tab scroll down to be able to view your VPN credentials.

- You will be able to see and copy your VPN credentials.
- Note down your PureVPN username and click the Eye icon to make your password visible and use it in the manual configuration.

How to set up OpenVPN on GLiNet router
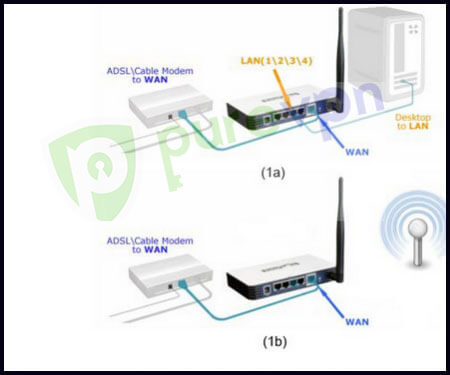
- This image shows how your VPN setup will look like:
- Shows an Ethernet connection from the router to the computer.
- Shows a wireless connection from the router to the computer.
- Select OpenVPN and navigate to OpenVPN configurations. Now download the files from 👉 here.
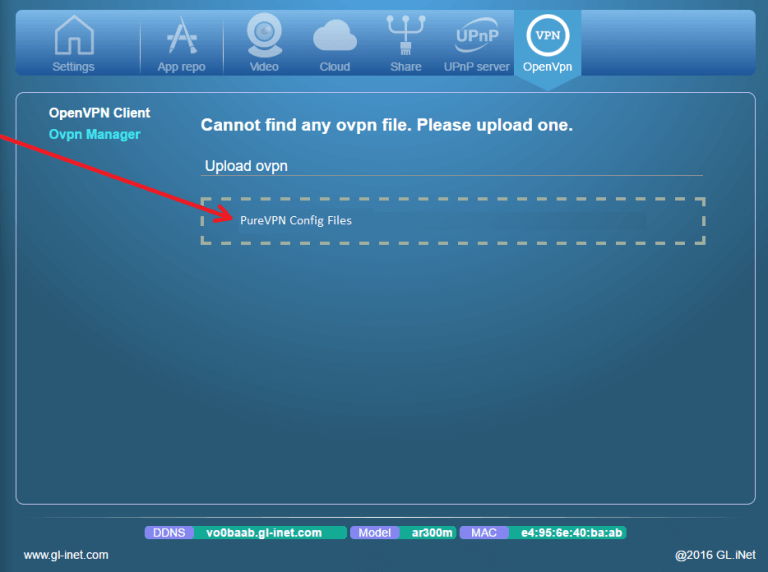
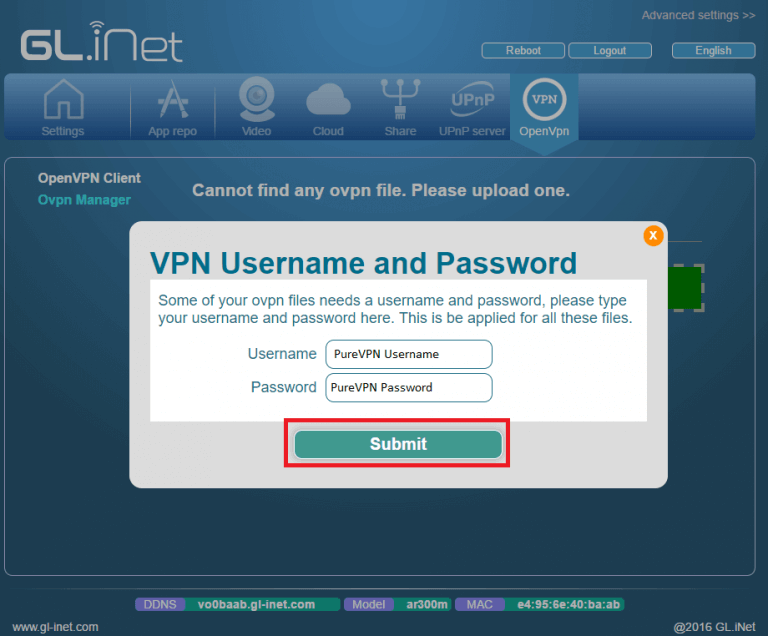
- Drag and drop your selected OVPN file to your router. A new window will pop up asking you to specify your PureVPN credentials. Type them in.
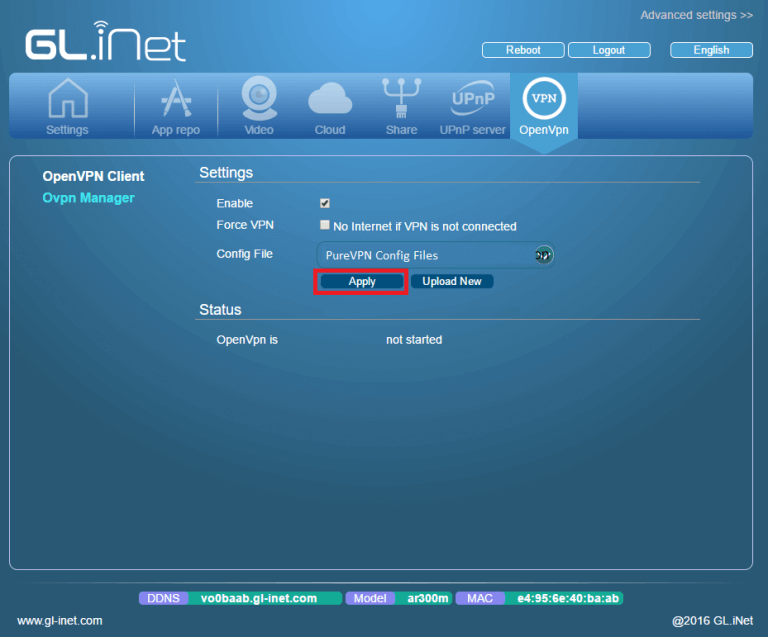
- Next, put a tick next to the Enable option.
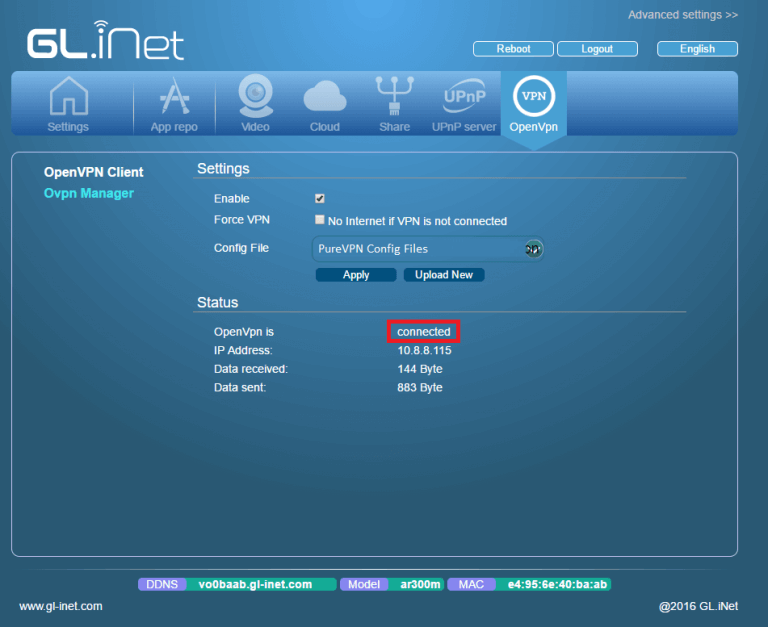
- You are now Connected.
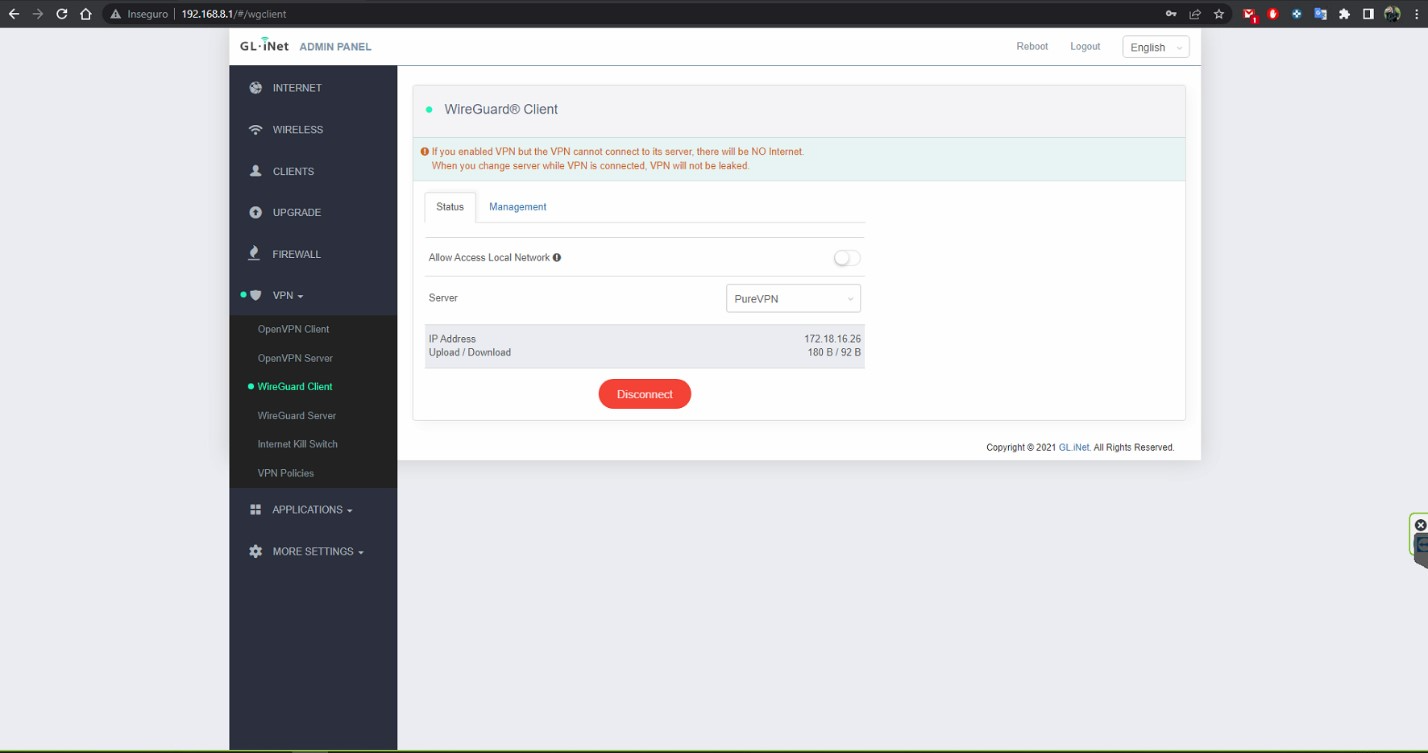
How to set up WireGuard on GL.iNet router
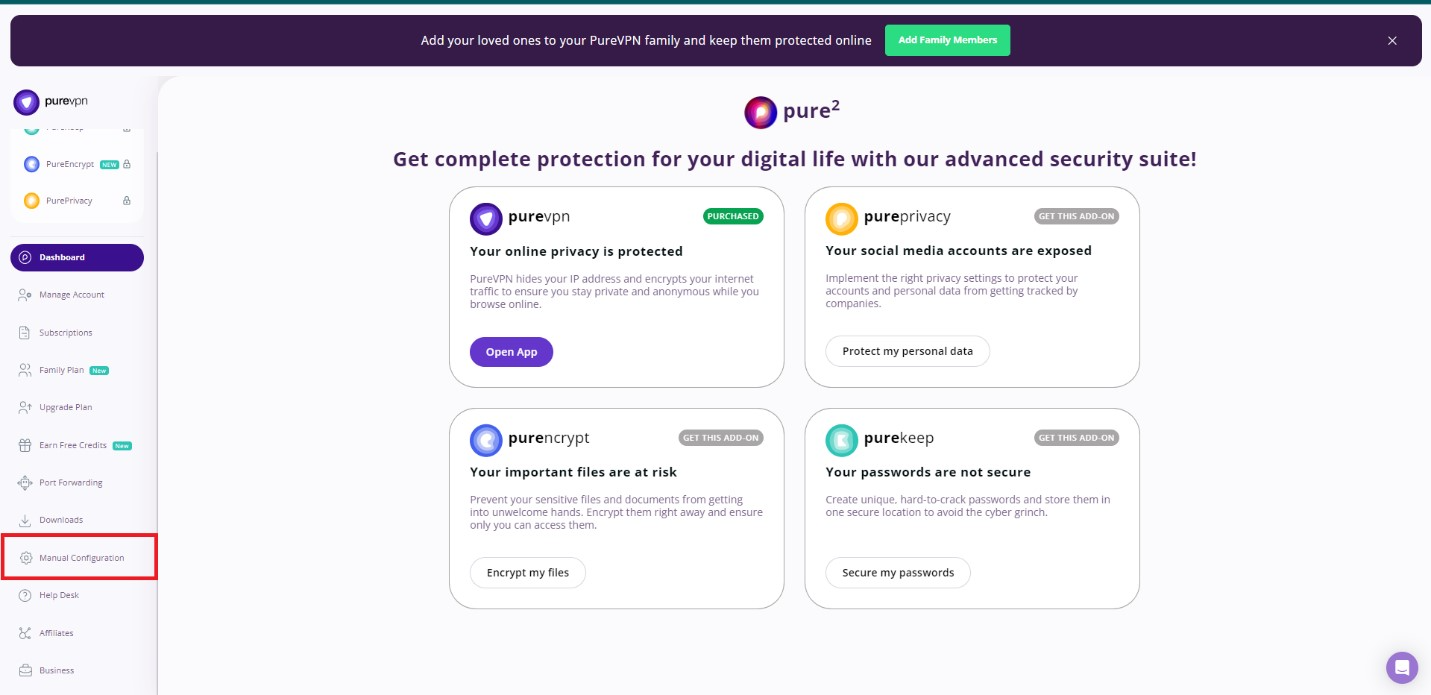
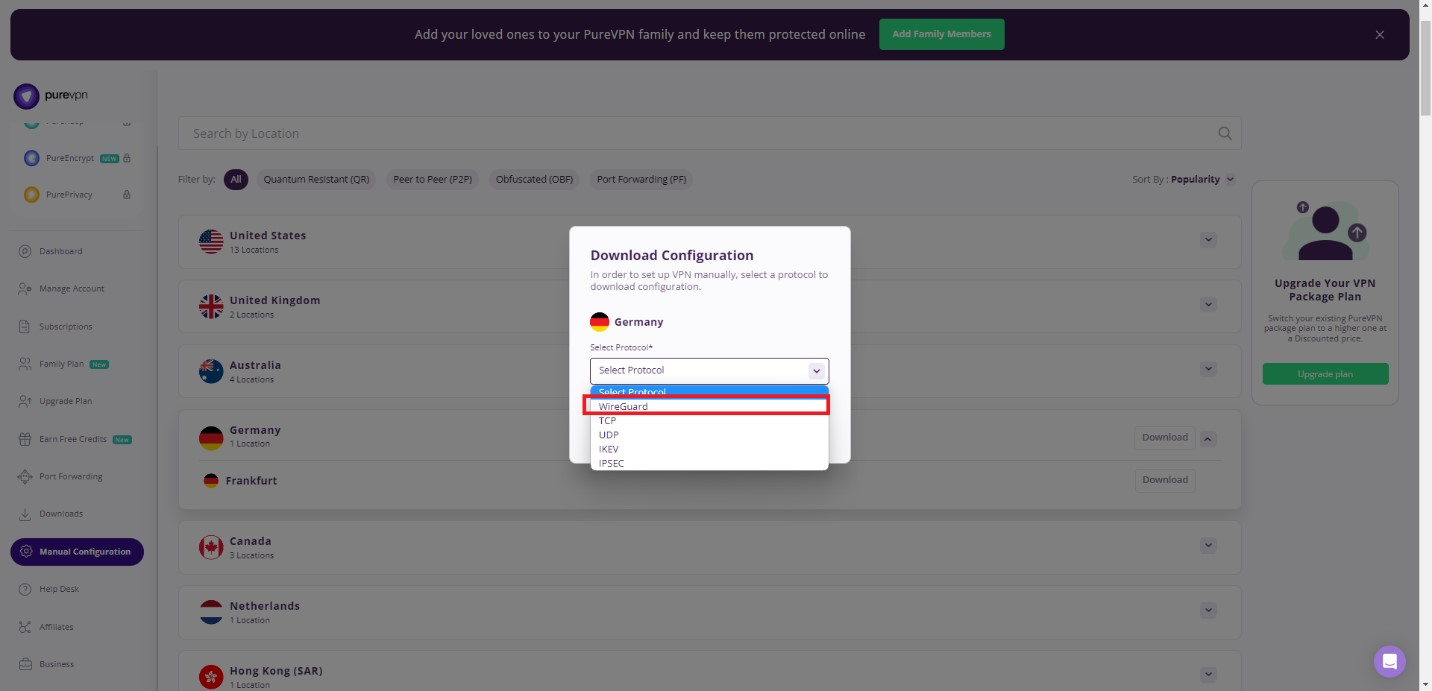
- Login to your Member Area and click Manual Configuration.
- Go to your Member Area and download the WireGuard configuration file from there.
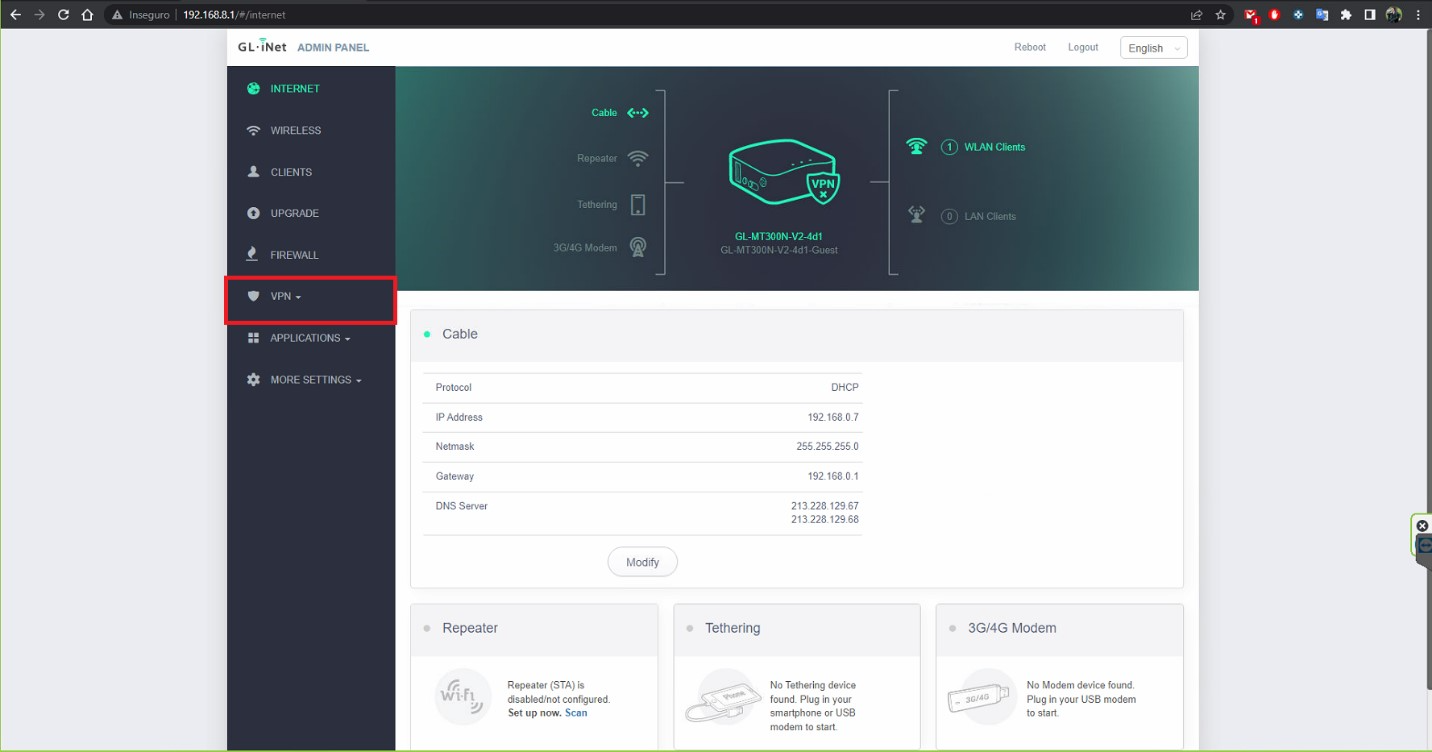
- Login to the router control panel by entering the router’s default IP address 192.168.1.1 into the address bar of your preferred browser. (If you change your router’s default IP address, enter that into your browser instead). Go to the VPN option.
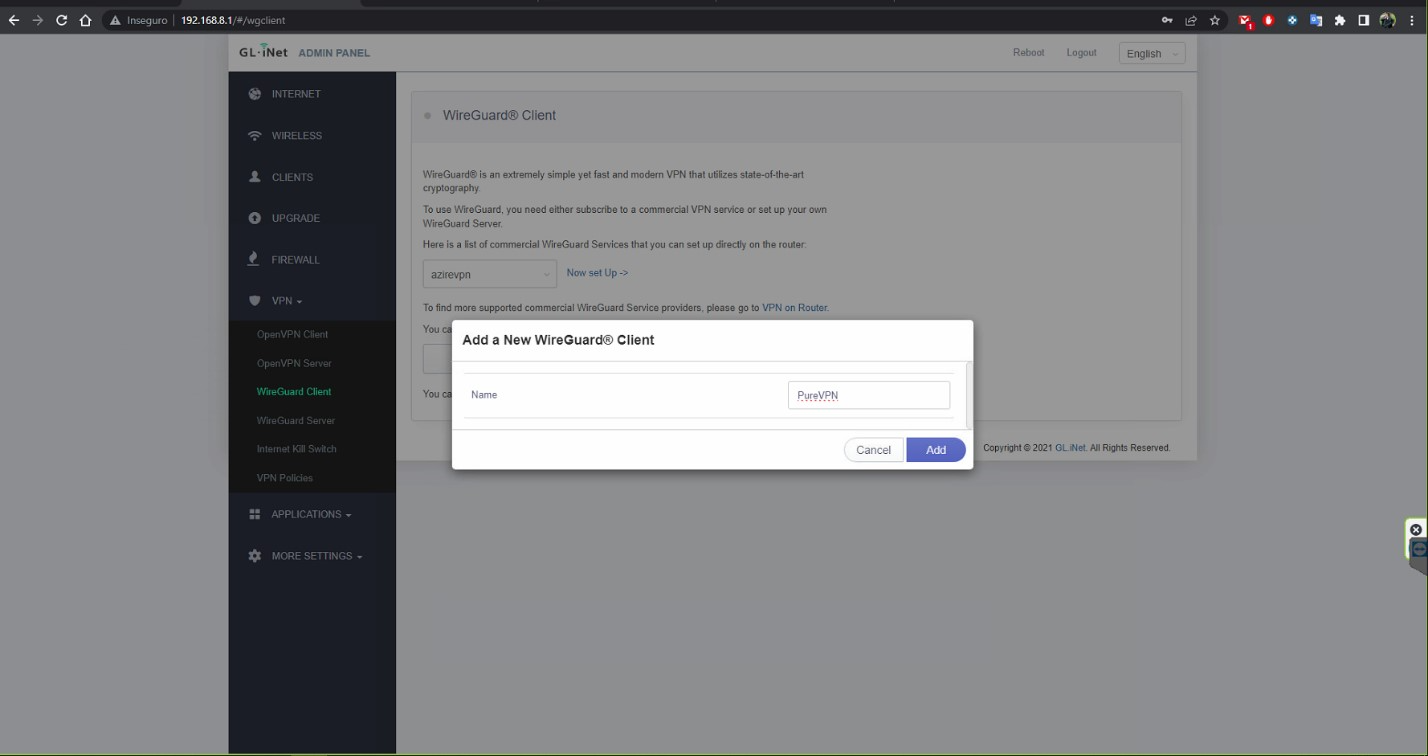
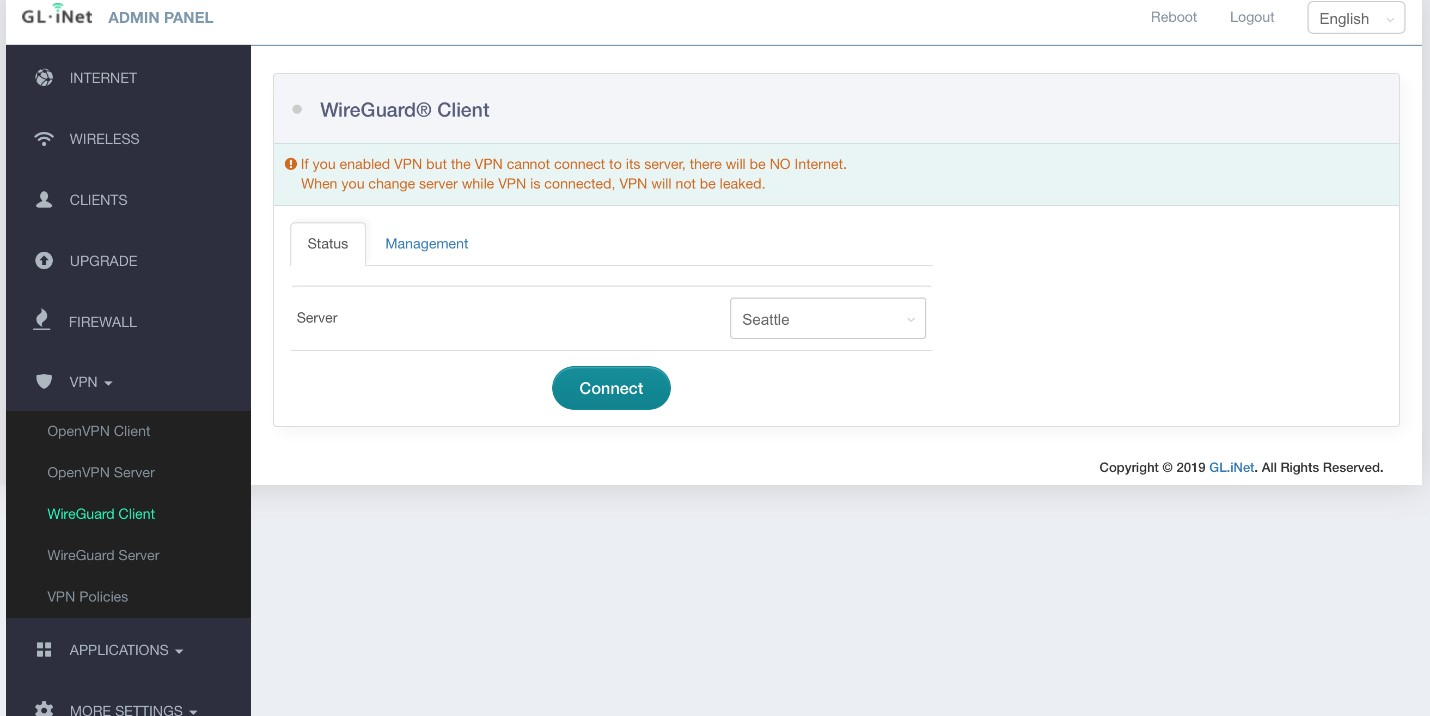
- Select WireGuard Client, then click Set up WireGuard Manually.
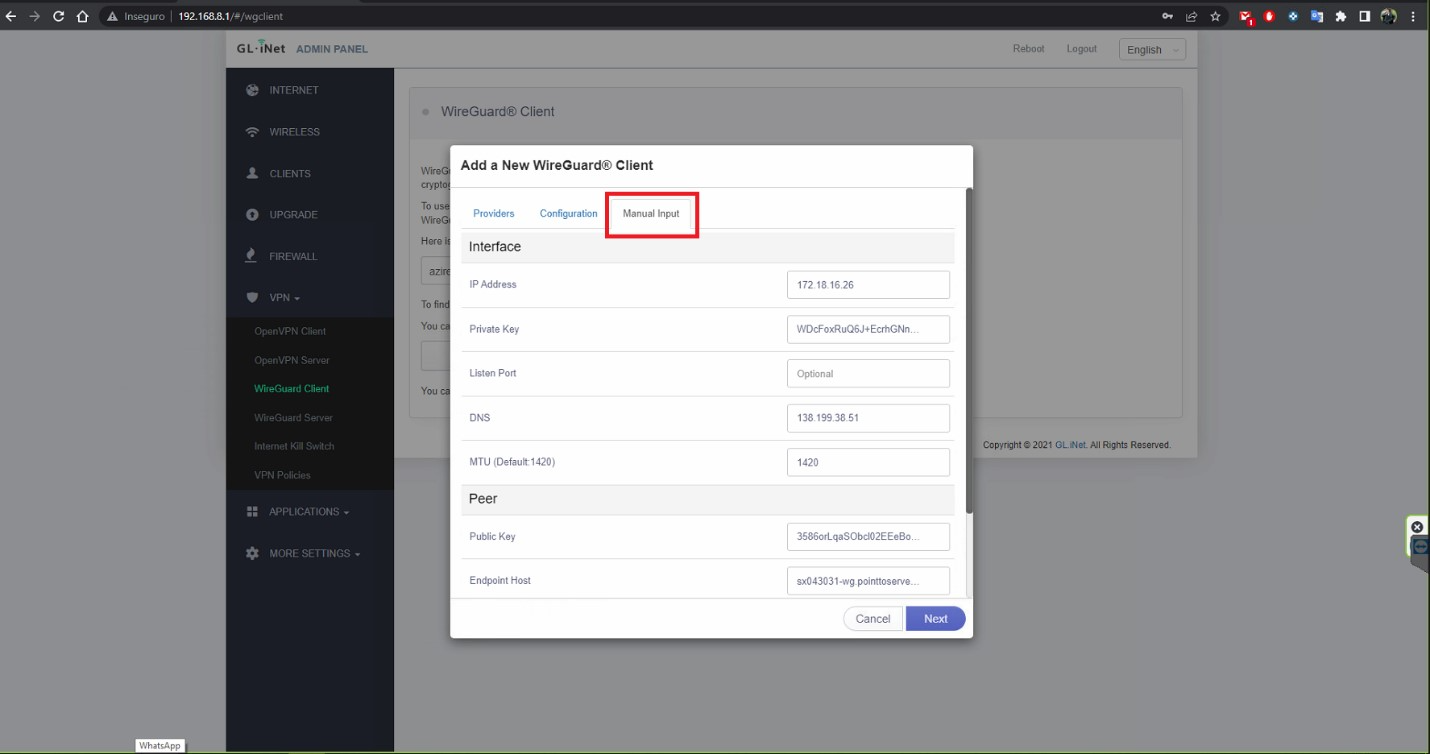
- Select Manual Input and fill in the following fields from the WireGuard Configuration file you have downloaded from Member Area.
- Set up the desire profile name, then click Add button.

- Click Connect.
- You are now connected.