
Learn how to set up PPTP protocol on Linux Arch with our easy-to-follow guide. Establish a secure and efficient VPN connection on your Linux Arch system using PPTP.
Find your VPN credentials for manual configuration
To find your VPN credentials log into the PureVPN Member Area. Click 👉 here to visit Member Area.
- Login to the Member Area using your PureVPN registered email address and password.

- On Subscription tab scroll down to be able to view your VPN credentials.

- You will be able to see and copy your VPN credentials.
- Note down your PureVPN username and click the Eye icon to make your password visible and use it in the manual configuration.

How to connect PPTP on Linux Arch OS
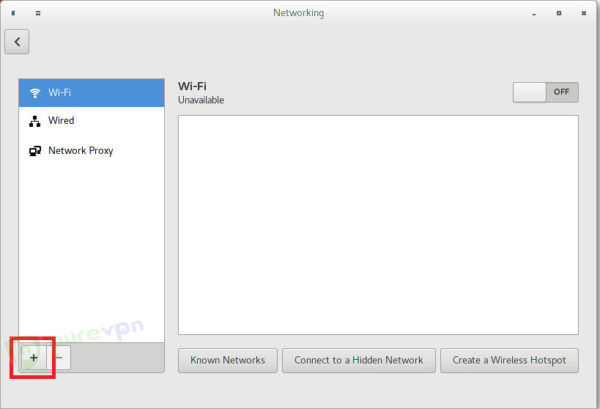
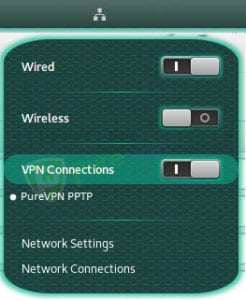
- Start by accessing the Network Manager, as shown in the picture below.
- After accessing Network Manager, select Network Settings.

- To add a new profile, select +.
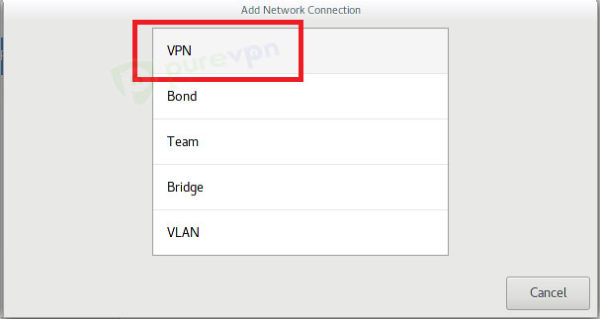
- Select VPN.
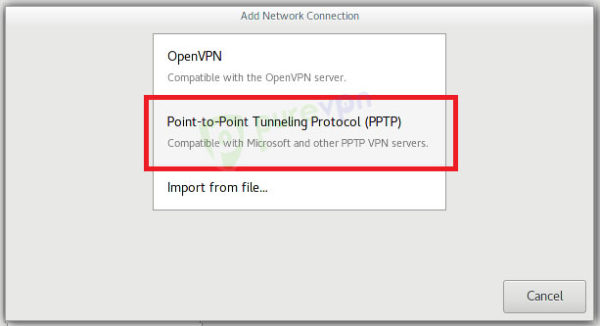
- Select PPTP (Point-to-Point Tunneling Protocol).
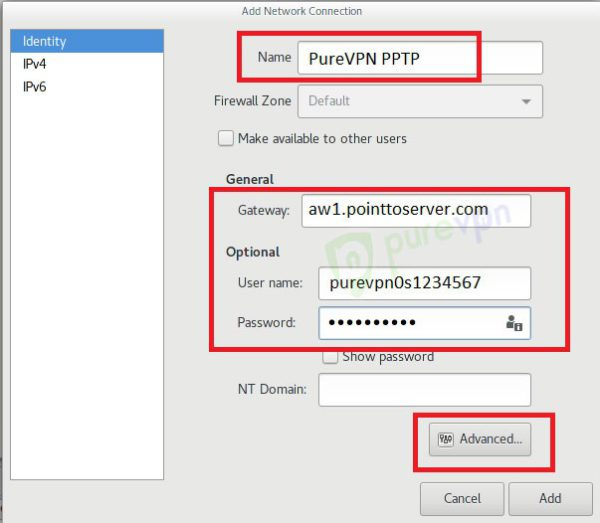
Enter the following information:
- Name: PureVPN
- Insert your desired server address in VPN Server. (Please refer to the server addresses shared in the note above).
- Germany: de1.pointtoserver.com
- Netherlands: nl1.pointtoserver.com
- United Kingdom: ukl1.pointtoserver.com
- United States: ustx1.pointtoserver.com
- United States: uswdc1.pointtoserver.com
- Australia: au-sd1.pointtoserver.com
- Enter your VPN credentials. Here is how you can find your VPN credentials.
- Click Advanced.
Select the following options:
- Check Point-to-Point Encryption (MPPE).
- Check all default boxes, that is if they are unchecked in the first place.
- Enable BSD data compression.
- Enable deflate data compression.
- Enable TCP header compression.
- Under Echo, uncheck Send PPP Echo Packet.
- Select Ok.
- Select your newly created PureVPN connection, and use the ON/OFF button to connect and disconnect.
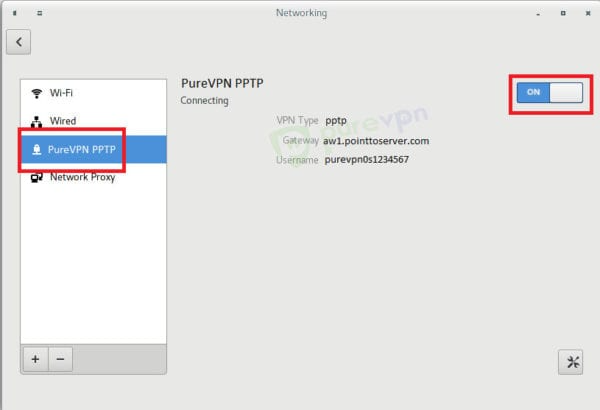
- You are now successfully connected to PureVPN!
How to connect OpenVPN on Linux Arch
Discover how to set up OpenVPN on Linux Arch OS with our comprehensive guide. Follow our step-by-step instructions to establish a secure and reliable VPN connection on your Linux Arch system using OpenVPN. Simplify the setup process and enjoy enhanced online privacy and security.
Download PureVPN:
Enter pacman -Syu in Terminal as root/ super user to update Arch Package Repository.
- Make sure that you keep checking the latest updates sporadically. Now, follow these steps:
- Download PureVPN Config Files for OpenVPN TCP and UDP from 👉here.
- Go to your Downloads folder and extract the downloaded config files’ folder. (Or you can extract it from Terminal using unzip command)
Install PureVPN:
- You need to install OpenVPN. Open Terminal and enter this.
- sudo bash
- pacman -S openvpn
Press Enter.
Write y for confirmation and press Enter.
OpenVPN will be downloaded shortly.
- Now, you need to access the OpenVPN config files directory. Write these commands in the terminal.
- cd Downloads
- cd Fastestvpn_ovpn
cd TCP_Files (OR cd UDP_Files whichever protocol you want to connect to).
Press Enter.